Operating Instruction and Documentation
MCS 7500 Flex (Bluetooth)
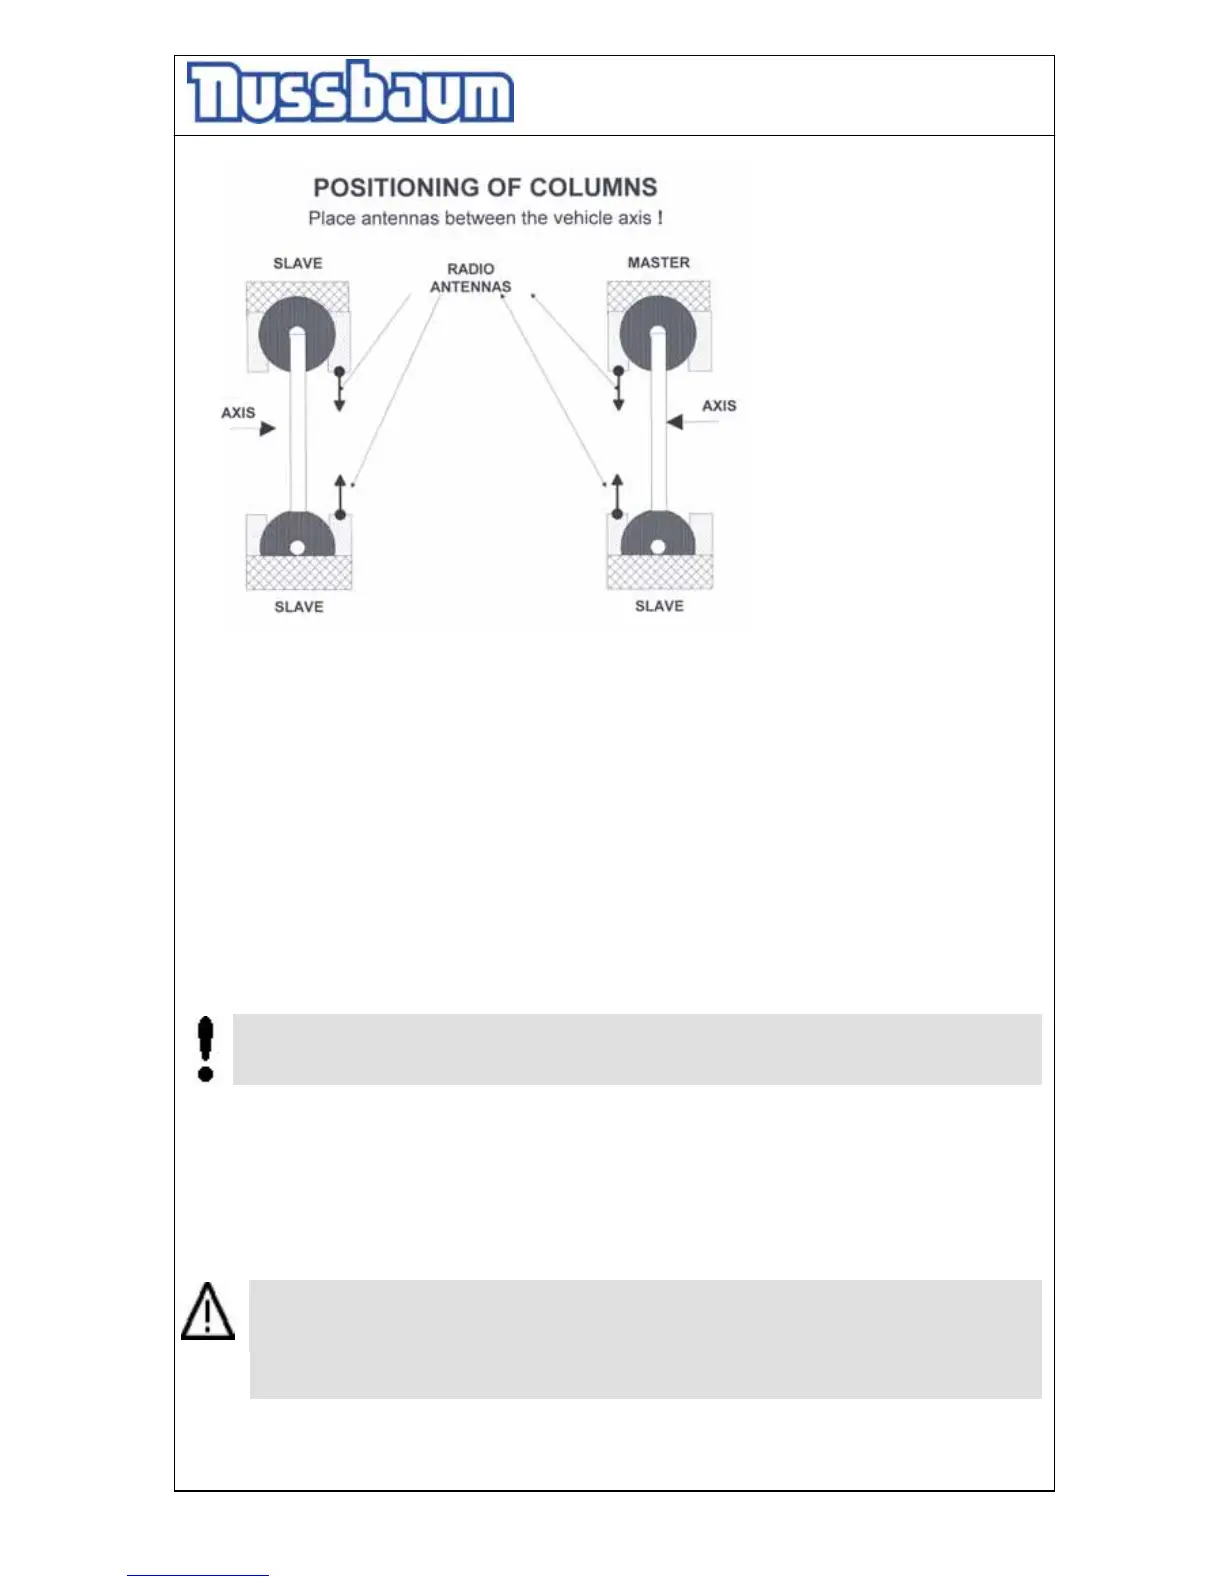
- 13 -
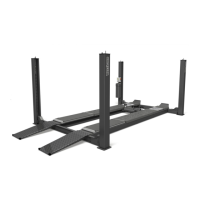
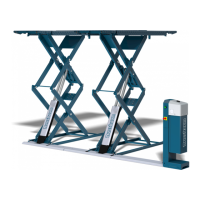
pic.2
5.2 Putting into operation
• Check the emergency stop buttons. All must be unlocked.
• Watch the bars of the battery charge control; the must be minimum at 60%. If not,
recharge battery first. (charger integrated in column, connect 230V, switch)
• If possible, FIRST put the system in operation and then enter the vehicle in vehicles area.
• To put the system in operation, first switch ON the mainswitch of all the 3 SLAVE-
columns. (SEE SLAVE-sticker on column). After switching ON the SLAVE, the display will
show “SLAVE”.
• After it, switch ON the main switch of the MASTER column (SEE MASTER-sticker on
column). The master is searching valid slave columns (about 50s).
• All 3 SLAVE-columns must be found by the MASTER .
In case of radio connection interruption(during operation) => switch SLAVES ON again,
afterwords switch MASTER ON again (see above : putting system in operation). If
connection is established again, operating the lift is possible again.
• Now drive vehicle in vehicles area .
• If all columns are in the lowest position, each display shows „0 mm“. If this is not the case,
press the button 2 “Lowering” (see pic. 4) until the carriage stops automatically. It is
possible, that nevertheless all columns are not yet in the lowest position.
Press the button 4 of the column, where you standing, and lower it in the lowest position.
It is important, that you press the lowering button, until all displays shows “0 mm”.
(Normally not by user : If not, open the electro-box of the concerned column. At the top
on the right side of the controller there are Dip-Switches. All beside the No. 5 are in the
same position. Check the positions of the carriage again, they must be in the lowest
position. Move the Dip-switch 7 two seconds to the left side and then back again. After it,
the display shows “0mm”. If necessary repeat this process at the other controllers.)