Settings on the control panel > 11
S
ETTINGS
ON
THE
CONTROL
PANEL
A
BOUT
THIS
CHAPTER
This chapter introduces the control panel and its functions, and also demonstrates how to
navigate through the control panel menus and submenus that allow you to view and change
the printer settings.
Full details of the menu system are given in the Reference Guide. You can print a menu
map showing all current printer settings by pressing the Info button on the control panel.
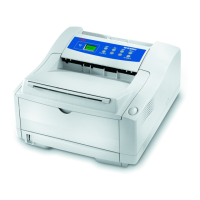
C
ONTROL
PANEL
FEATURES
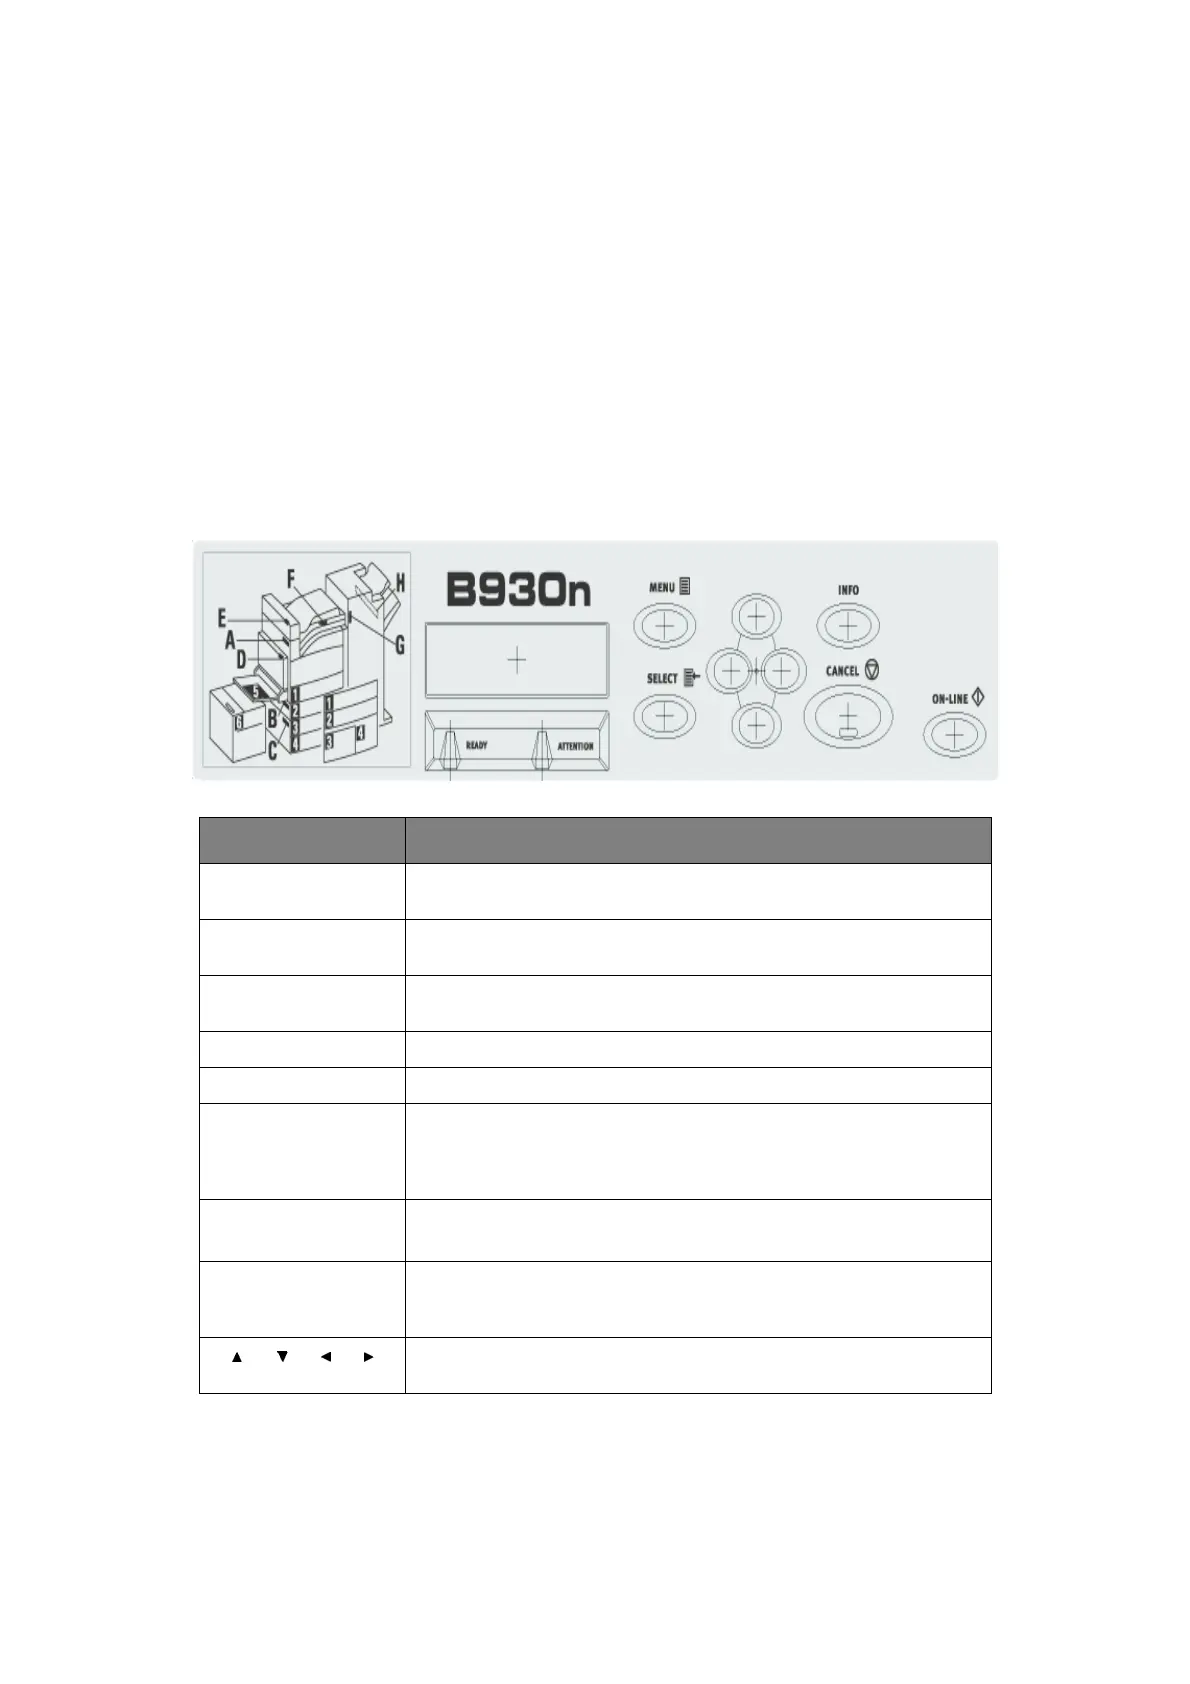
The control panel is located on the front of the printer and contains the display (see “LCD
display” on page 12), indicators and push buttons that allow you to view and change the
printer settings.
NAME DESCRIPTION
<Menu> button Press to move to the menu operation. Once in the menu operation,
repeatedly pressing the menu button moves down the menu list.
<Info> button Press to print the menu map. The menu map (2 pages) will print with
all the current printer settings.
<Ready> indicator When the light is on, the printer is ready to receive data from the
computer.
LCD display Displays the setting items, machine status, and messages.
<Attention> indicator When the light is on, there is a malfunction in the printer.
<On-Line> button/
indicator
When online, press to enter the off-line status. When in the off-line
status, the machine cannot receive data or process printing. Press
again to exit the off-line status and enter the on-line status (where
the machine can receive data from the computer).
<Cancel> button Press to cancel printing.
Press to exit the menu mode.
<Select> button Press to activate the displayed setting. When you are changing the
candidate values, pressing the Select button runs the currently
displayed activity or saves the currently displayed candidate.
<> <> <> <>
buttons
Press these to move to the required menu, item and candidate value
on the display.