Maintenance > 100
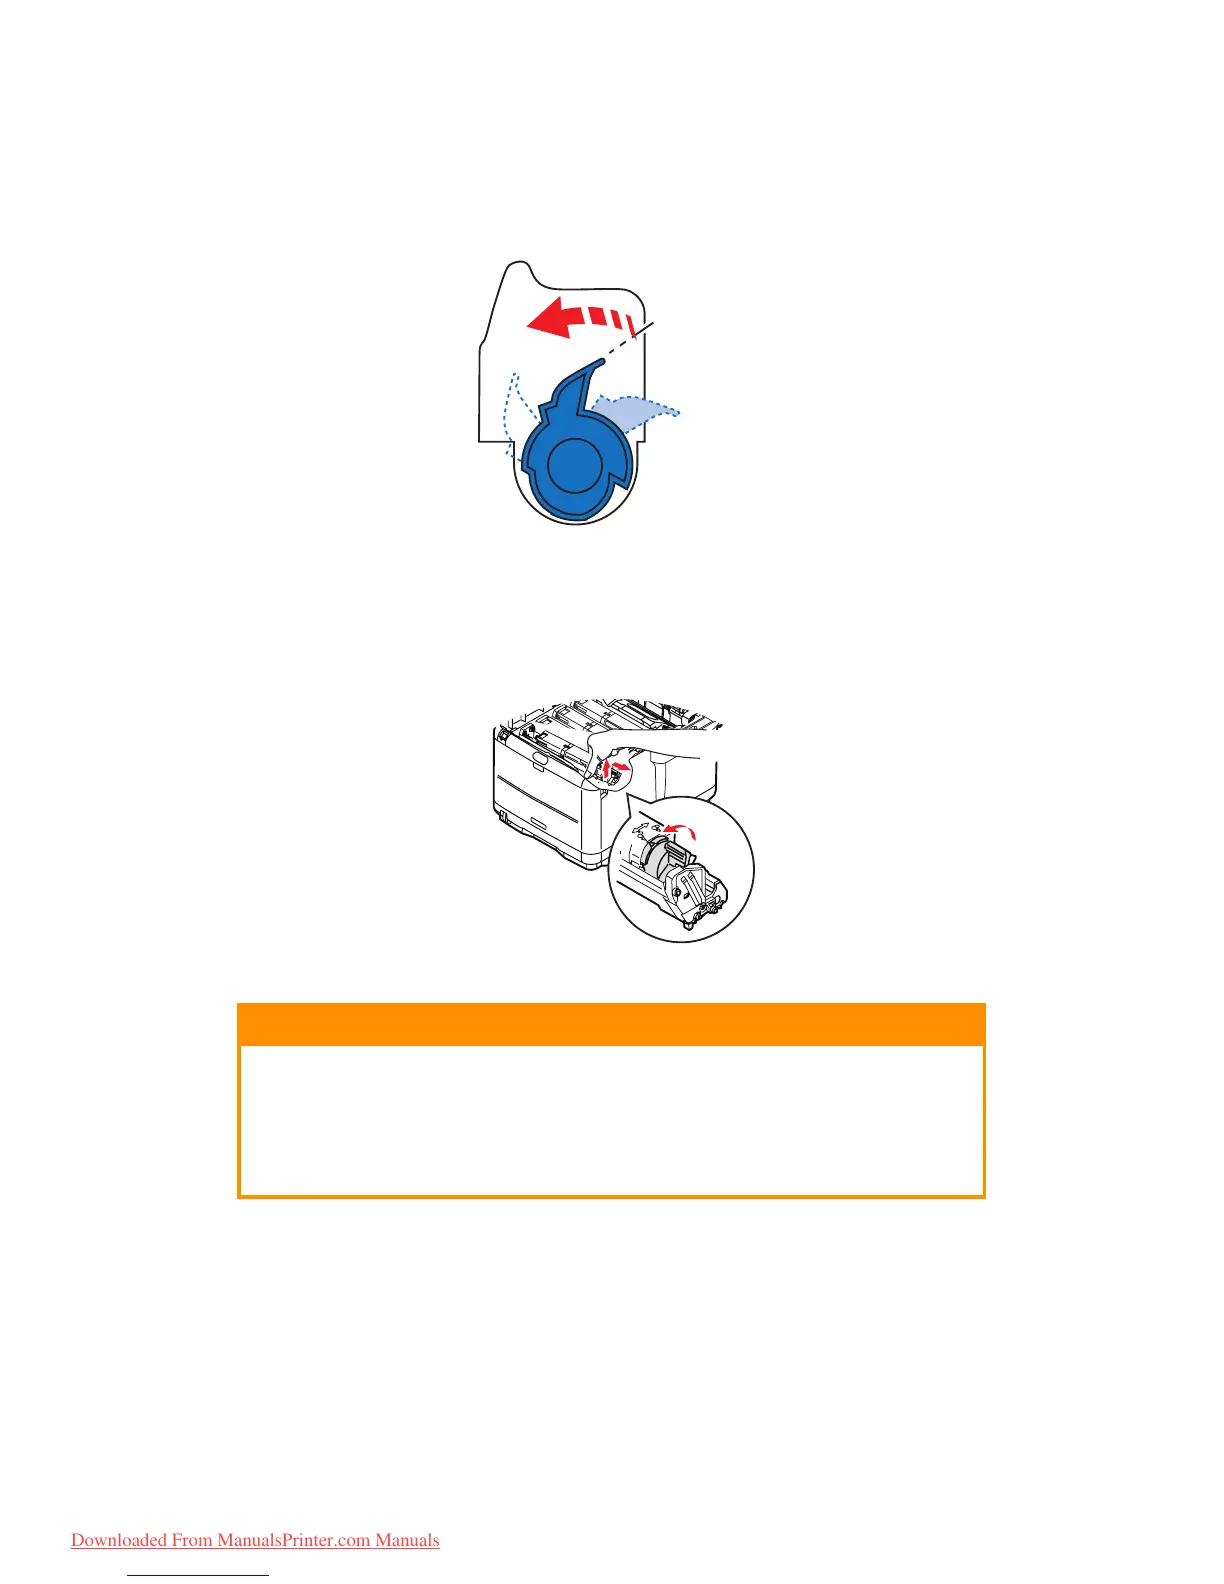
4. Carry out one of the following:
(a) If you are replacing a toner cartridge that has been supplied with your printer
(release lever has 3 positions), pull the coloured toner release lever on the
cartridge to be replaced towards the front of the printer, in the direction of the
arrow, but stop at the central (upright) position.
(b) If you are replacing any other toner cartridge (lever has 2 positions), pull the
coloured toner release lever (1) on the cartridge to be replaced fully towards
the front of the printer.
5. Lift the right-hand end of the cartridge and then draw the cartridge to the right to
release the left-hand end as shown above, and withdraw the toner cartridge from
the printer.
6. Put the cartridge down gently on to a piece of paper to contain any toner spillage.
7. Remove the new cartridge from its box but leave its wrapping material in place for
the moment.
CAUTION!
The green image drum surface is very delicate and light sensitive.
Do not touch it and do not expose it to normal room light for more
than 5 minutes. If the drum unit needs to be out of the printer for
longer than this, please wrap the cartridge inside a black plastic
bag to keep it away from light. Never expose the drum to direct
sunlight or very bright room lighting.
1
Downloaded From ManualsPrinter.com Manuals