Scanning > 63
saved in the specified folder and is ready for the software to send as an
attachment. Complete the data on screen and send.
5. Press the colour or mono Start button.
Pull scan
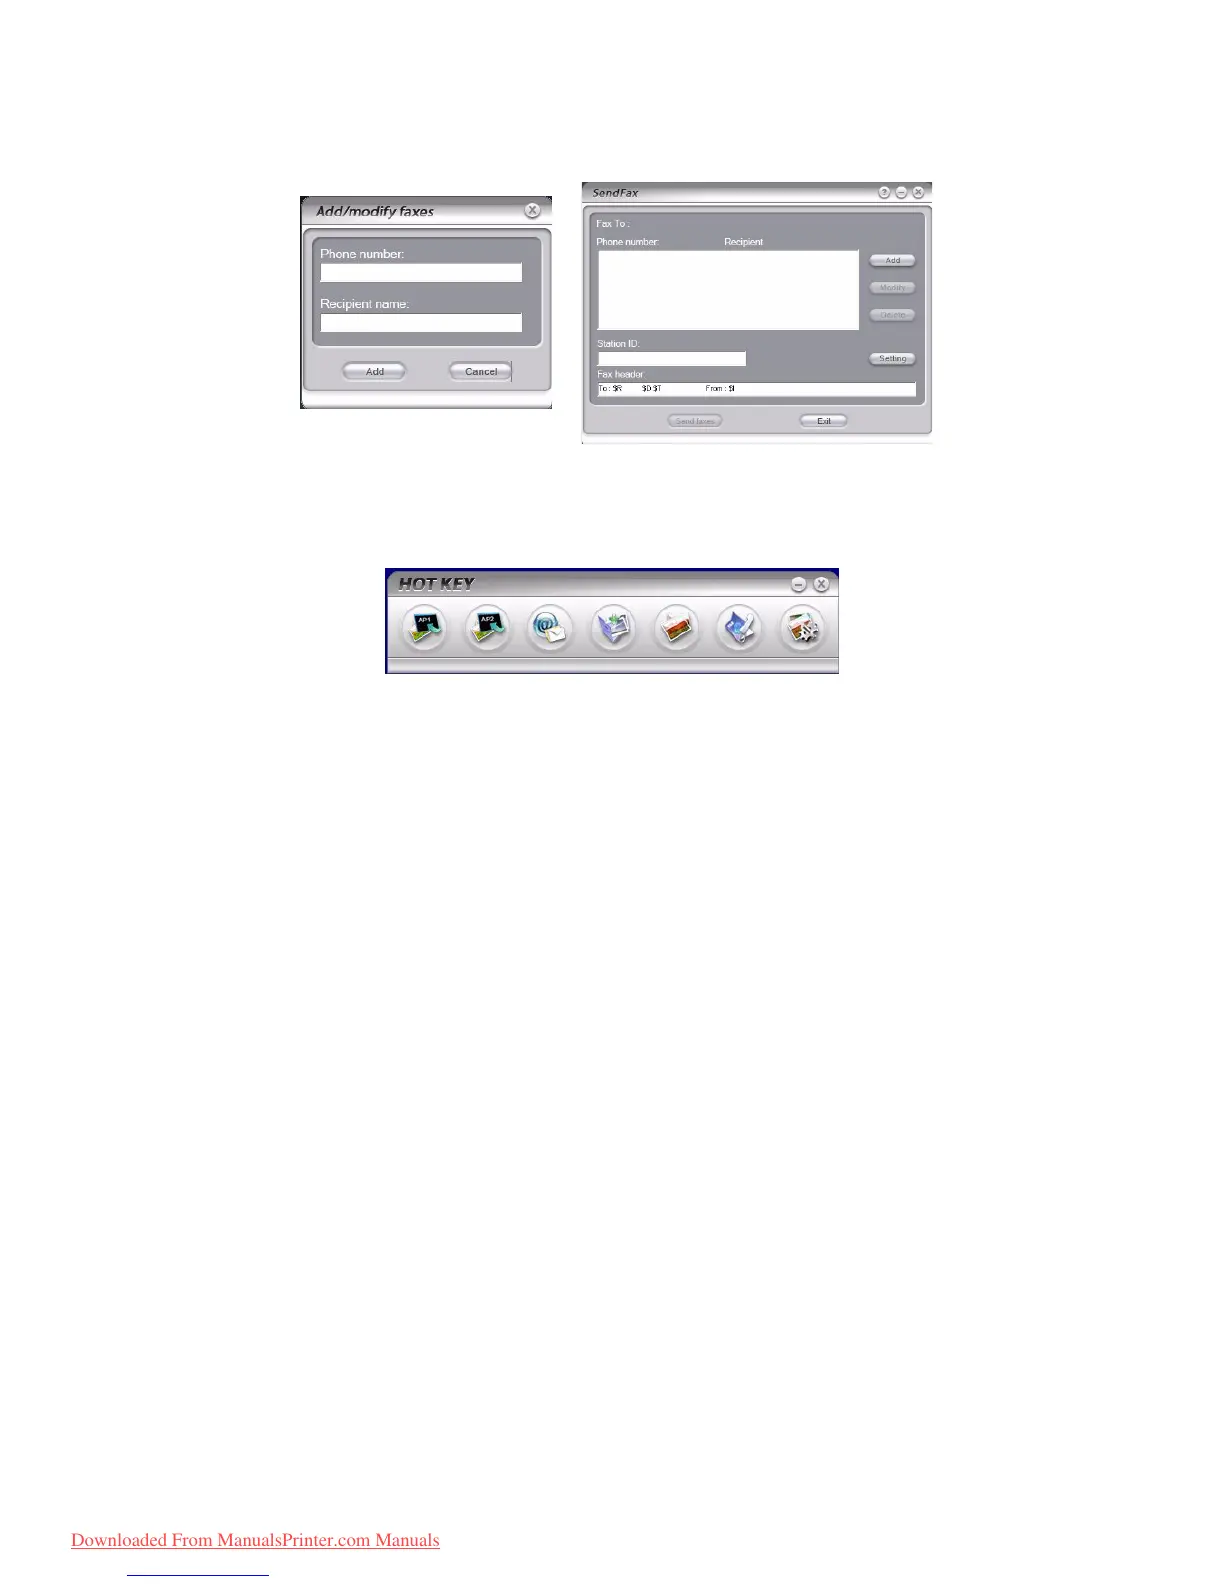
Double click the Hotkey Icon on your desktop. The Hotkey console (below) displays.
The functions below, can now be controlled from the PC:
> Scan to Application1
> Scan to Application2
> Scan to Email
> Scan to Folder
> Scan & Print
> Scan to PCFax
> Settings
As the cursor passes over an icon, the parameters set for that icon appear in a text box
(except, of course, “Settings”). A single click will select that option.
Besides the “Settings” option, there are two others available in Pull Scan - “Scan to
Application2” and “Scan & Print”.
> “Scan to Application2” works exactly the same as scan to Application1, simply
allowing an alternative application to be selected.
> “Scan & Print” allows you to scan to any printer available to your PC, including the
MFP’s printer.
> The “Settings” option allows you to set the parameters for all options.
Downloaded From ManualsPrinter.com Manuals