UNICO EASY S1
32
ENGLISH
EN - 13
2.6 - ELECTRICAL CONNECTION
Theapplianceisttedwithapowercablewithplug.
Before connecting the air conditioner ensure that:
• Thevoltageandpowerfrequencyvaluesmatchthosespeciedonthe
appliance plate data.
• Thepowerlineisequippedwithaneffectiveearthconnectionandis
correctly sized for maximum power consumption of the air conditioner.
• The appliance’s power network must be equipped with a suitable
omnipolar disconnection device compliant with national installation
regulations.
• Theapplianceispoweredsolelythroughasocketcompatiblewiththeplugprovided.
CAUTION
AnyreplacementofthepowercablemustbecarriedoutsolelybyOlimpiaSplen-
didtechnicalsupportorbysimilarlyqualiedpersonnel.
2.7 - POSITIONING OF THE APPLIANCE ON THE BRACKET
a. Beforefasteningthemachinetothexingbracket,applythethreesuppliedsealstothebackrest(g.
6).
b. Checkthatthewallxingbracket(1)hasbeenpositionedcorrectlyandfastentheairconditioner.Slightly
lift it holding by the sides of the lower base and position it against the wall.
Checkthattheairconditionerhashookedtothebracket(1)andputitontheoor(g.12).
Paytheutmostattentionsincethebracket(1)mustnotbeartheweightoftheairconditioner,itonly
hastopreventpossibleaccidentalmovementswhichmayhinderitscorrectaligningwiththeholes
onthewall.Adjusttheheightoftheairconditionerusingtheadjustablefeet(30)itisequippedwith
ifnecessary.
c. At the end of the work, carefully check that no cracks remained behind the backrest of the appliance
(the insulating seal must adhere to the wall well), especially in the area of the air inlet and outlet ducts.
d. Once the air conditioner has been successfully installed, place the two aesthetic covers (10) snapping
themonthelowerfeet(30)(g.13).
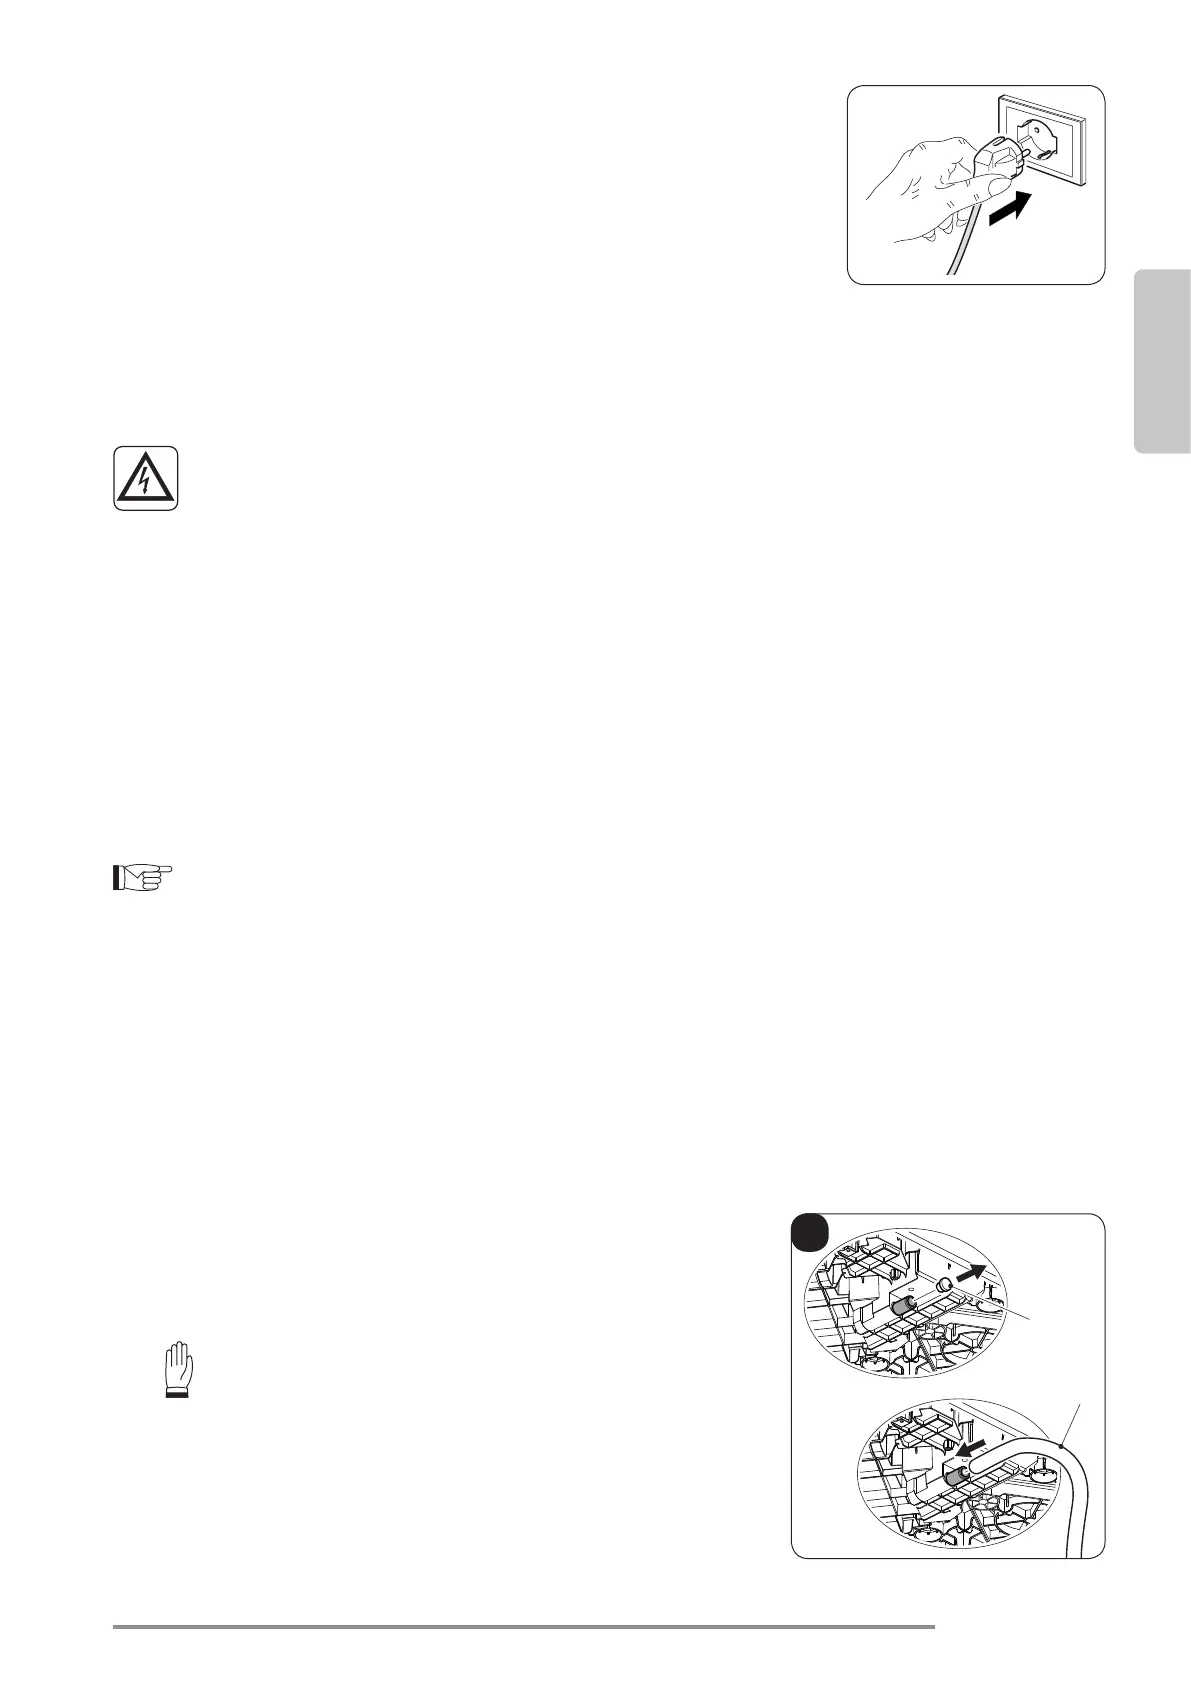
2.8 - DRAINAGE
Forthecorrectuseoftheappliance,workasfollows(gure32):
a. Remove the cap (26).
b. Insert the supplied pipe (9) in the connector.
Make sure the end of the discharge pipe (9) is positioned
on a drain well or in a container.
Make sure the pipe (9) is not clogged.

 Loading...