Fig. 14
Fig. 15
Fig. 16
Fig. 17
Using Built-In Filters (Figs. 14 & 15)
Use the filter knobs to engage or disengage the corresponding filters into
or from the light path.
Filter Type/Purpose
1
ND6 (Neutral Density filter for light adjustment, transmittance 6%)
2
ND25 (Neutral Density filter for light adjustment, transmittance
25%)
3
LBD (for color balancing, daylight filter)
Assuming that you face the microscope from the front panel, push in a
filter knob on the right or pull out a filter knob on the left to engage the
corresponding filter in the light path. The filter can be disengaged from
the light path by reversing the above.
} When pushing in a filter knob, push it all the way to ensure engagement
of the corresponding filter. If the filter is engaged incompletely, optimum
observation may be impossible.
Mounting a Single Filter (Fig. 16)
A filter with a diameter of 45 mm 5 can be placed on the filter mount on
the base. If you need to place multiple filters, please purchase the U-FC
filter cassette.
Even when a filter cassette is used, a filter with thickness of no
more than 3 mm can still be placed on the filter mount.
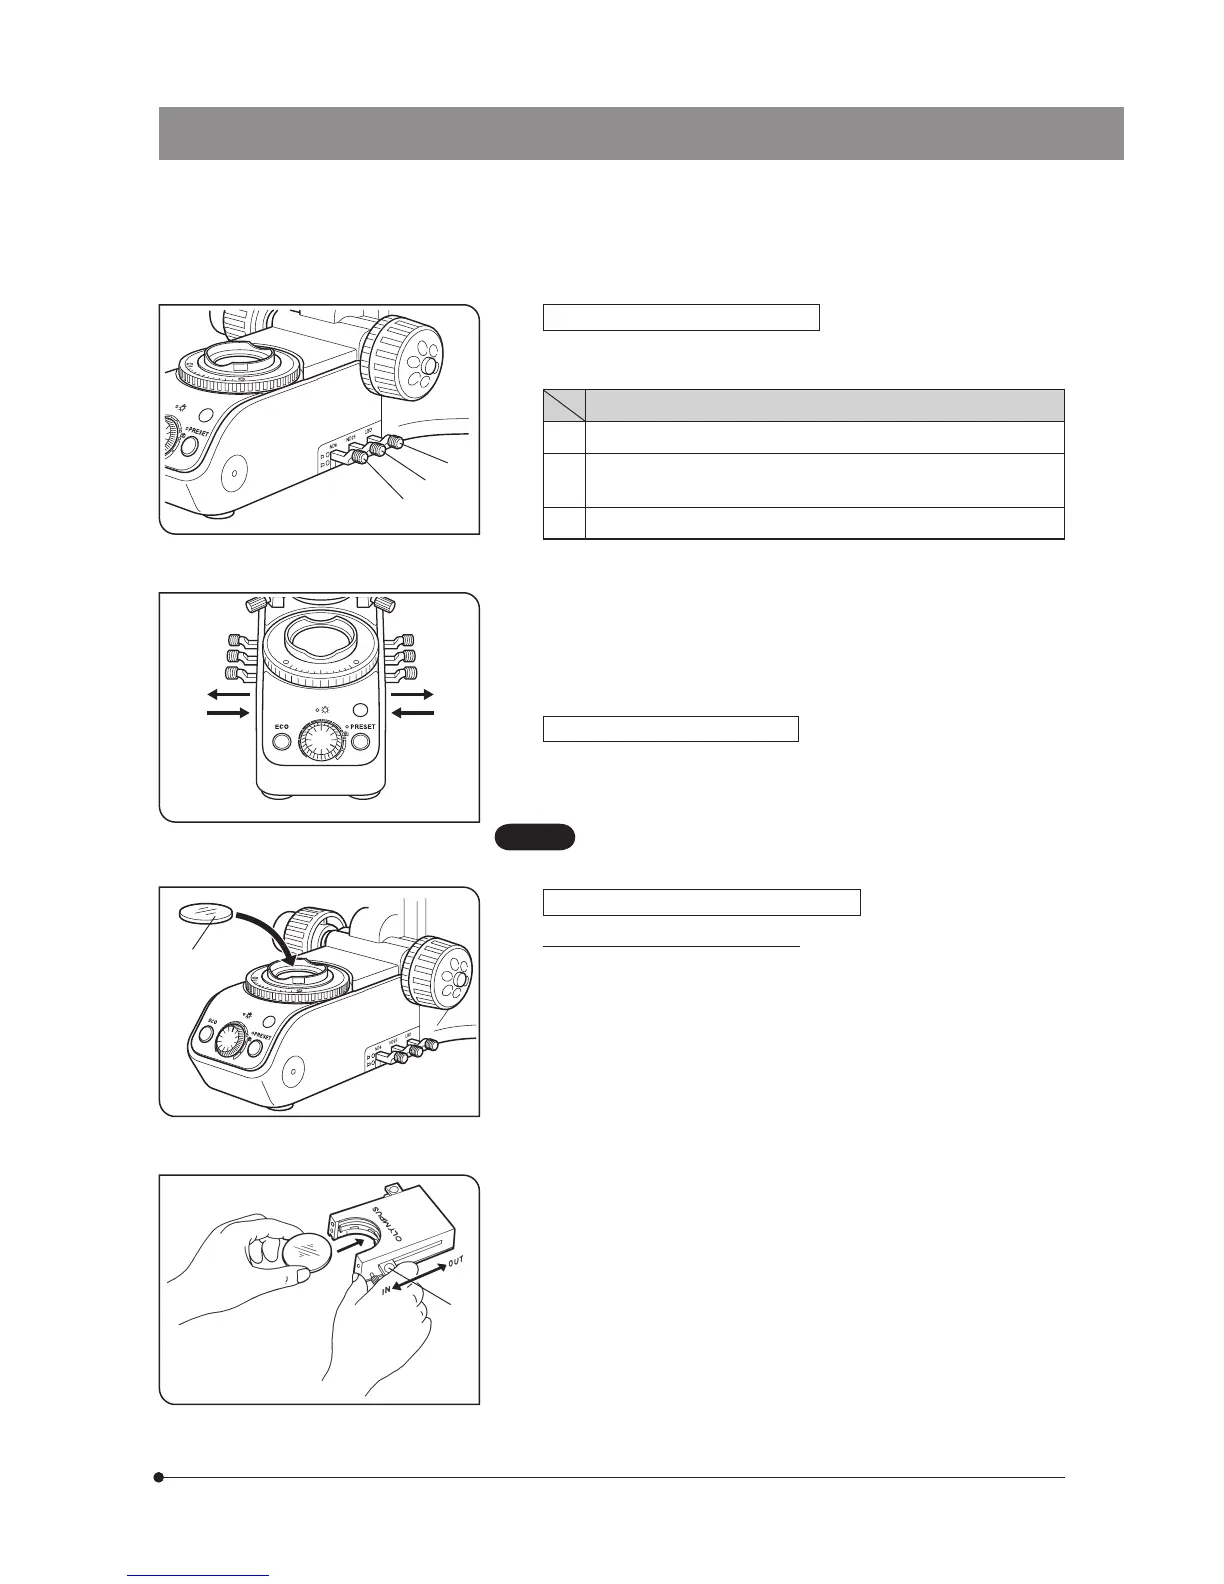
Using the Filter Cassette (Figs. 17 to 20)
Loading Filters into Filter Cassette
} The filter cassette accommodates filters with a diameter of 45 mm and
thickness of 2.7 mm or less.
} The filter cassette has two filter levels on the right side and one on the
left side.
} When the filter cassette is used, the ECO mode cannot be used because
the human sensor is hidden by the filter cassette.
1. Move all filter levers to the OUT position except for the one belonging to
the slot into which the filter is to be inserted.
2. Slide the lever 6 to the IN position. Make sure that it clicks securely into
place. (Fig. 17)
3. Holding the lever in the position shown in Fig. 17, put the filter into the
cassette by inserting it in the direction indicated by the arrow.
4. Insert the other two filters in the same manner.
6
5
1
2
3