Disassembly and Reassembly ProcedureCLV-180
4-9
ISSUE1
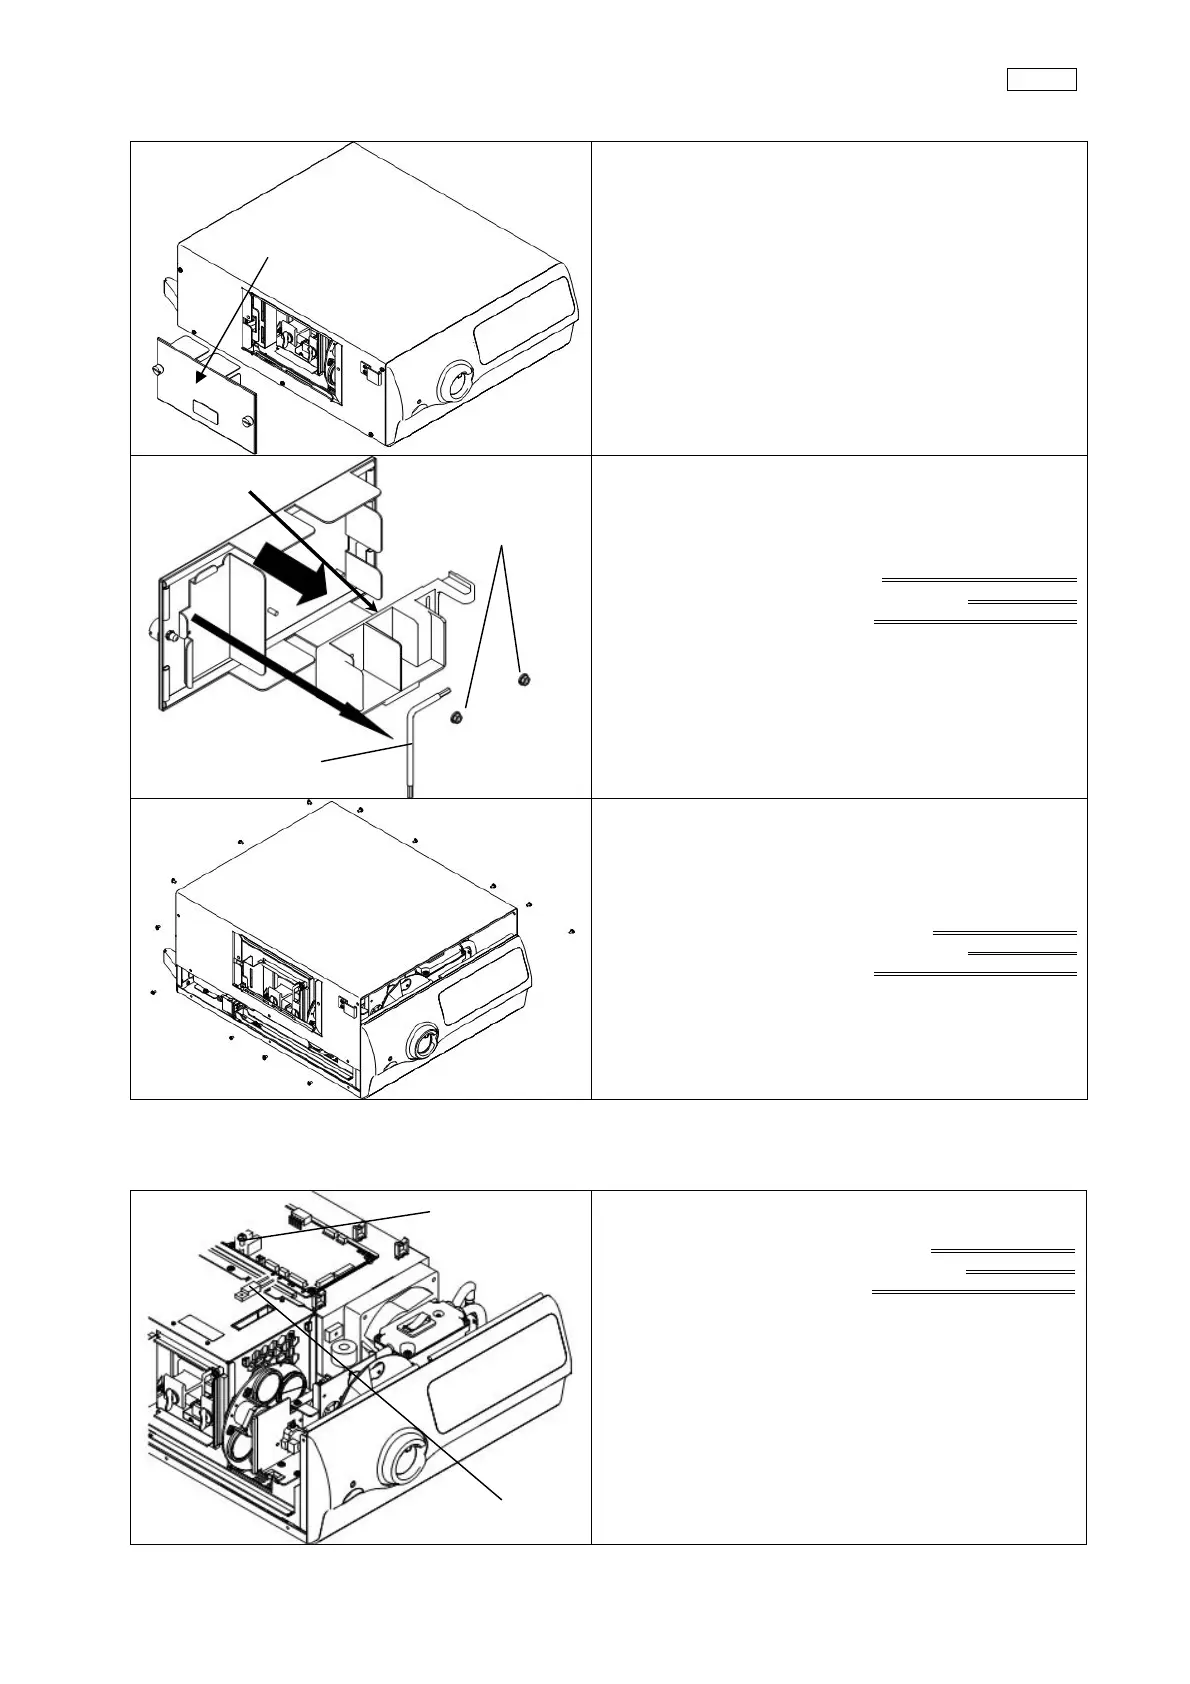
3-1 First step
(1) Loosen the knot and take off 260EU
(2) Take off WRENCH
(3) Take off 2 NUTS (C6N3SZx2) and SWITCH BLOCK
BOX bit(size 5.5 mm)
Torque driver
Tightening torque 0.6 Nm
(4) Take off 13 SCREWS (HCBK3x6SAx10: 10 on the
right and left side、3 on the back) and TOP COVER
→3-2 Area A
→3-3 Area B
→3-4 Area C
Phillips bit (No.2)
Torque driver
Tightening torque 0.6 Nm
3-2 Area A
(1) Take off 1 SCREW (CUKSK3X6SZ) and THERMO
SWITCH
Phillips bit (No.2)
Torque driver
Tightening torque 0.6 Nm
260EU
WRENCH
C6N3SZ
SWITCH
BLOCK
TOP COVER
CUKSK3X6SZ
THERMO SWITCH