13
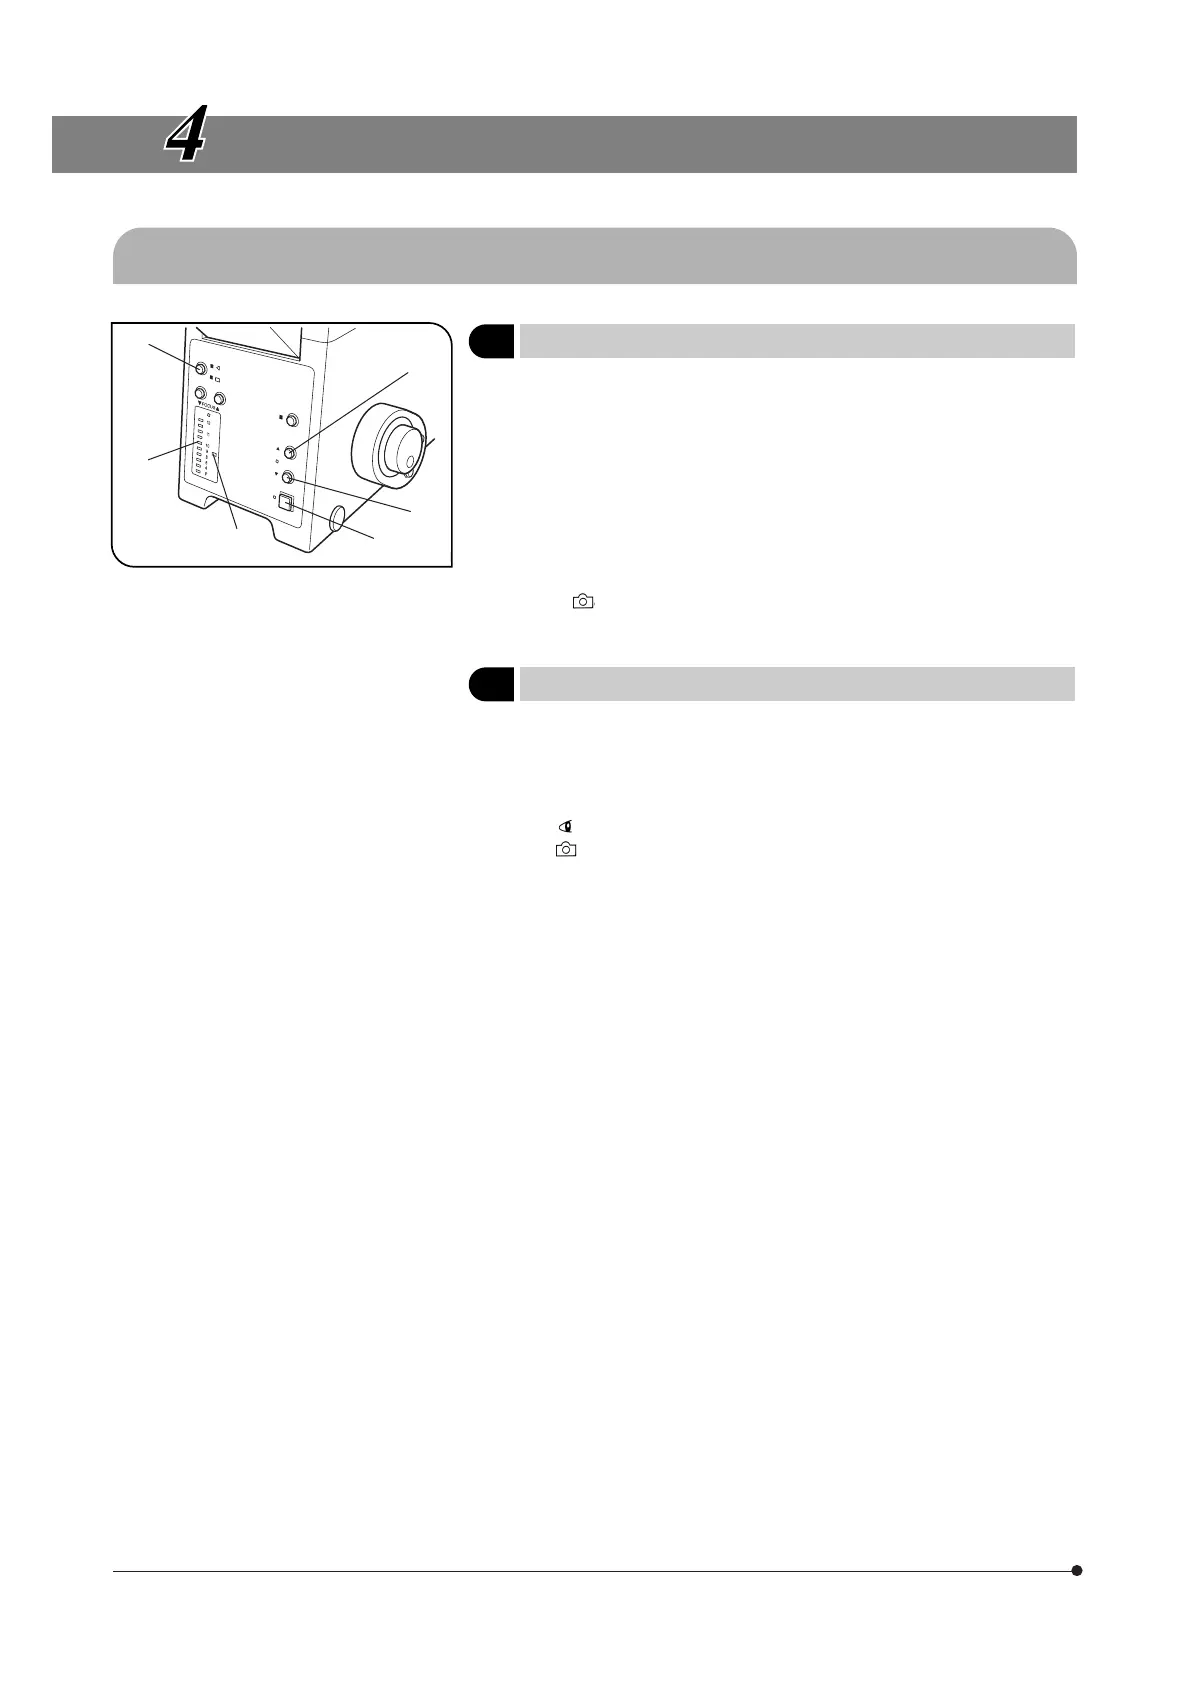
Fig. 4
USING THE CONTROLS
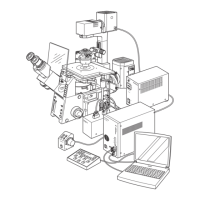
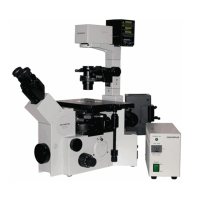
4-1 Microscope Frame
1
Voltage Indication
(Fig. 4)
}Set the main switch of the IX2-UCB control box to “ I ” (ON), then press the
transmitted light ON-OFF button 1 to ON.
1. Press the light intensity control button 2 to increase the voltage and
make illumination brighter.
Pressing the button 3 makes the illumination darker.
2. The numerals to the right of the lamp voltage indicator LEDs 4 indicate
the reference values of the voltages.
#The LEDs may turn off (temporarily) when the motor is driven, but the
illumination intensity does not vary even if this occurs.
3. The marking 5 is the reference position indicating 9 V, which is the
suitable intensity for color photography (using LBD filter).
2
Light Path Selection
(Fig. 4)
}The light path selector button 6 allows for light path switching between
the observation and side port paths.
The selected light path can be confirmed with the LED on the side of the
button.
: Observation 100% light path.
: Side port 100% light path (with the IX81S1F-2 microscope frame)
Side port light path 80%/Observation 20% light path
(with the IX81S8F-2)
}The light path to the lower back port can also be set by the manufacturer’s
part replacement operation. (IX2-LBPC)
1
2
3
4
5
6