U-UCD8
30
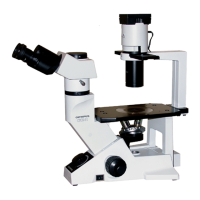
When the mounting position is 5, 6 or 7:
}The DIC prism should be clamped with the clamping knob,
which is accommodated in the left side panel of the con-
denser, in place of the built-in optical element centering screw.
1. Using the clamping knob ² loosen the clamping screw at
the mounting position.
2. Drop in the DIC prism by aligning its positioning pin with the
slot, then tighten the screw using the clamping knob. Then
attach the index plate.
When all of the required optical elements have been mounted,
place the turret cover in the original position.
4 Mounting the DIC Prism
(Figs. 10 & 11)
}The mounting method is variable between the mounting po-
sitions with centering mechanism (1, 3, 4, 8) and those without
centering mechanism (5, 6, 7).
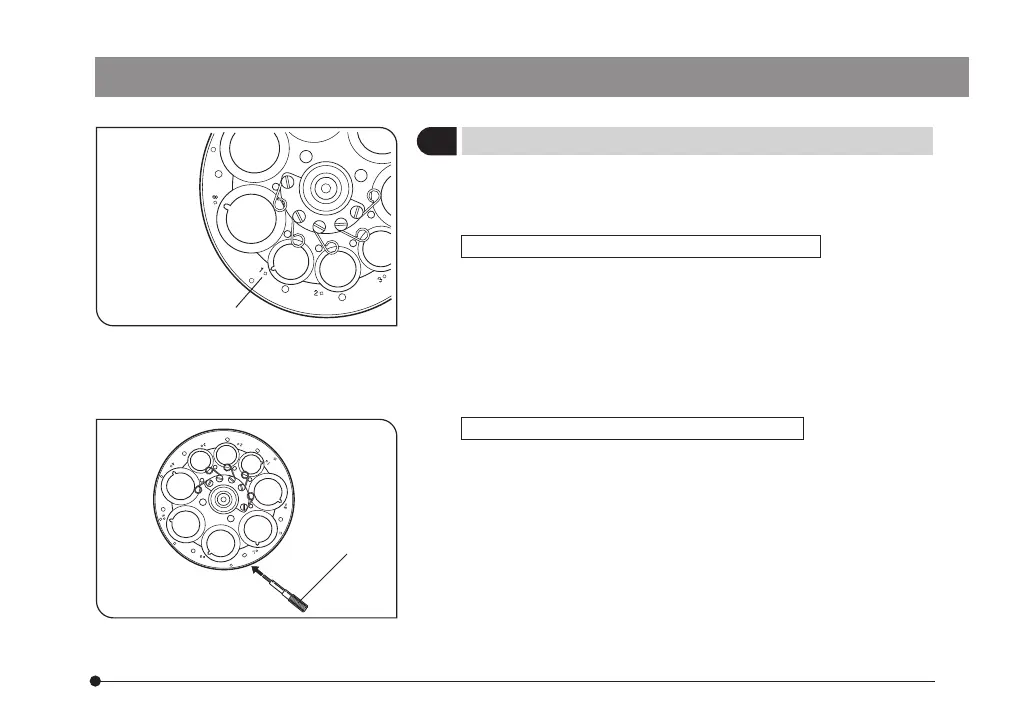
When the mounting position is 1, 3, 4 or 8:
The DIC prism can be mounted in the same way as a phase
contrast ring. However, since a DIC prism is equipped with a
positioning pin, it is required to align the index on the DIC
prism with the positioning index @ on the turret for mounting.
After mounting, attach the index plate.
#Take care not to touch the prism inside the frame during
mounting.
Fig. 10
Fig. 11
@
²
ax7353_inst.pmd 20.04.2005, 12:2730