33
8
1
2
3
6
5
4
7
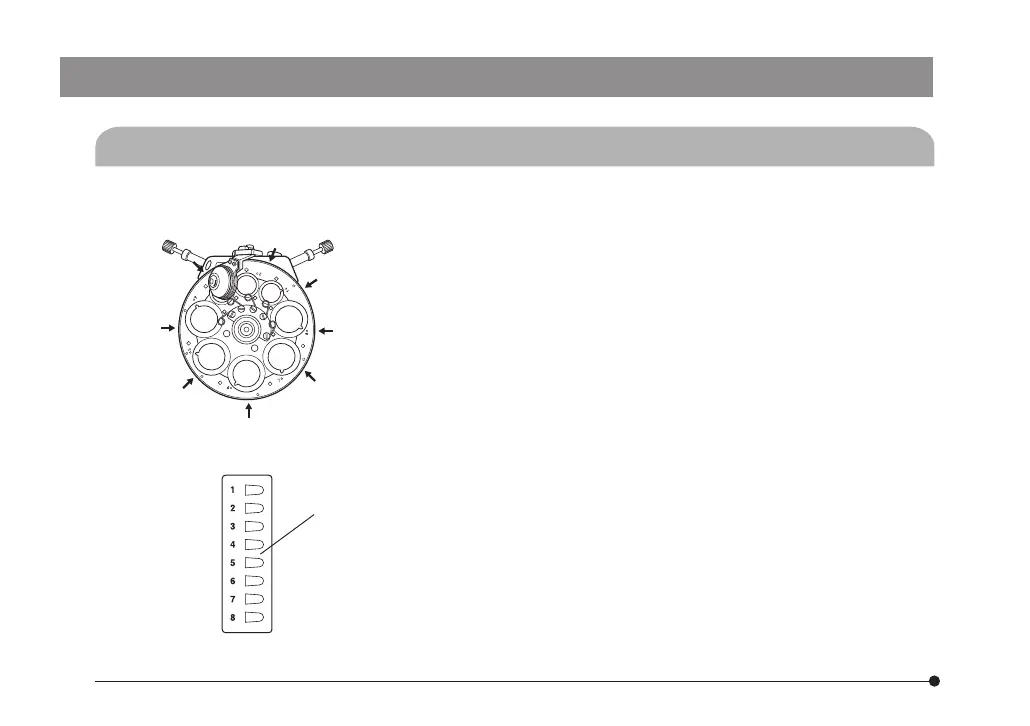
Fig. 14
5-5 Indication Using Number Stickers
(Figs. 14 & 15)
#To improve the adhesive strength of the number sticker attaching grooves, remove stain and oil
using the ether-alcohol mixture.
1. Fig. 14 shows the relationship between the number sticker
attaching grooves (1 to 8) and the turret.
Attach the number stickers to the designated grooves.
(Note 1) When the condenser is used with an IX/IX2 series
microscope, the condenser is attached upside down.
In consequence, the number stickers should also
be attached upside down.
(Note 2) When the condenser is used with the BX51WI,
attach the number stickers to as low positions as
possible of the turret.
2. Mount the optical elements as described in section 5-2 (pages
22 to 27).
The optical element indication plates should be attached
on the indication plate sheet @. (by means of magnetic
adsorption).
}Check the relationship between the optical element in the
light path and the number indicated by the number index
(guideline).
3. The indication plate sheet has double-side adhesive tape on
the backside. Remove the backing and attach the sheet to an
easily visible location.
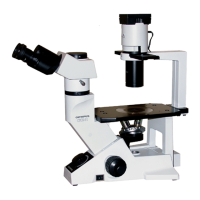
(Examples) IX71/51 : Near the front panel.
BX51WI : Near the product name plate.
Fig. 15
@
ax7353_inst.pmd 20.04.2005, 12:2733