High voltage supply fault. Check the fuses on HV
board.
Low voltage on the grid. Check fuse F9 on HV supply
board.
Check screen power supply
Check fuse F10 on HV supply board and fuse F1 on
the Screen board.
Check cooling system
Set up additional blower
Check the airflow (ventilation grid on the rear panel).
Cooling exhaust must be free from any obstructions.
During extended use set the blower speed to ALWAYS
ON (page 20).
Check HV circuits and Tube
Protection circuit saved HV against overload If high
current from the HV supply caused the HARD FAULT
then protection is activated and the PA is automatically
switched OFF. Check HV circuits, blocking capacitors
and the tube itself.
Set up proper transformer
voltage selector
This error is usually due to improper setting of the
primary voltage on the transformer (page 33). In
normal condition Uh readings should be 9V +/- 0,3V or
27 +/- 1,3V ( depends on tube)
Main blower problem. Check its functionality.
Check mains voltage and set
up nominal mains voltage
Set up proper transformer
voltage selector
This error may be caused by the improper setting
of the nominal value of Um. Check your AC mains
voltage and set it as nominal Um (page 22,23).
Check the primary voltage setting on the
transformer. This fault may also be caused by
“soft” mains, when during transmitting the AC
voltage drops to a very low level.
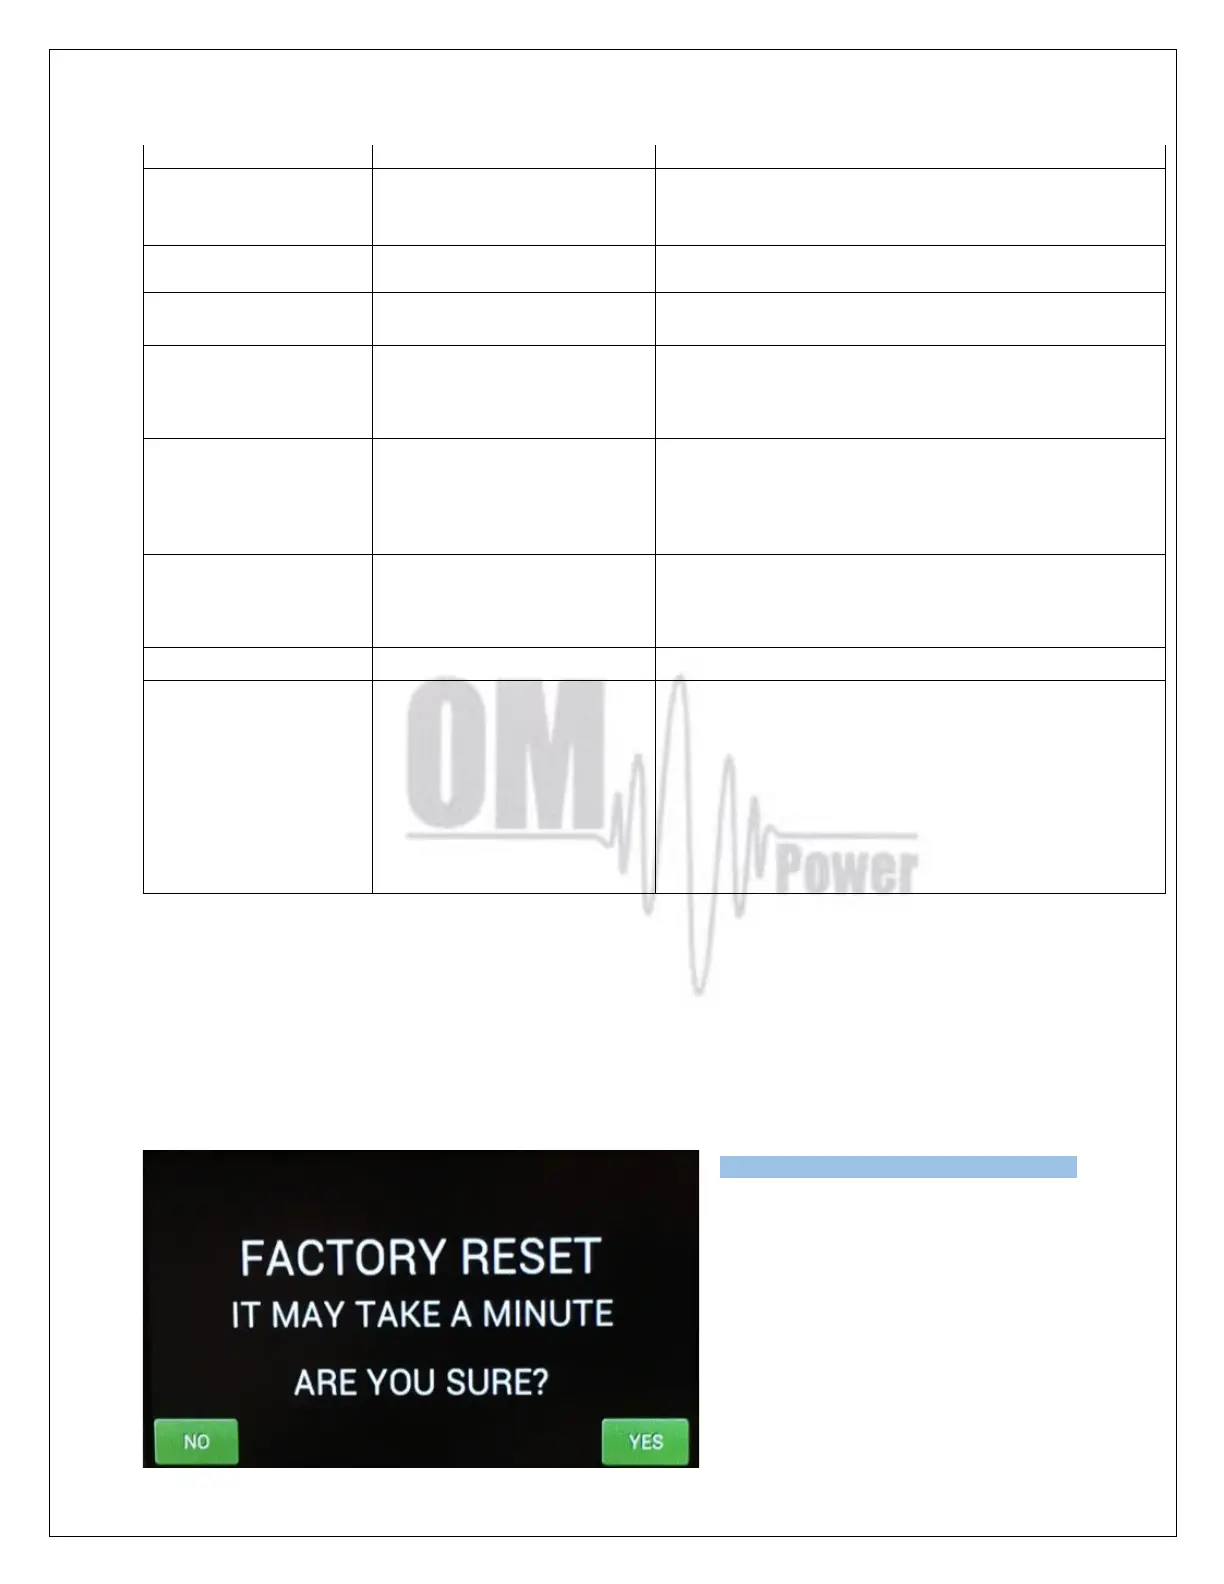
Factory reset:
In the case of very abnormal behavior of the OM2501A it is possible to do a factory reset. This will
reset all the amplifier parameters back to the factory default values.
Press and hold the ON/OFF button and press the green Main power switch for several seconds until
the following display appears.
If you are sure you want a full factory reset,
press YES.
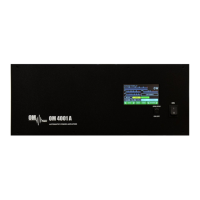
Type of supported TCVR and
working
frequency are visible on the
display.
AUTO LED is ON.