1-12 Electronics Sled
Keyboard Service
OmniRx Service Guide/67-2023 Rev D © 2010 Omnicell, Inc.
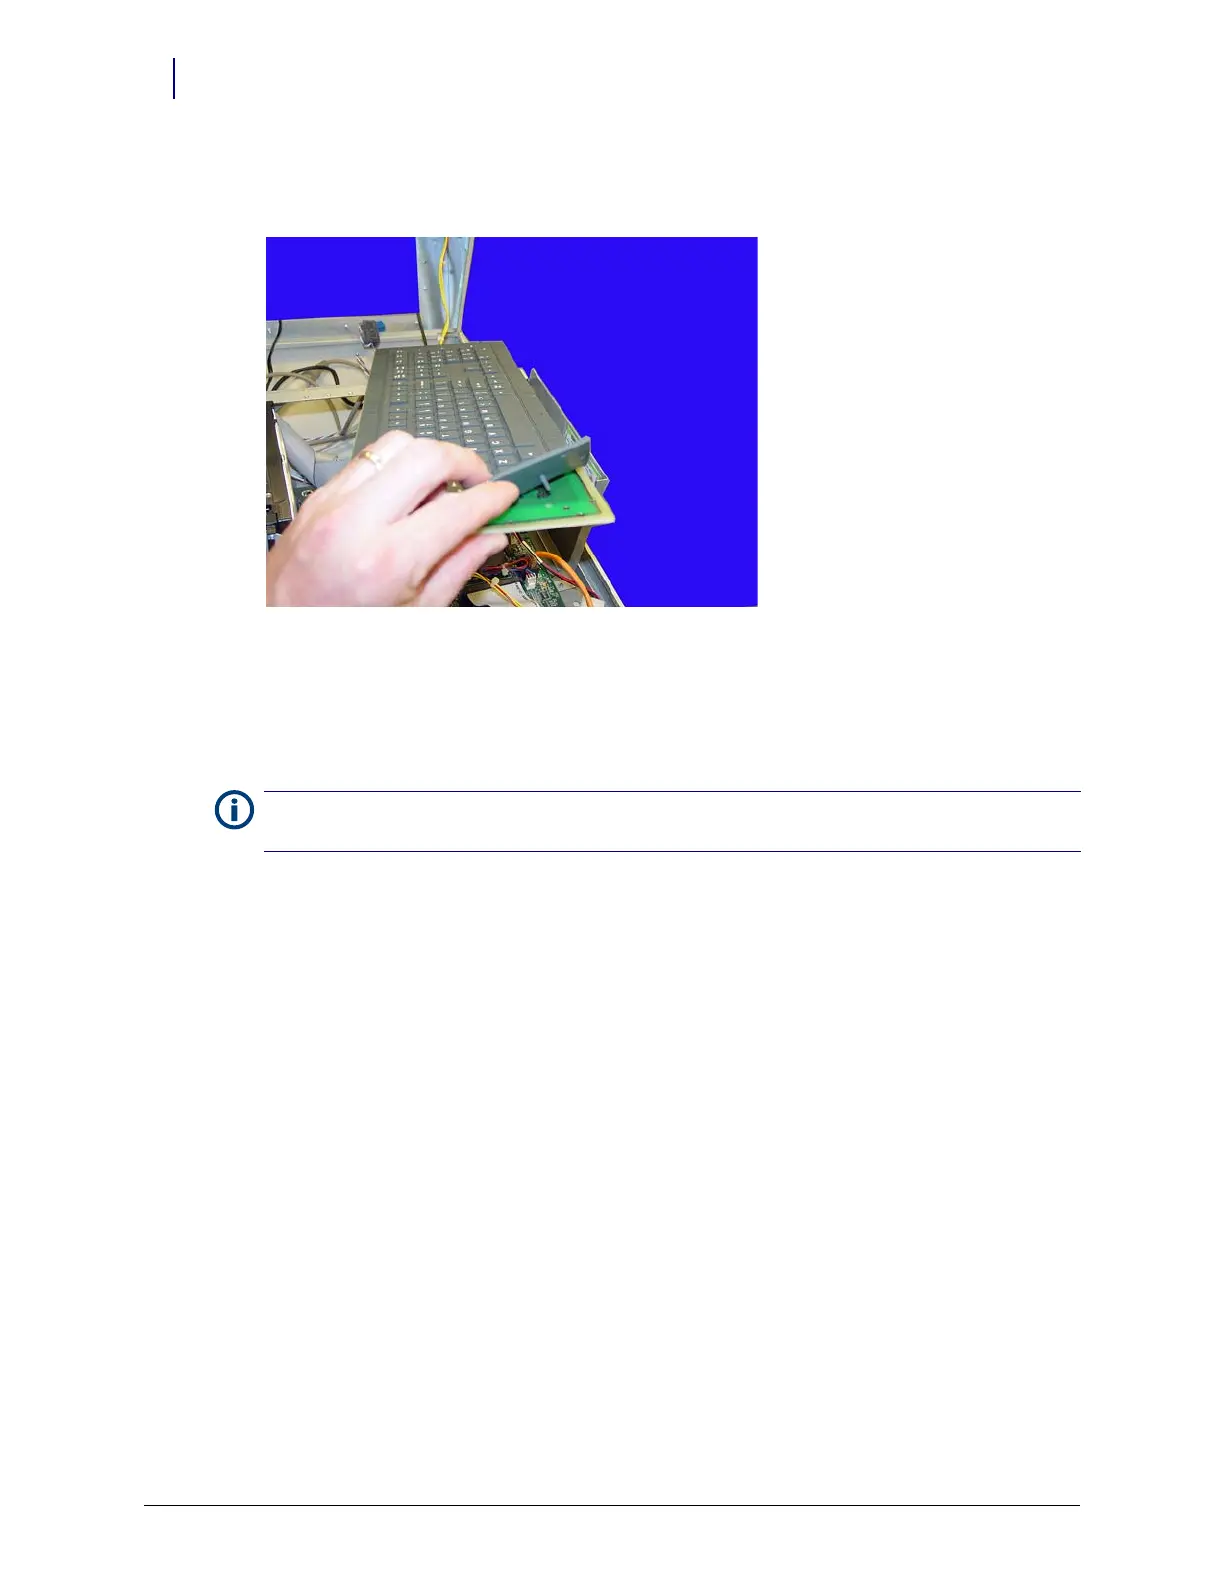
4. Hold the keypad with the elastomer facing up and gently pull the elastomer up and off the
keyboard.
Figure 1-22. Pull the elastomer up and off the keyboard
5. Gently place the new elastomer onto the keyboard and push the rubber tabs through the holes
on the keyboard.
6. Keeping the keypad upright, reach underneath the keyboard and gently pull the tabs until the
elastomer rests snugly on the keyboard.
7. Remove any bubble or ripples in the elastomer and then place the new keypad and elastomer
back into place on the tray.
8. Replace the keyboard cover.
9. Replace the screws that secure the keyboard cover to the tray.
10. Set the console back in place, then prop it up.
11. Re-connect all the cables.
Note:
To prevent ripples in the elastomer, pull the tabs through going left to right, right to left, bottom to top
or top to bottom. Do not pull the tabs through in a random order or in a circular pattern.