© 2010 Omnicell, Inc. OmniRx Service Guide/67-2023 Rev D
1-1
Electronics Sled
This chapter provides detailed instructions to remove specific parts in the electronics sled. To
replace the item, reverse the removal steps with the new part.
The whole console is replaced when changing out the Seiko printer and PS/2 keyboard for the
APS printer and USB keyboard (with separate numeric pad) when spares are used up.
Tools List
The following tools are required to install the electronics tray:
T8 Torx Driver
T10 Torx Driver
T15 Torx Driver
9/64” Allen wrench
Standard adjustable wrench
General Shutdown
Perform shutdown procedures before doing any service.
1. Perform a graceful shutdown of the electronics sled.
2. Unplug the power cable to the OmniRx.
3. Unlock the console with the #2036 key.
4. Lift the console from the rear of the OmniRx, then prop it up.
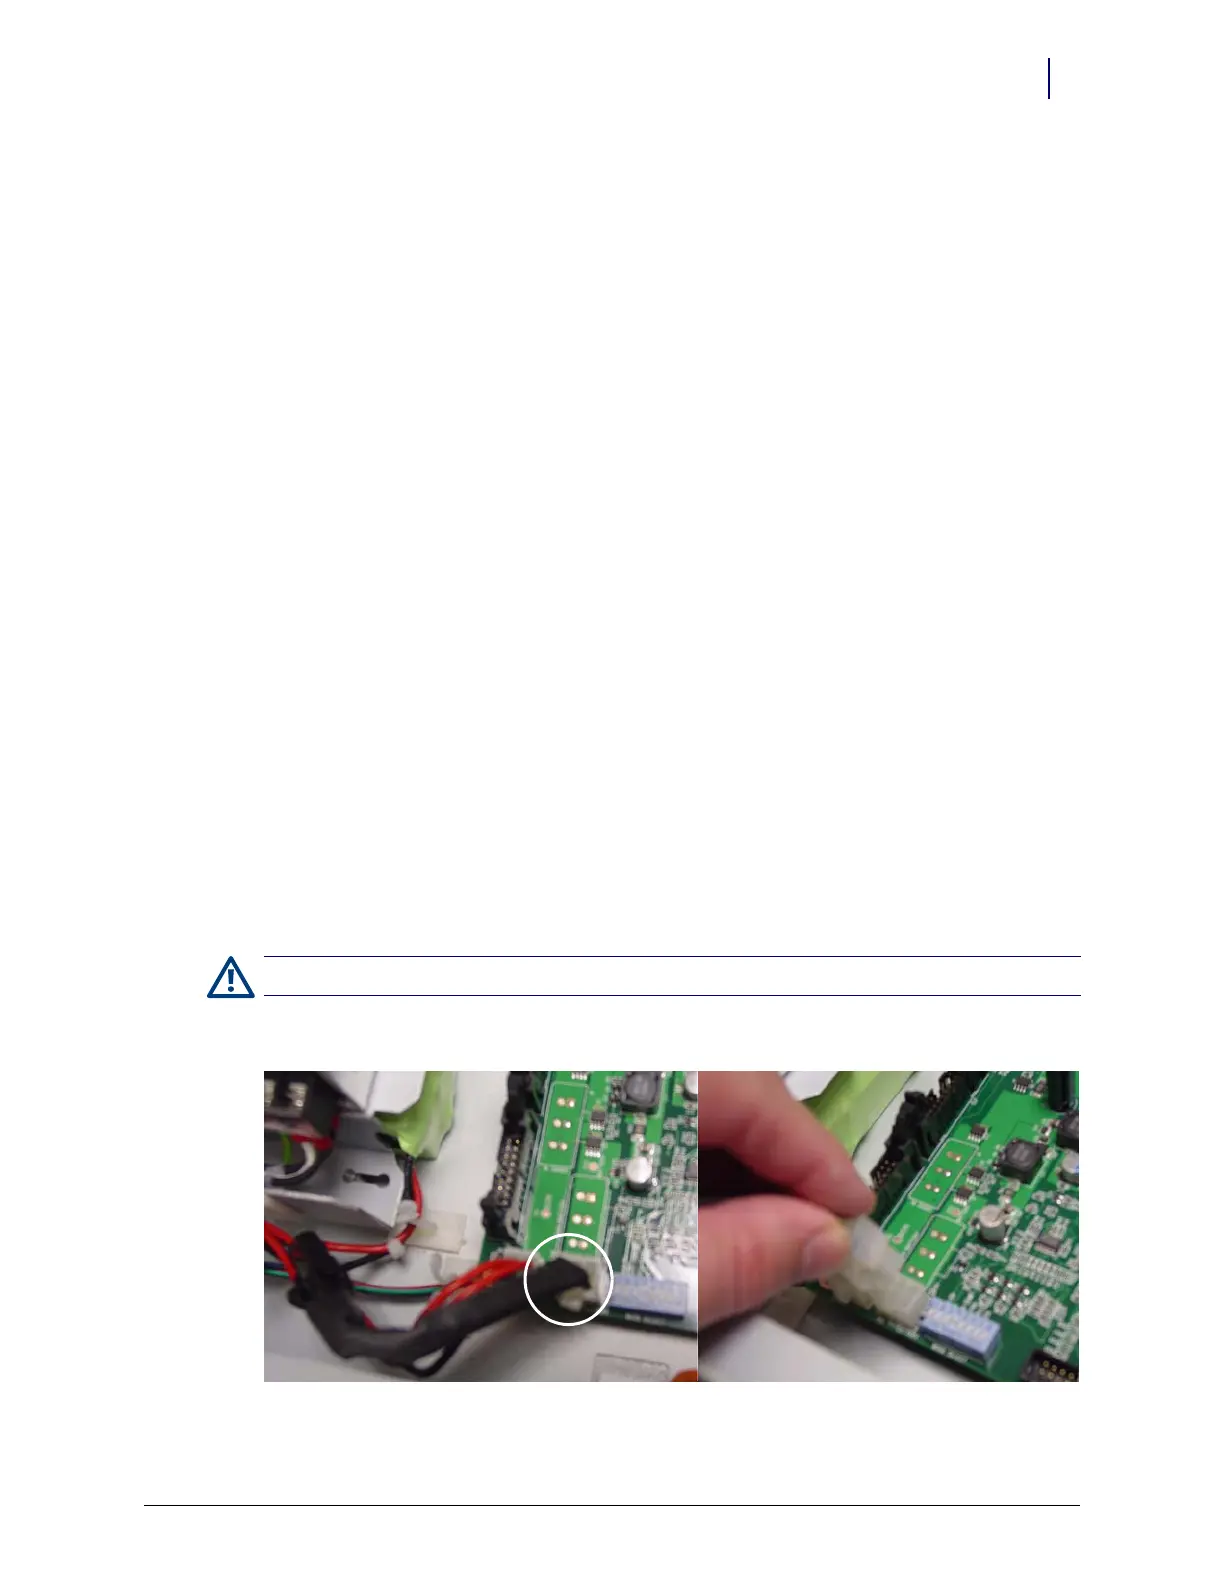
5. Disconnect the black battery cable.
Figure 1-1. Battery cable
Caution: Use an ESD wrist band while working inside the sled.