11
Basic Configuration Section 1-2
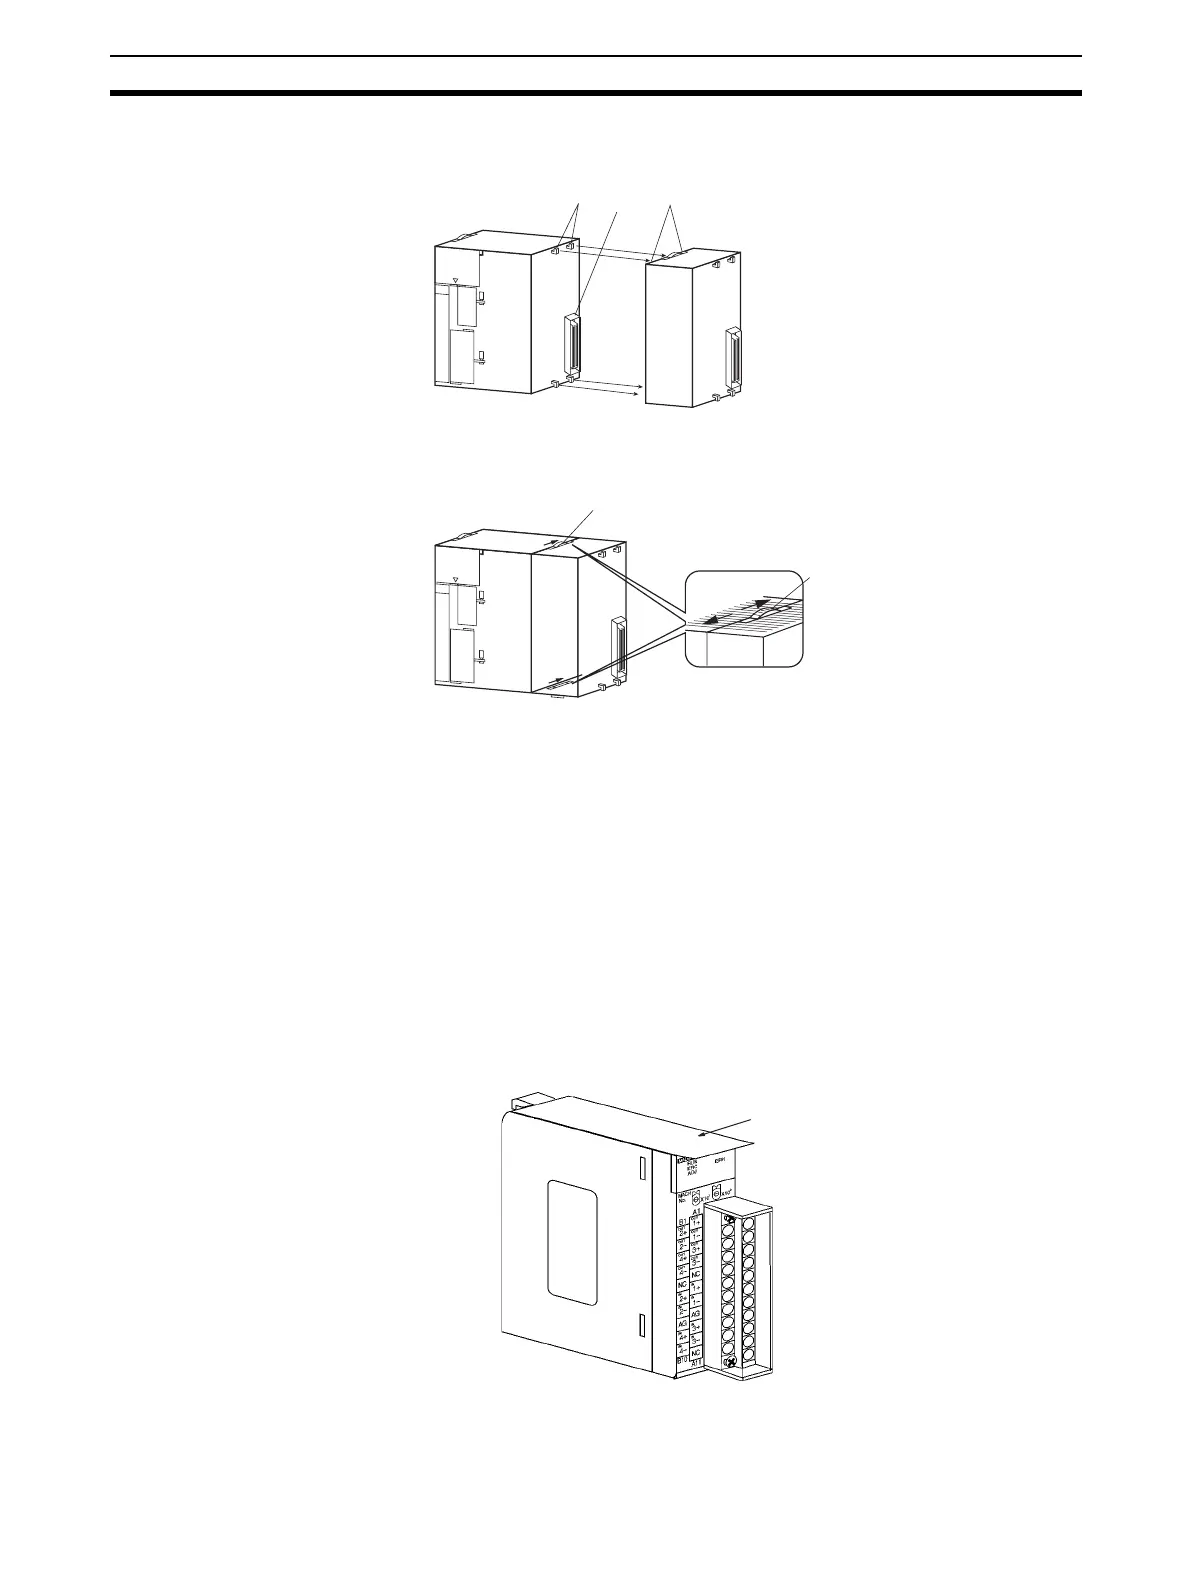
1,2,3... 1. Align the connectors and press in firmly on the Units to connect them com-
pletely.
2. Move the sliders on the top and bottom of the Unit to the lock position to
secure the Units. The sliders should click into place.
3. Attach an End Cover to the Unit on the right end of the Rack.
Note The CJ-series PLC may not operate properly if the sliders are not locked
firmly into place.
1-2-2 Precautions
Be sure to turn OFF the power supply to the PLC before installing or discon-
necting Units or connecting lines.
To reduce the risk of malfunctioning due to electrical noise, wire input and out-
put lines in separate ducts from high-voltage and power lines.
When wiring a Unit, place a label over the top of the Unit to prevent wire clip-
pings or other materials from getting inside the Unit. When the wiring has
been completed, the label must be removed to prevent heat radiation.
CS-series PLCs
Hooks
Hook holes
Connector
Move the sliders to the back
until they click into place.
Slider
Release
Lock
Remove the label after the
wiring has been completed.
 Loading...