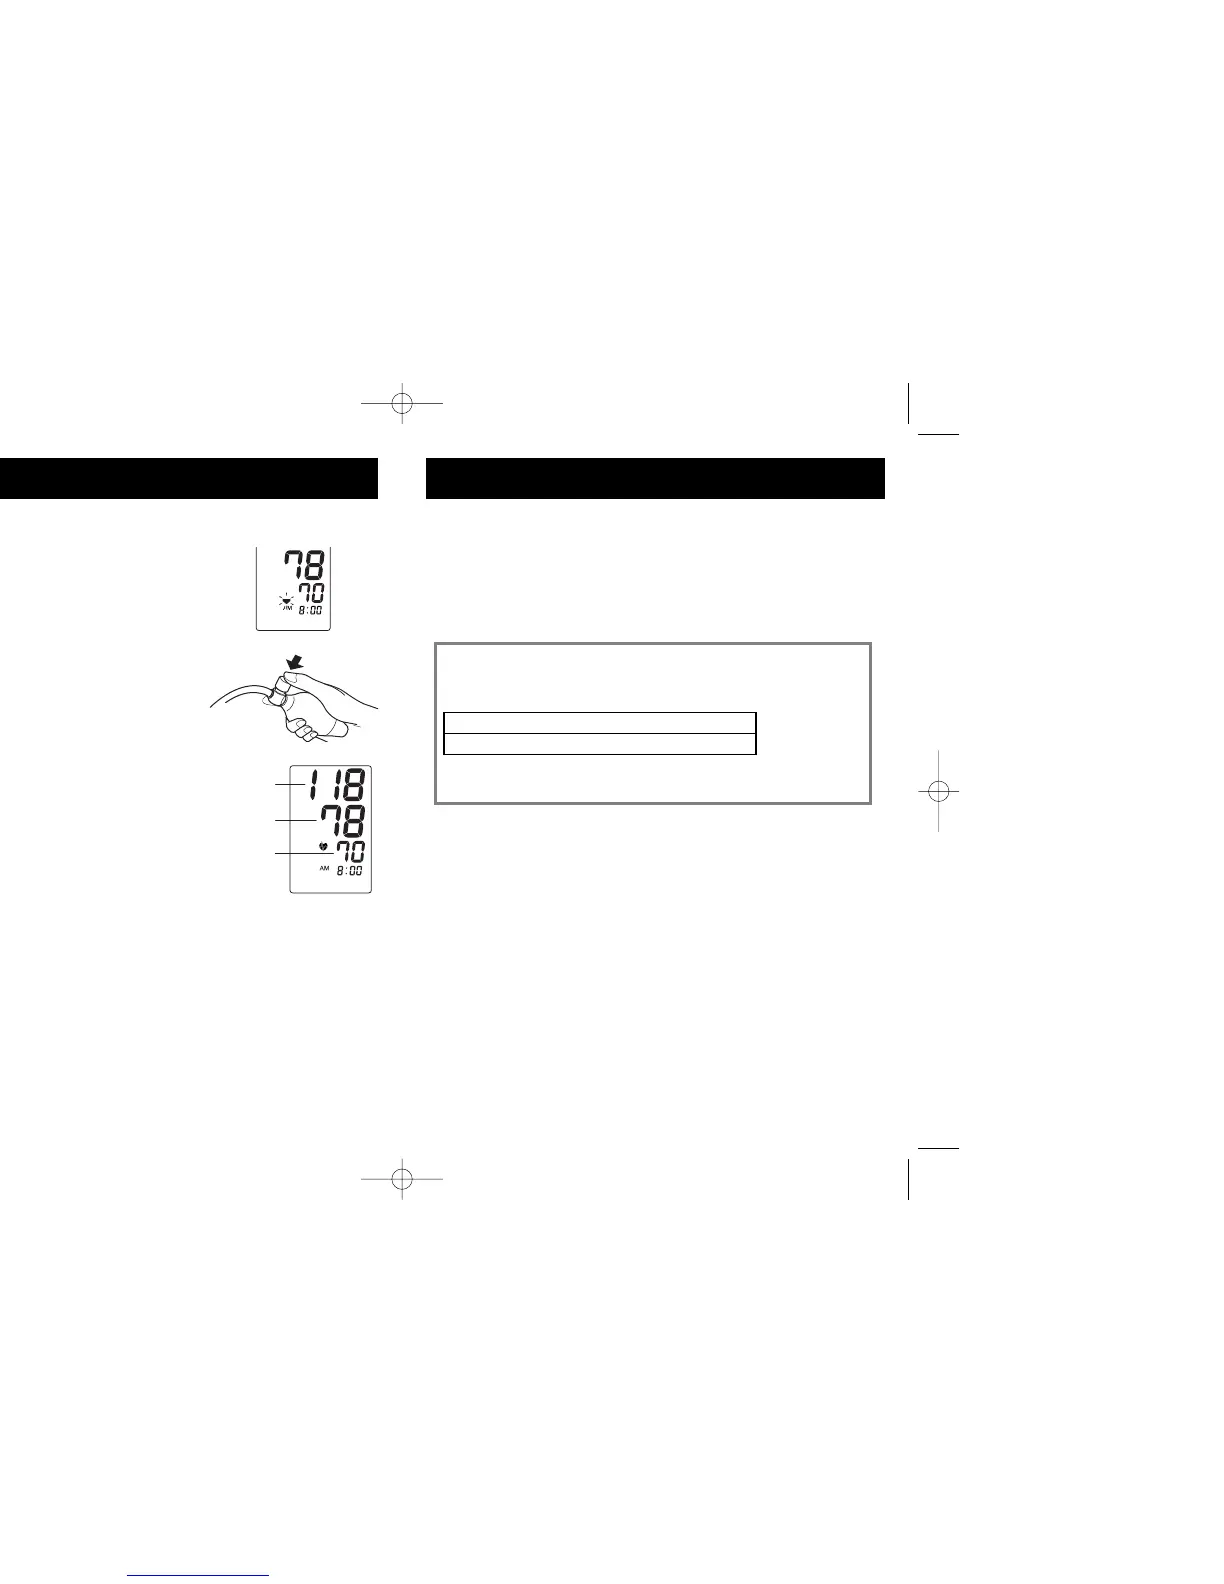
4. Measurement ends.
The deflation symbol flashes on the
display. As the arm cuff deflates further
blood pressure and pulse rate values are
displayed.
Press the air release button to release the
air in the arm cuff until the deflation
symbol is no longer displayed.
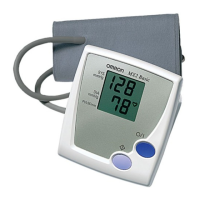
5. Check the measurement results.
The monitor automatically stores blood
pressure and pulse rate into its memory.
Refer to “How to Use the Memory
Function” on page 22.
NOTES:
• Self-diagnosis of measured results and treatment are dangerous.
Please follow the instructions of your physician.
• If an error symbol appears, “E” or “EE”, measurement was not
completed successfully. Refer to “Error Indicator” on page 27.
• Wait 2-3 minutes before taking another blood pressure measurement.
Waiting between readings allows the arteries to return to the
condition prior to taking the blood pressure measurement.
20 21
6. Undo the fastener and remove the arm cuff.
7. Press the ON/OFF button to turn the monitor off.
NOTE: If you forget to turn the monitor off, it will automatically shut
itself off after five minutes.
HOW TO TAKE A MEASUREMENT HOW TO TAKE A MEASUREMENT
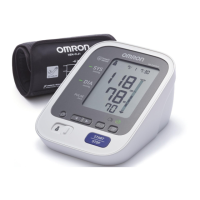
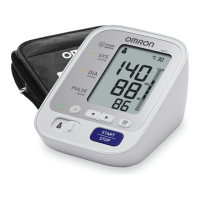
Systolic Blood
Pressure
Pulse Display
Diastolic Blood
Pressure
Guide to Blood Pressure Levels
Recent research suggests that the following values can be used as a
guide to high blood pressure for measurements taken at home.
Systolic Blood Pressure: Above 135 mmHg
Diastolic Blood Pressure: Above 85 mmHg
Use these figures as a guide.
* Consult your doctor if necessary.