2-7
2 Installing the NB Unit and Connecting Peripheral Devices
NB-series Programmable Terminals Setup Manual(V107)
2-2 Start of NB Series
2
2-1-4 Grounding Wiring
2-2 Start of NB Series
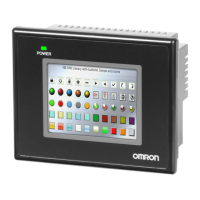
Confirm the hardware are all correctly connected, turn on the power supply, and start the NB-Series.
This part describes the operations of the NB Series when it starts.
When starting the NB Unit for the first time
(1) Confirm that the DIP switches SW1 and SW2 on the back side are both ON.
(2) Turn on the power supply of the NB Unit, and with the POWER LED on the front side
turning green, the NB Unit starts, entering into the System Setting Mode.
(3) Through the System Setup screen, the system time, starting window No., screen saving
time, buzzer and the screen brightness can be set. When the setup is finished, turn OFF
the power supply, turn OFF both of the DIP switches, SW1 and SW2, and then switch on
the power supply again.
When starting the NB Unit after downloading the screen data to it.
(1) Confirm that the DIP switches SW1 and SW2 on the back side are both OFF.
(2) Turn on the power supply of the NB Unit, and with the POWER LED on the front side
turning green, the NB Unit starts.
(3) The starting screen of the screen data downloaded to the NB Unit will be shown.
Entering into Calibrate Mode
(1) Confirm that the DIP switches SW1 and SW2 on the back side are respectively OFF and
ON.
(2) Turn on the power supply of the NB Unit, and with the POWER LED on the front side
turning green, the NB Unit starts.
(3) When the user touches the panel, a symbol “+” will pop up on the screen, with which the
touch control precision level can be calibrated.
Precautions for Safe Use
Confirm the safety of the system before turning ON or OFF the power supply, or pressing the
reset button.
WWW.NNC.IR

 Loading...