7.EtherNet/IP Connection Procedure
7.3. Controller Setup
Set up the Controller.
7.3.1. IP Address Settings
Start Sysmac Studio and set the IP address of the Controller.
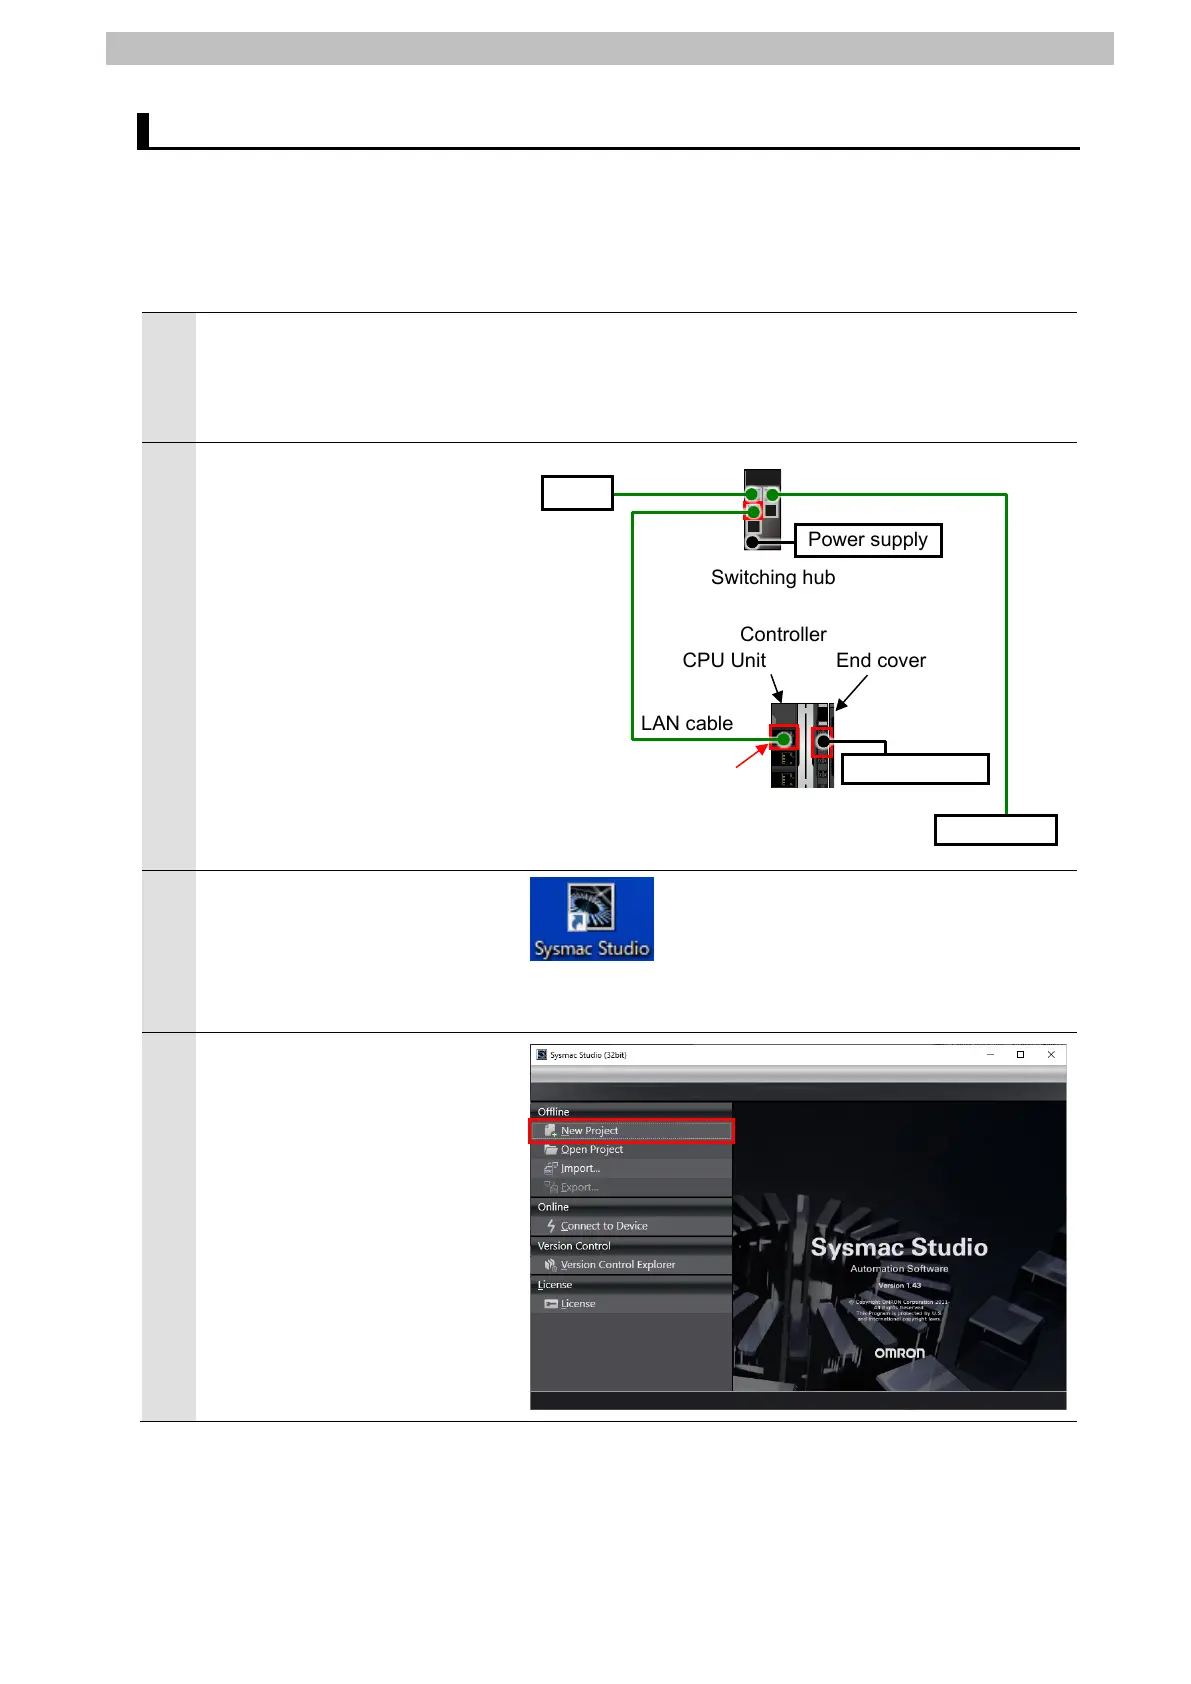
Make sure X-gateway,
Switching hub and Power
supply for Controller are all
Connect Switching hub and
Built-in EtherNet/IP port
(PORT1) on Controller with a
LAN cable.
Connect Power supply to
Controller.
*For information on the power
supply connection to
Controller, refer to 5-4-1 Wiring
the Unit Power Supply of the
NX-series NX102 CPU Unit
Hardware User's Manual (Cat.
Start Sysmac Studio.
*If the User Account Control
Dialog Box appears at start,
make a selection to start
4
Sysmac Studio starts up.
Click New Project.
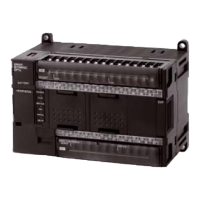
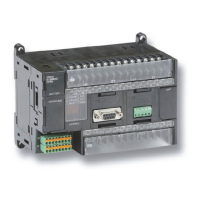
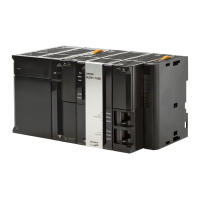
Controller
Built-in EtherNet/IP port
(PORT1)
 Loading...