disconnect its wiring plug and remove it.
9 Refitting is the reverse of removal.
Control unit
10 Remove the trim panel from the
passenger side footwell.
11 On fuel injection models, release and
move aside the fuel injection control unit and
its bracket.
12 Remove the single screw which secures
the control unit bracket to the A-Pillar.
13 Extract the control unit and bracket.
Disconnect the electrical plug and unscrew
the unit from the bracket to remove it
completely.
14 Refit in the reverse order to removal.
1 In some territories, electric heating
elements for the front seats can be specified
as an option. The heating elements are
controlled by facia-mounted switches, they
also incorporate a thermostatic control.
2 Do not use the heating elements when the
engine is not running, or the battery will
quickly be discharged.
3 In the event of malfunction, first check the
wiring and connectors.
4 Element renewal should be referred to a
GM dealer or upholstery specialist.
Removal
1 A three-pole contact unit transfers electrical
power for the tailgate units (heated window,
wiper motor) when the tailgate is shut. The
unit consists of a contact plate in the load
area sill and spring-loaded pins in the tailgate.
2 To remove the plate or the pins, first
disconnect the battery earth lead.
3 Remove the tailgate trim or rear sill trim, as
appropriate. Unclip the contact plate or pins
from its location and disconnect the wire (see
illustration).
Refitting
4 Refit in the reverse order to removal. The
component mountings are inhibited to prevent
incorrect fitting.
Removal
1 To remove a wiper blade, lift the wiper arm
away from the glass. Swivel the blade on the
arm, depress the catch on the U-shaped
retainer and slide the blade off the arm (see
illustration).
2 Before removing a wiper arm, make sure
that the motor is in its parked position. Mark
the position of the blade on the screen with
sticky tape or wax crayon as a guide to
refitting.
3 Lift up the cover and unscrew the arm
retaining nut (see illustration).
4 Pull the arm off the splined shaft. If it has
not been moved for a long time it will be tight:
apply some penetrating fluid.
Refitting
5 Refit in the reverse order to removal.
Removal
1 Remove the windscreen wiper arms, as
described in the previous Section.
2 Disconnect the battery earth lead.
3 Remove the four screws and take off both
halves of the wind deflector panel See
Chapter 11, Section 11.
4 Remove the clamp nuts from both wiper
spindles (see illustration).
5 Free the bulkhead rubber seal, remove the
single securing screw and take off the water
deflector.
6 Release the retainer and disconnect the
electrical multi-plug from the motor (see
illustration).
20 Windscreen wiper motor and
linkage - removal and refitting
19 Wiper blades and arms -
removal and refitting
18 Tailgate contact pins and
plate - removal and refitting
17 Heated seats - general
information
Body electrical system 12•11
12
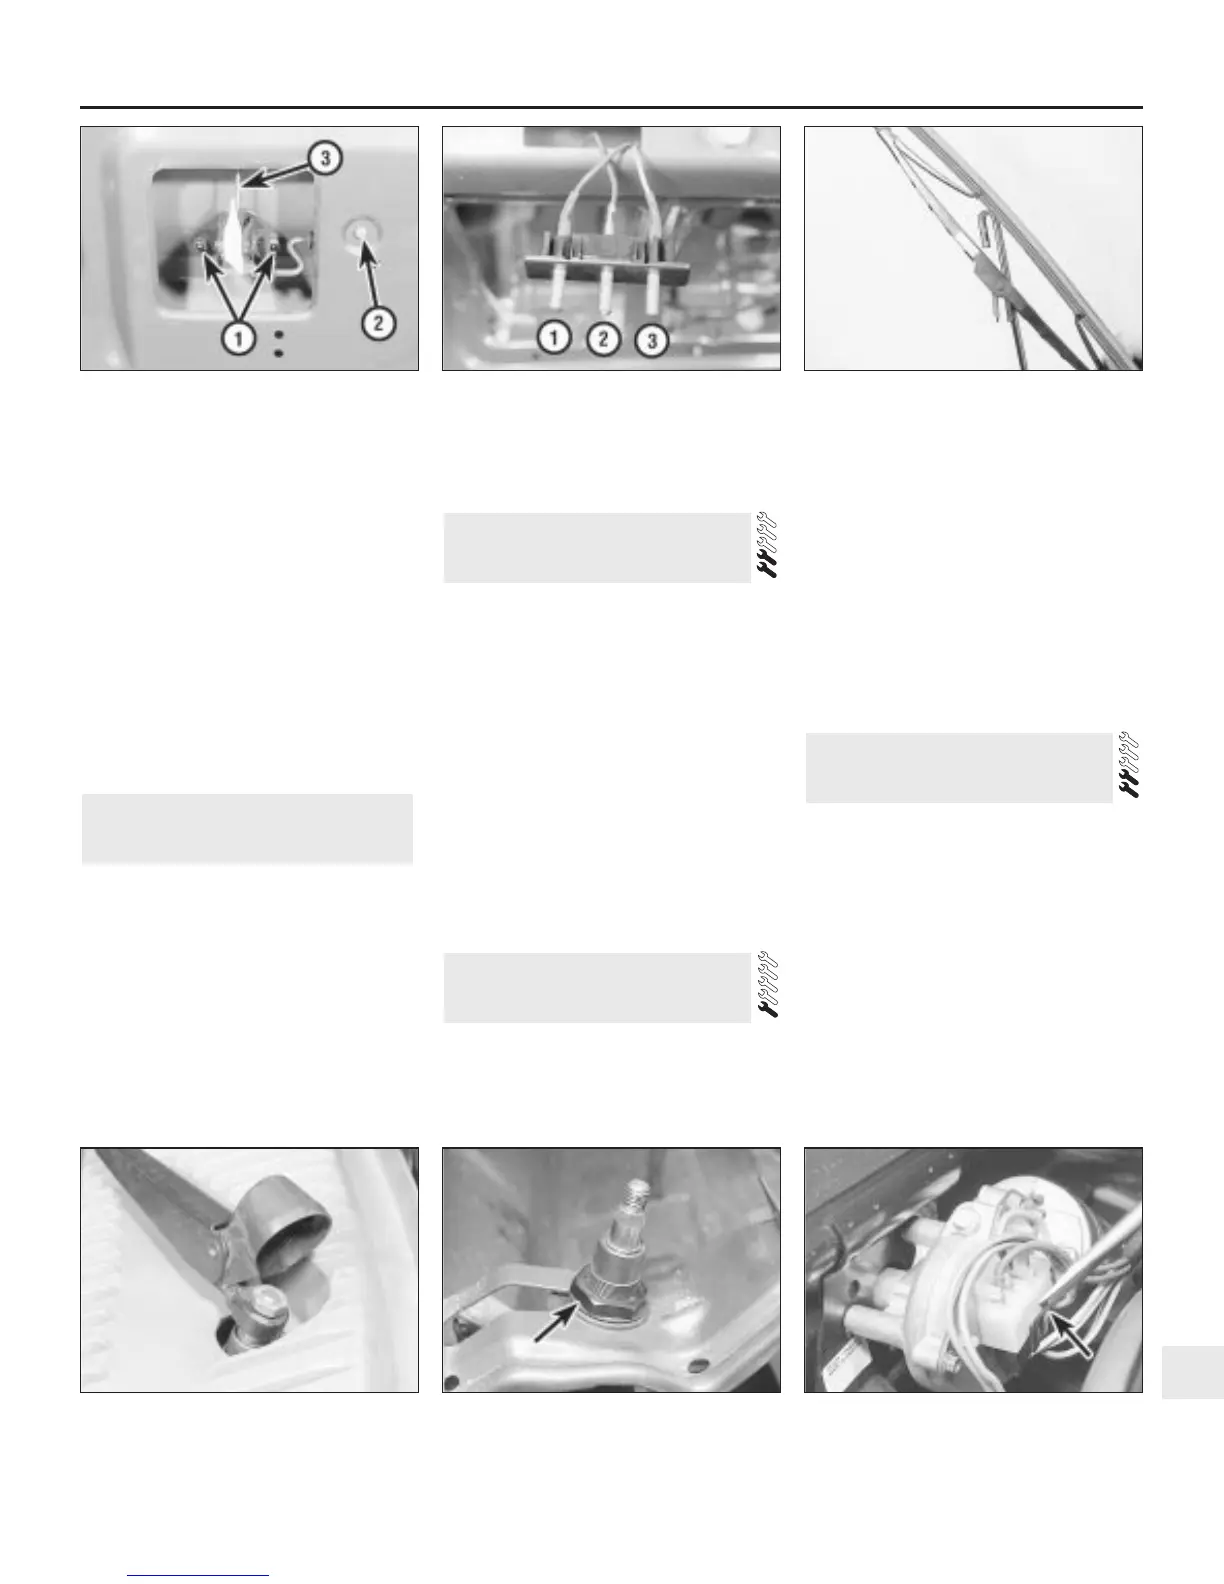
19.1 Removing a wiper blade from its arm
20.6 Releasing the wiper motor electrical
plug
20.4 Wiper spindle clamp nut (arrowed)
18.3 Removing the tailgate contact pins
1 +ve permanent feed (wiper parking) -
black/violet
2 Heater rear window - black
3 Wiper (switch) - blue
16.8 . . . to gain access to the boot latch
nuts (1), servo unit mounting screw (2) and
the manual release control rod (3)
19.3 Wiper arm retaining nut

 Loading...