EasyManua.ls Logo

Optima Scale 909 - User Manual

Optima Scale 909
24 pages
Print Icon
To Next Page IconTo Next Page
Loading...
Weighing Indicator
USER MANUAL
909 / 909P

Questions and Answers

  • B
    Bruce MillerAug 13, 2025
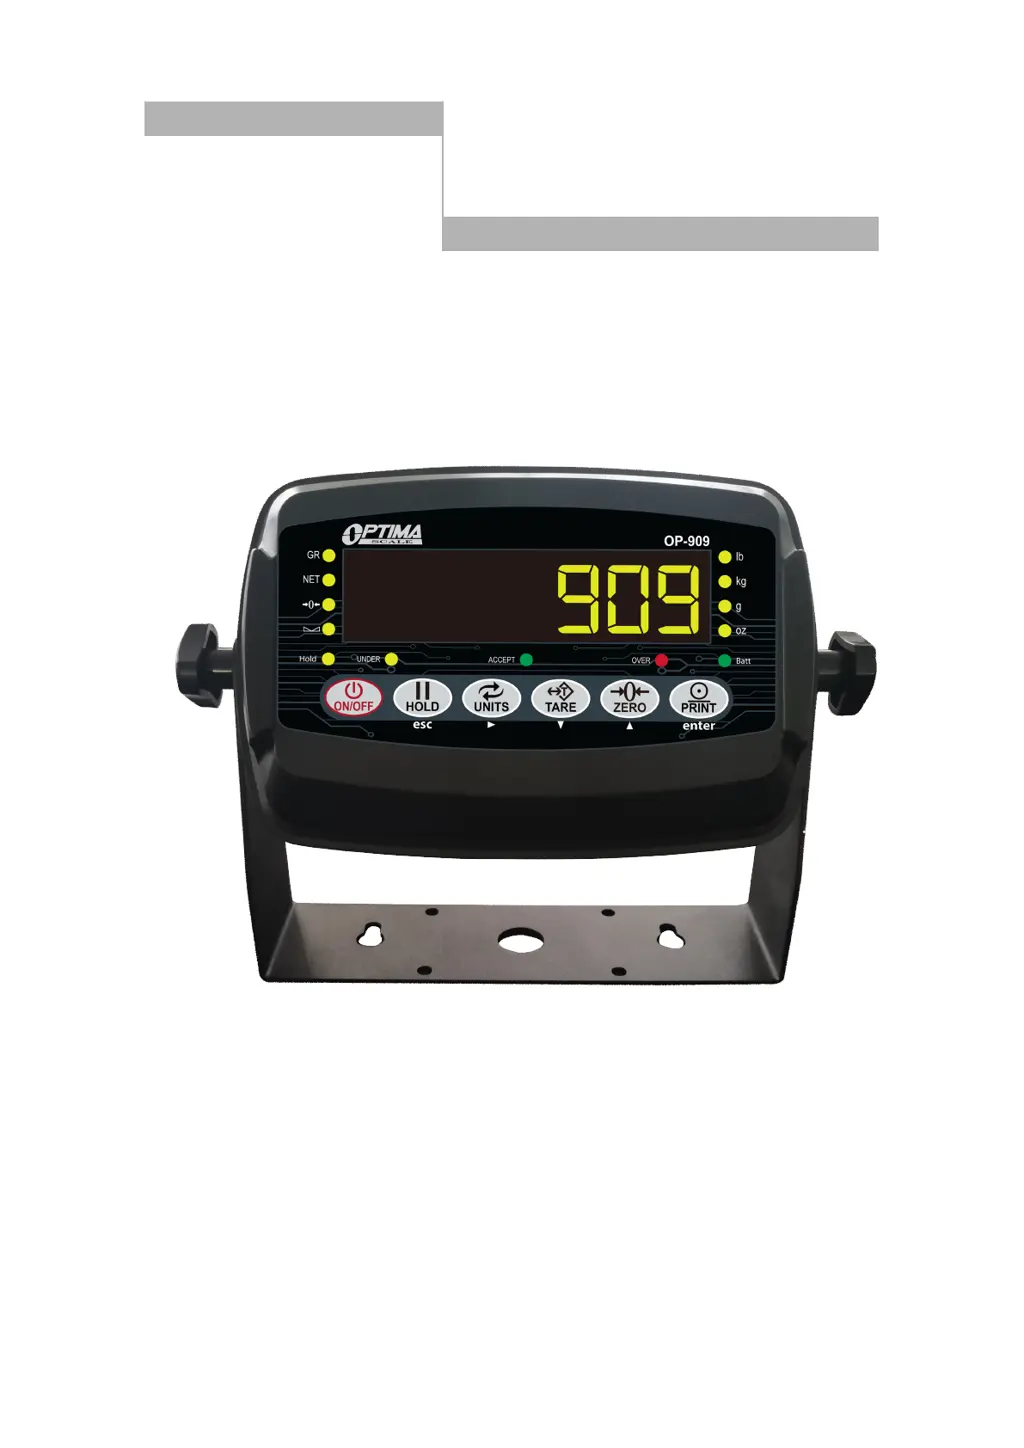
    How to troubleshoot Optima Scale 909 that do not turn on?
    • S
      Susan GibsonAug 13, 2025
      If your Optima Scale Measuring Instruments aren't turning on, there are a couple of things to check: * **Loose power cord:** Make sure the power cord is properly plugged into the scale. * **Defective outlet:** Test the outlet by plugging in another device to see if it works. This will help determine if the problem is with the outlet itself.
  • A
    Angelica HarrisAug 20, 2025
    Why is my Optima Scale 909 reading negative with a load?
    • M
      Michelle MorrisAug 20, 2025
      If your Optima Scale Measuring Instruments show a negative reading when you apply a load, the Sig+ and Sig- wires might be incorrectly connected to the load cell. Try switching the Sig+ and Sig- wires connected to the load cell and/or the junction box (if one is used).
  • T
    Terrance LeeAug 25, 2025
    What does 'Err3' mean on Optima Scale Measuring Instruments?
    • R
      Ralph JohnsonAug 25, 2025
      If your Optima Scale Measuring Instruments display 'Err3' during calibration, it means the input signal is negative. To resolve this: * Check all wire connections. * Check the load cell for damages. * Try to recalibrate the device. * If the issue persists after these steps, the PCB may need replacement.
  • J
    Jared SchmidtAug 28, 2025
    What does 'Err2' mean on Optima Scale Measuring Instruments and how to fix it?
    • J
      jean89Aug 28, 2025
      If your Optima Scale Measuring Instruments display 'Err2', it means the weight used during calibration was below the minimum required weight. The calibration weight minimum is 10% of the maximum capacity set in C04. It is recommended to use 60%-80% of the maximum capacity.
  • J
    John MooneySep 1, 2025
    What does 'Err1' mean on Optima Scale Measuring Instruments?
    • K
      Kenneth MannSep 1, 2025
      If your Optima Scale Measuring Instruments display 'Err1', it indicates that no weight was used during calibration, or the weight used exceeded the maximum capacity. Use the correct weight within the defined range to resolve this issue.
  • D
    Deborah HickmanSep 4, 2025
    What to do if Optima Scale 909 Measuring Instruments show 'Err4'?
    • H
      Hunter DaltonSep 4, 2025
      If your Optima Scale Measuring Instruments display 'Err4', it means the signal was unstable during calibration. Make sure the platform is stable before starting the calibration process.
  • S
    Savannah PhillipsSep 8, 2025
    What does 'Err5' mean on Optima Scale 909 Measuring Instruments, and how can I fix it?
    • T
      Tara GardnerSep 8, 2025
      If your Optima Scale Measuring Instruments display 'Err5', it indicates an EEPROM Error. The solution is to replace the PCB.
  • P
    petersonjenniferNov 15, 2025
    What to do if my Optima Scale 909 display 'Err6'?
    • E
      egreenNov 15, 2025
      If your Optima Scale Measuring Instruments display 'Err6', it indicates an exceeded zero range. Here's what you can do: 1. Ensure the scale is on a level surface and doesn't wobble, and that there is no load on the scale when you turn it on. 2. Press and hold the “PRINT and HOLD” keys simultaneously for a few seconds. 3. Use the arrow keys to change C01 to C20 (change the first digit from 0 to 2 before changing the second digit from 1 to 0). 4. Press the “PRINT” key to enter the C20 parameter. 5. Change the value on the right of C20 to 100 if possible, otherwise change it to 20, using the up-arrow key. 6. Press the “PRINT” key to enter your selection. 7. Press the “PRINT” key to enter the C21 parameter. 8. Change the value on the right of C21 to 100 if available, otherwise change ...

Summary

Safety Precautions

Electrical Safety

Safety guidelines for electrical connections and handling.

Preparation and Setup

Features

Main Function

Lists the primary operational capabilities of the indicator.

Technical Parameters

Details the technical specifications and performance metrics of the device.

Specifications

Indicator Measurements

Provides physical dimensions of the weighing indicator.

Power Supply

AC Adapter

Instructions for connecting and using the AC adapter.

Battery

Guidelines for charging and maintaining the rechargeable battery.

Display and Key Description

First Panel

Explains the indicator's front panel lamps and keyboard functions.

Rear Panel

Operating Instructions

Power On

Steps for turning the weighing indicator on and its initial startup sequence.

Zeroing

How to reset the scale to zero when empty or with minor material buildup.

Unit Selection

Instructions for switching between different weighing units (kg/g).

Tare Function

How to subtract the weight of a container for accurate product measurement.

Pre-set Tare Weight

Method to input a known tare weight manually.

Counting Function

How to count identical items by setting a sample weight.

Accumulation

Process for summing multiple weights to get a total.

Hold Function

Explains different methods for holding a stable weight reading.

Print Function

How to print current or accumulated weight data.

Calibration Procedure

How to Enter Calibration

Steps to access the calibration setup menu.

Available Keys

Description of keys used during setup and calibration.

Calibration Menu

Single Point Calibration

Detailed steps for single-point calibration using one known weight.

Linear Calibration

Steps for linear calibration using multiple known weights.

Indicator Parameter Settings

Weighing Unit (C01)

Setting for selecting the unit of measurement (kg, lb, g, oz).

Decimal Setting (C02)

Configures the number of decimal places for display.

Graduation Setting (C03)

Sets the readability or smallest displayed division.

Maximum Capacity (C04)

Defines the maximum weight the scale can measure.

Zero Calibration (C05)

Enables or performs zero calibration of the scale.

Calibration (C06)

Selects calibration mode or outputs sensitivity.

Restore Default Settings (C07)

Resets parameters to their factory default values.

Warning Tone (C08)

Enables or disables audible warning tones.

Automatic Power Off (C09)

Configures automatic power-off timing to save energy.

Power Saving Mode (C10)

Adjusts display or power saving features.

Hold Function (C11)

Configures the type of weight hold function to be used.

Unit Conversion (C12)

Settings related to converting between different units.

Upper Limit Alarm (C13)

Sets an alarm threshold for the upper weight limit.

Lower Limit Alarm (C14)

Sets an alarm threshold for the lower weight limit.

Inner Code Display (C15)

Displays internal raw data or codes.

Set Date (C16)

Sets the current date on the indicator.

Set Time (C17)

Sets the current time on the indicator.

Communication Setting (C18)

Configures serial data output methods for printers or displays.

Baud Rate (C19)

Sets the communication speed for serial data transmission.

Manual Zero Range (C20)

Defines the range for manual zeroing relative to max capacity.

Initial Zero Range (C21)

Sets the initial zeroing range when the scale powers on.

Zero Tracking (C22)

Enables and sets the tolerance for automatic zero tracking.

Zero Tracking Time (C23)

Sets the duration for zero tracking to be active.

Overload Range (C24)

Configures the threshold for overload indication.

Negative Display (C25)

Sets the range for displaying negative weight values.

Standstill Time (C26)

Defines how long weight must be stable before being accepted.

Standstill Range (C27)

Sets the tolerance for weight stability.

Digital Filter (C28)

Adjusts digital filtering for stable readings, especially for animals.

Noise Filter (C29)

Configures filtering to reduce noise in readings.

Print Time and Date (C30)

Selects the format for printing date and time.

Analog Output Setting (C31)

Configures analog output signal (0-5V or 4-20mA).

Calibrate Current (C32)

Calibrates the analog current output.

Relay Output Setting (C33)

Configures the output of relay functions.

Gravity of Calibration Location (C36)

Sets the gravitational constant for calibration location.

Gravity of Destination (C37)

Sets the gravitational constant for destination location.

Version No. (C38)

Displays the firmware version number.

Print Mode (C41)

Selects the mode for printing data (auto, gross, tare).

Print Carriage Return (C42)

Adjusts spacing between printouts.

Space Print (C43)

Controls horizontal positioning of printed data.

Date Print (C44)

Enables or disables printing of the date.

Time Print (C45)

Enables or disables printing of the time.

Baud Rate for 2 nd RS232 (C48)

Sets the baud rate for the secondary RS232 port.

Connectors

Load Cell Connection

Details how to connect load cells using quick disconnect or hardwire methods.

Quick Disconnect

Describes the quick disconnect method for load cell connections.

Hardwire Connection

Describes the hardwire connection method via the terminal block.

RS-232 Connection (DB9 Connector)

RS232 Serial Output Format

Remote Display Continuous Sending Mode (C18=1)

Print Mode (C18=2)

Command Request Mode (C18=3)

Computer Continuous Sending Mode (C18=4)

PC or Remote Display Continuous Sending Mode (C18=5)

Print to Adhesive Label Printers (C18=5) & (C18=6)

Troubleshooting

Scale Does Not Turn On

Troubleshooting steps for when the scale fails to power on.

Negative Reading With Load

Diagnosing and fixing negative readings after load application.

Error Code nnnnnnn

Solutions for the 'nnnnnnn' error code, often related to calibration or connections.

Error Code Err1

Error code 1: Incorrect weight used during calibration.

Error Code Err2

Error code 2: Calibration weight below minimum requirement.

Error Code Err3

Error code 3: Negative input signal during calibration.

Error Code Err4

Error code 4: Unstable signal during calibration.

Error Code Err5

Error code 5: EEPROM error, indicating a memory issue.

Error Code Err6

Error code 6: Exceeds zero range, requiring parameter adjustment.

Optima Scale 909 Specifications

General IconGeneral
BrandOptima Scale
Model909
CategoryMeasuring Instruments
LanguageEnglish

Related product manuals