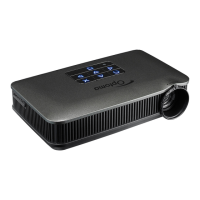
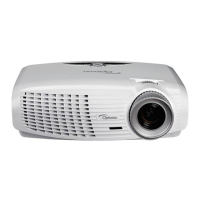
EN-18
Connecting a computer or monitor
Connecting a computer
The projector provides two VGA input sockets that allow you to connect them
to both IBM
®
compatible and Macintosh
®
computers. A Mac adapter is
needed if you are connecting legacy version Macintosh computers.
To connect the projector to a notebook or desktop computer:
1. Take the supplied VGA cable and connect one end to the D-Sub output
socket of the computer.
2. Connect the other end of the VGA cable to the VGA1/YPbPr or VGA2/
YPbPr signal input socket on the projector.
Important
Many notebooks do not turn on their external video ports when connected to a projector.
Usually a key combo like FN + F3 or CRT/LCD key turns the external display on/off.
Locate a function key labeled CRT/LCD or a function key with a monitor symbol on the
notebook. Press FN and the labeled function key simultaneously. Refer to your notebook's
documentation to find your notebook's key combination.
 Loading...