Verify the contents against the items listed in the enclosed Packaging List and in Figure
1-4.
As part of your shipment, the following items
were included:
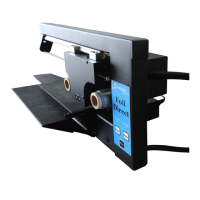
1. Foil Xpress Direct
TM
2. Power Cord
3. Digital Decorating Foils
TM
(2 sample rolls)
4. Printhead Cleaning Paper
5. User CD includes:
Operator’s Manual
Printer Driver
6. USB Cable
7. Warranty
CONNECTING POWER
Attach the power cord between Foil Xpress Direct and the power source.
Caution: The power cord provided is rated for the power rating of Foil Xpress Direct. If
you are using a dierent power cord, verify that its rating is appropriate for use with
Foil Xpress Direct and that it includes a ground line.
First review and then complete this procedure to connect power to your Foil Xpress Direct:
1. Verify that the power switch of Foil Xpress Xpress Direct (lower left back panel) is in the
OFF position. When the side marked “O” is fully depressed, the unit will be OFF.
[Wpisz tekst] 15 [Wpisz tekst]
Podłączenie
zasilania
(ciąg dalszy)
Proszę najpierw zapoznać się z poniższą procedurą
podłączania zasilania do drukarki Foil Direct, a
następnie ją przeprowadzić:
1) Sprawdzić, czy wyłącznik zasilania drukarki Foil
Direct (u dołu po lewej tylnego panelu) jest w
pozycji wyłączonej OFF. Kiedy strona oznaczona
„O” jest całkowicie wciśnięta, urządzenie jest
wyłączone.
Wyłączanie zasilania
2) Wsunąć wtyk kabla zasilania mocno w gniazdo
drukarki Foil Direct.
3) Wcisnąć wtyk po drugiej stronie kabla w
uziemione gniazdo ścienne.
Przestroga: Przed podłączeniem zasilania sprawdzić
tabliczkę znamionową drukarki Foil Direct, aby
potwierdzić zgodność napięcia i częstotliwości
znamionowej z wartościami źródła zasilania.
4) Upewnić się, czy odległość drukarki od ściany jest
wystarczająca do pomieszczenia kabla zasilania.
5) Załadować zwój (rolkę) folii (jak to opisano w
Rozdziale 3).
6) Przełączyć wyłącznik zasilania w pozycję ON
(włączone).
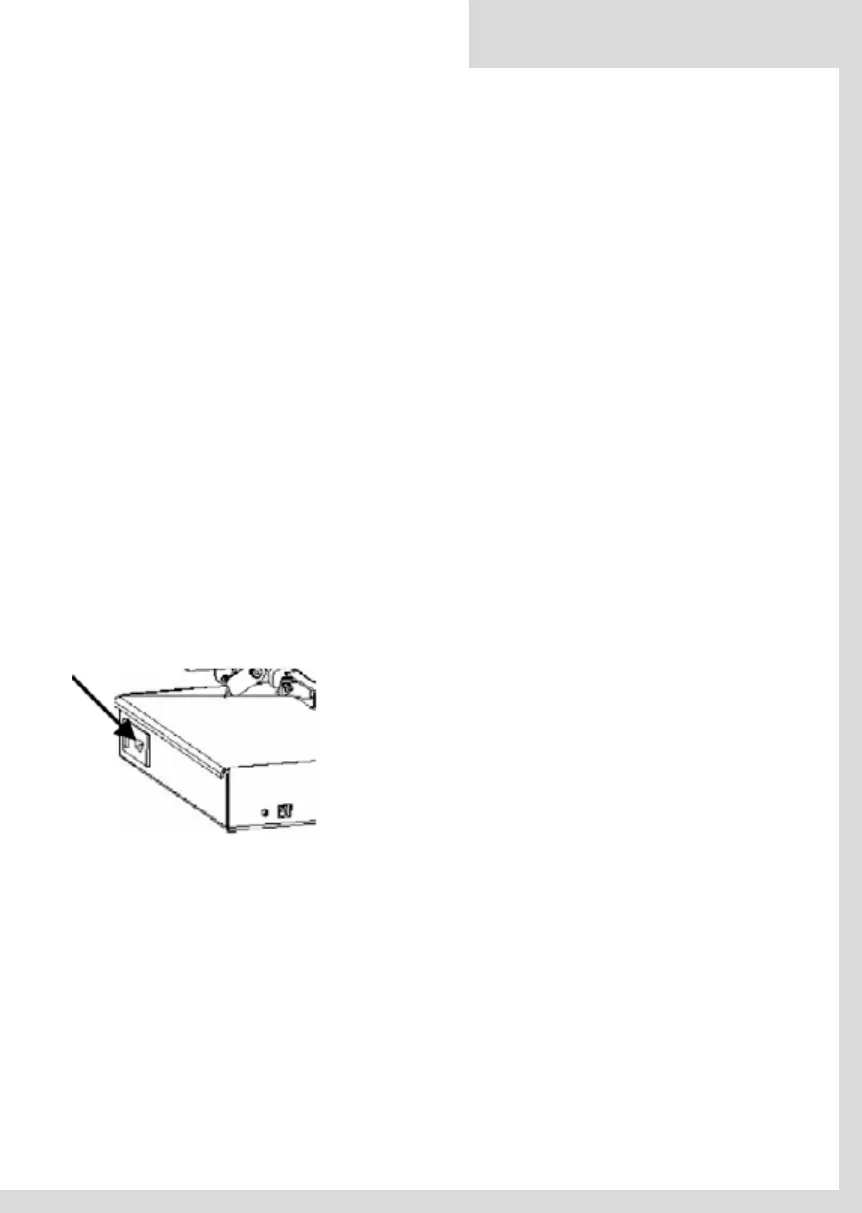
2. Plug the power cord firmly into the receptacle on Foil
Xpress Direct.
3. Plug the other end of the power cord into a grounded
wall outlet.
Caution: Before connecting to a power source, check
Foil Xpress Direct specification label to confirm the vol-
tage and frequency rating match that of the power so-
urce.
50
4. Check to be sure that the unit is far enough from the wall to accommodate the con-
nected cord.
5. Load film (as described in Chapter 3).
6. Press the power switch to the ON position.
CONNECTING TO COMPUTER
Foil Xpress Direct is equipped with a Universal Serial Bus (USB) connection. Figure 1-5 iden-
tifies printer USB port connection on the back panel of Foil Xpress Direct .
Foil Xpress Direct user guide
EN
Figure 1.5.
Switching the Power OFF
 Loading...