Caution – Component and motherboard damage. Do not force the CPU into the socket. The
CPU does not require any force and does not need to be pushed downward. When the CPU is
correctly aligned, you should be able to easily place the CPU in the socket and it should have
minimal movement within the socket. Forcing a misaligned CPU into the socket can
permanently damage the component and the motherboard.
When the CPU is seated in the socket, close the CPU cover.
To secure the CPU in the socket, rotate the socket retaining lever down until it snaps into place
under the retaining clip.
Remove the protective plastic from the base of the heatsink to expose the pre-applied thermal
compound.
The plastic cover protects the compound on the bottom of the heatsink. Do not contaminate
components or the work space with the thermal compound.
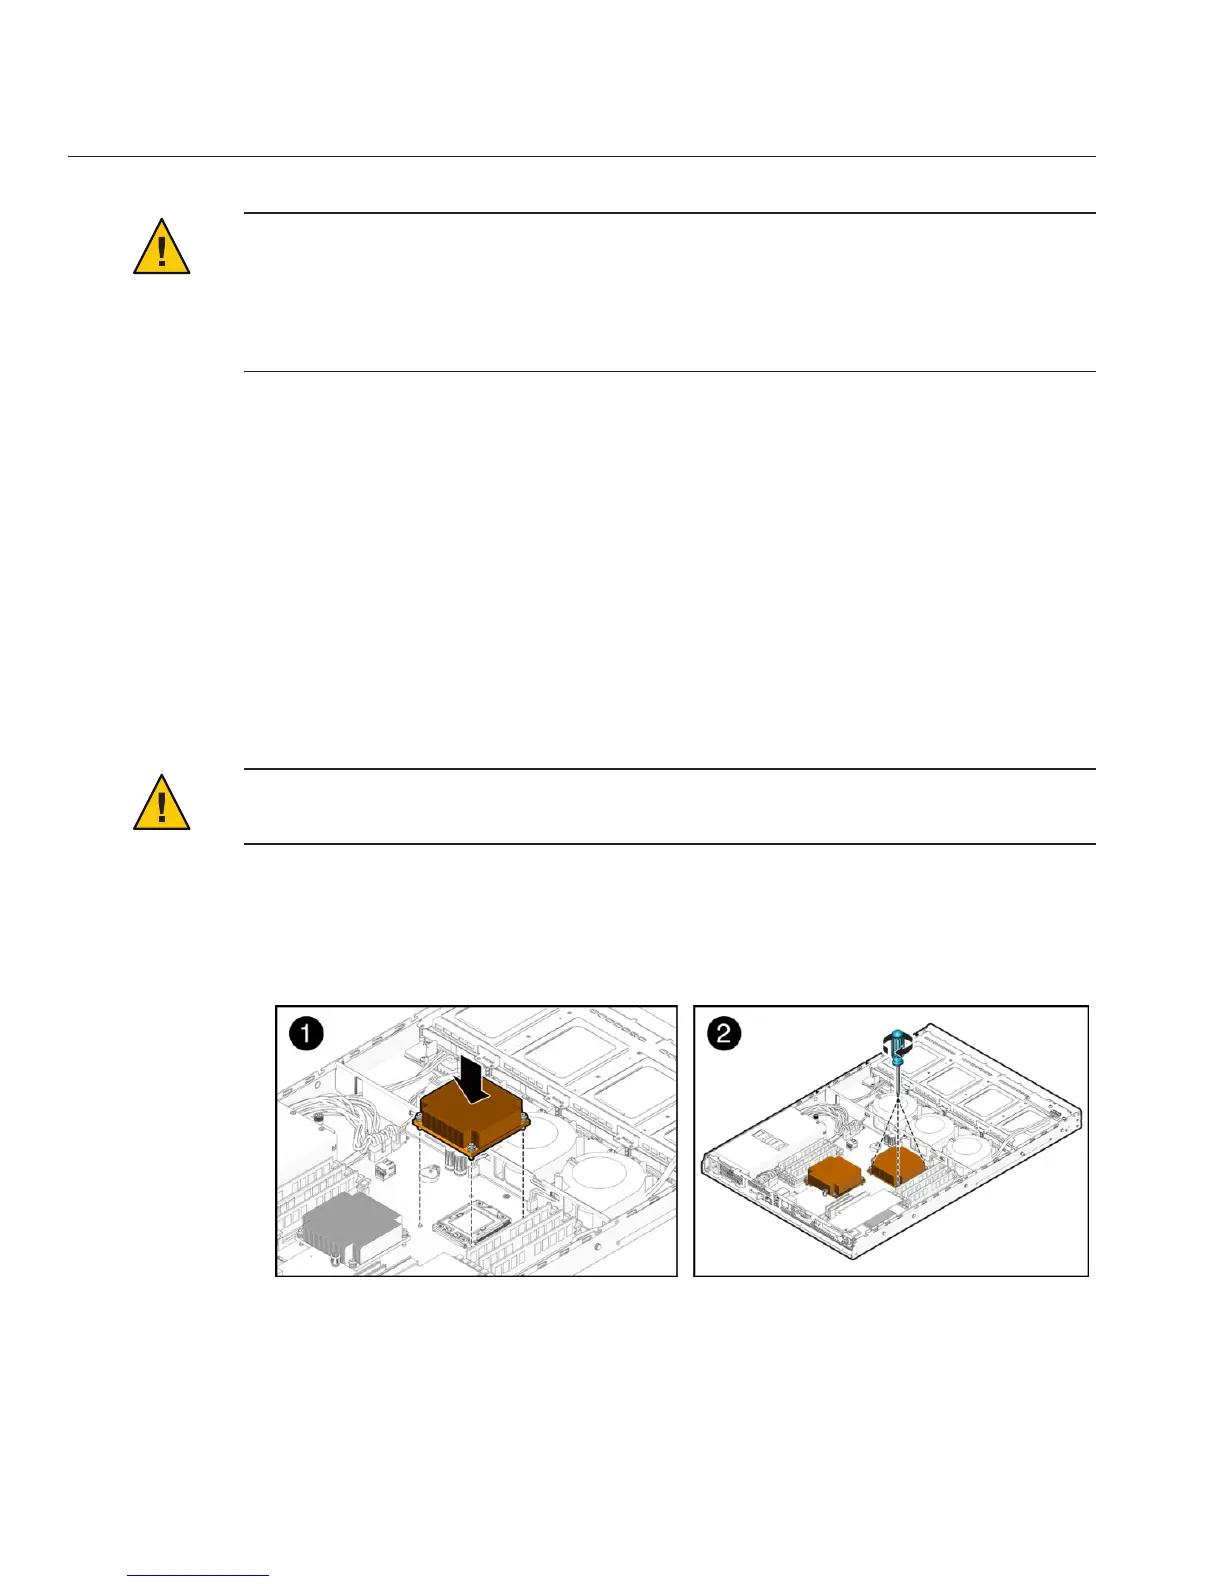
Carefully position the heatsink over the CPU, aligning it with the threaded standos.
After the heatsink contacts the CPU, take care to minimize the movement .
Caution – If the heatsink is moved too much during its installation, the layer of thermal
compound might become uneven, leading to component damage.
Lower the heatsink onto the CPU.
To secure the heatsink, alternately tighten the four screws.
Alternately turn each screw one full turn until all the screws are tightened fully.
Install the air duct. See
“How to Install the Air Duct”on page 53.
Prepare the server for operation.
9
10
11
12
13
14
15
16
Removing, Installing, and Adding a CPU and Heatsink (FRU)
Sun Fire X2270 M2 Server Service Manual • January, 2012, –1272

 Loading...


