10 11
DripMaster
®
4
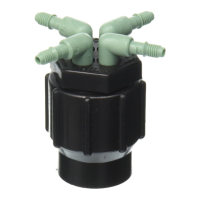
Connect the 1/4" Distribution/
Supply Line to each of the exposed
Barbed Couplers and run the
Distribution/Supply Line to each
sprinkler location. Cut tubing to
desired length.
IMPORTANT: Keep Drip-Tubing
lengths to less than 30’.
5
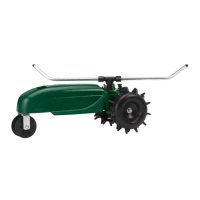
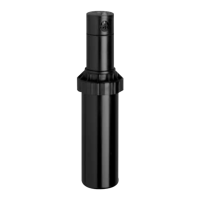
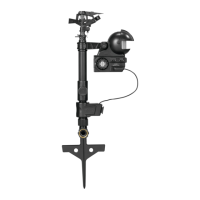
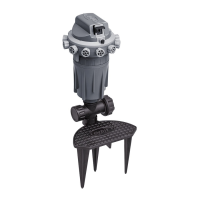
Attach the On-Stake Low-
Volume Sprinkler to each 1/4"
Distribution/Supply Line.
6
Remove the 1/2" End Cap, turn
on water to flush system; replace cap.
7
Rotate the flow control knob to
adjust flow rate.
IMPORTANT: The maximum
recommended number of Low-Volume Sprinklers per 1/2" supply line is 16 at
medium flow setting (8 at the maximum setting)
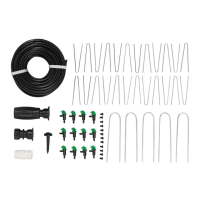
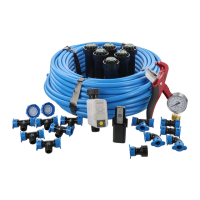
Supplies needed
- 1/4" Distribution/Supply Tube (part # 67300, 67301 or 67303)
- 1/4" Barbed Couplers (part # 67402 or 69402)
- Low-Volume Sprinkler on Stake (part # 67135, 67136, 67137 or 67138)
- 1/2" Loop Stake (part # 65731 or 66731)
- Punch Tool (part # 67756 or 69756)
SECTION
4
GROUND COVER & FLOWER BEDS
1
Distribution/Supply Line—Lay the 1/2" Distribution/Supply Line
down the center of the Flower Bed or Ground Cover and install a 1/2" End
Cap. Use Loop Stakes to hold in place.
2
Low-Volume Sprinkler—
Following the illustrated example,
place Quarter-Spray-Pattern
Sprinkler Heads in the corners, Half-
Spray-Pattern Sprinkler Heads along
the sides, and Full-Spray-Pattern
Sprinkler Heads in the center of your
ground cover.
IMPORTANT: Spacing should
be no more than 10’ from one
sprinkler to the next.
3
Hole Punch—Punch a hole on
top of the 1/2" Distribution/Supply
line for each Low-Volume Sprinkler.
Next insert a 1/4" Barbed
Coupler into each hole.
Common Hose Faucet Projects
2
3
4
5
6
7
1
No more
than 10'
Loop Stake
Orbit
®
DripMaster
®
| Installation Guide Orbit
®
DripMaster
®
| Installation Guide