24 25
DripMaster
®
SECTION
8
DESERT LANDSCAPING
A
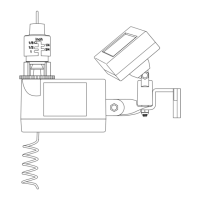
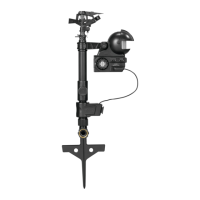
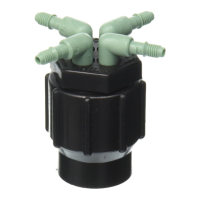
4-in-1 Drip Irrigation Valve
B
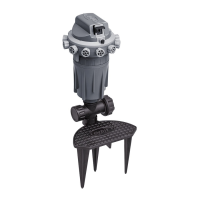
Pressure Compensating Dripper with a Tube Stake
C
Loop Stake
D
End Cap
1
Connecting to the 4-in-1 Drip Irrigation Valve—Attach the 1/2" Drip
Tubing adapter (supplied with the valve) to the Valve and attach 1/2"
Distribution/Supply line to the adapter.
(See the top of page 26)
Common Projects
4
Cut Soaker Tube to desired length
and insert a 1/4" End Plug.
Note: Keep each 1/4" Soaker Tube
length to less than 15'.
5
Remove the Automatic Drain
Valve, attached to the end of the
PVC pipe and flush the line to
remove any debris.
6
Adjust the flow rate by turning
the Flow Control Screw.
IMPORTANT: Do not attach more
than fourteen 4-Port Manifolds
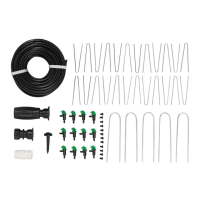
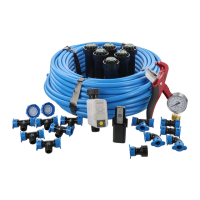
Supplies Needed
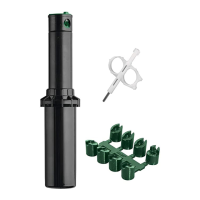
- 3/4" Automatic Drain Valve (part # 51041)
- 4-Port Adjustable Manifold (part # 67005 or 69005)
- 1/4" Loop Stakes (part # 65730 or 69730)
- 1/4" Soaker Tubing (part # 67321, 67330 or 67331)
- 1/4" End Plugs (part # 67403 or 69403)
- 3/4" Slip x 1/2" Threaded Tees
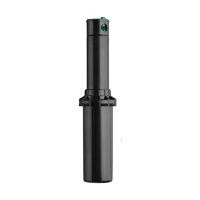
- 1/2" Risers
Flow Control
4
6
A
B
D
C
Orbit
®
DripMaster
®
| Installation Guide Orbit
®
DripMaster
®
| Installation Guide