12 13
DripMaster
®
5
Remove the 1/2" End Cap, turn
on water to flush system; replace cap.
Note: If your Drip-irrigation
system is being installed on non-
level ground, replace all 4 GPH Flag
Drippers with 1 or 2 GPH Pressure
Compensating Drippers to ensure consis-
tent water flow across the entire system.
IMPORTANT: The total number of 4 GPH (Gallons per Hour) Flag
Drippers attached to a single 1/2" Supply Line should not exceed 45.
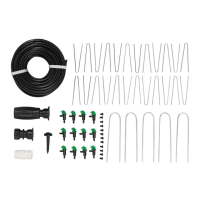
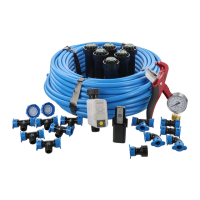
Supplies needed:
- Flag Drippers (part # 65201 or 66201)
- 1/2" Loop Stake (part # 65731 or 69731)
- 1/4" Insect Plug (part # 66405 or 67405)
- Punch Tool (part # 66756 or 69756)
SECTION
4
SMALL TREES & SHRUBS
1
Distribution/Supply Line—Lay the 1/2" Distribution/Supply Line
next to the base of your plants, shrubs, and trees. Install a 1/2" End Cap at
the end of the tubing. Use Loop Stakes to hold in place.
2
Hole Punch—Punch holes on
top of the 1/2" Distribution/Supply
Line next to the base of each plant,
shrub or tree. Insert the barbed end
of a 4 GPH Flag Dripper into the
hole.
3
If needed, attach 1/4"
Distribution/Supply Line to the end
of the Flag Dripper and run the 1/4"
Distribution/Supply Line to the
plant location.
4
Install an insect plug into the end
of the 1/4" Distribution/Supply Line.
Common Hose Faucet Projects
2
3
5
4
Loop Stake
Orbit
®
DripMaster
®
| Installation Guide Orbit
®
DripMaster
®
| Installation Guide