30
Step 20:
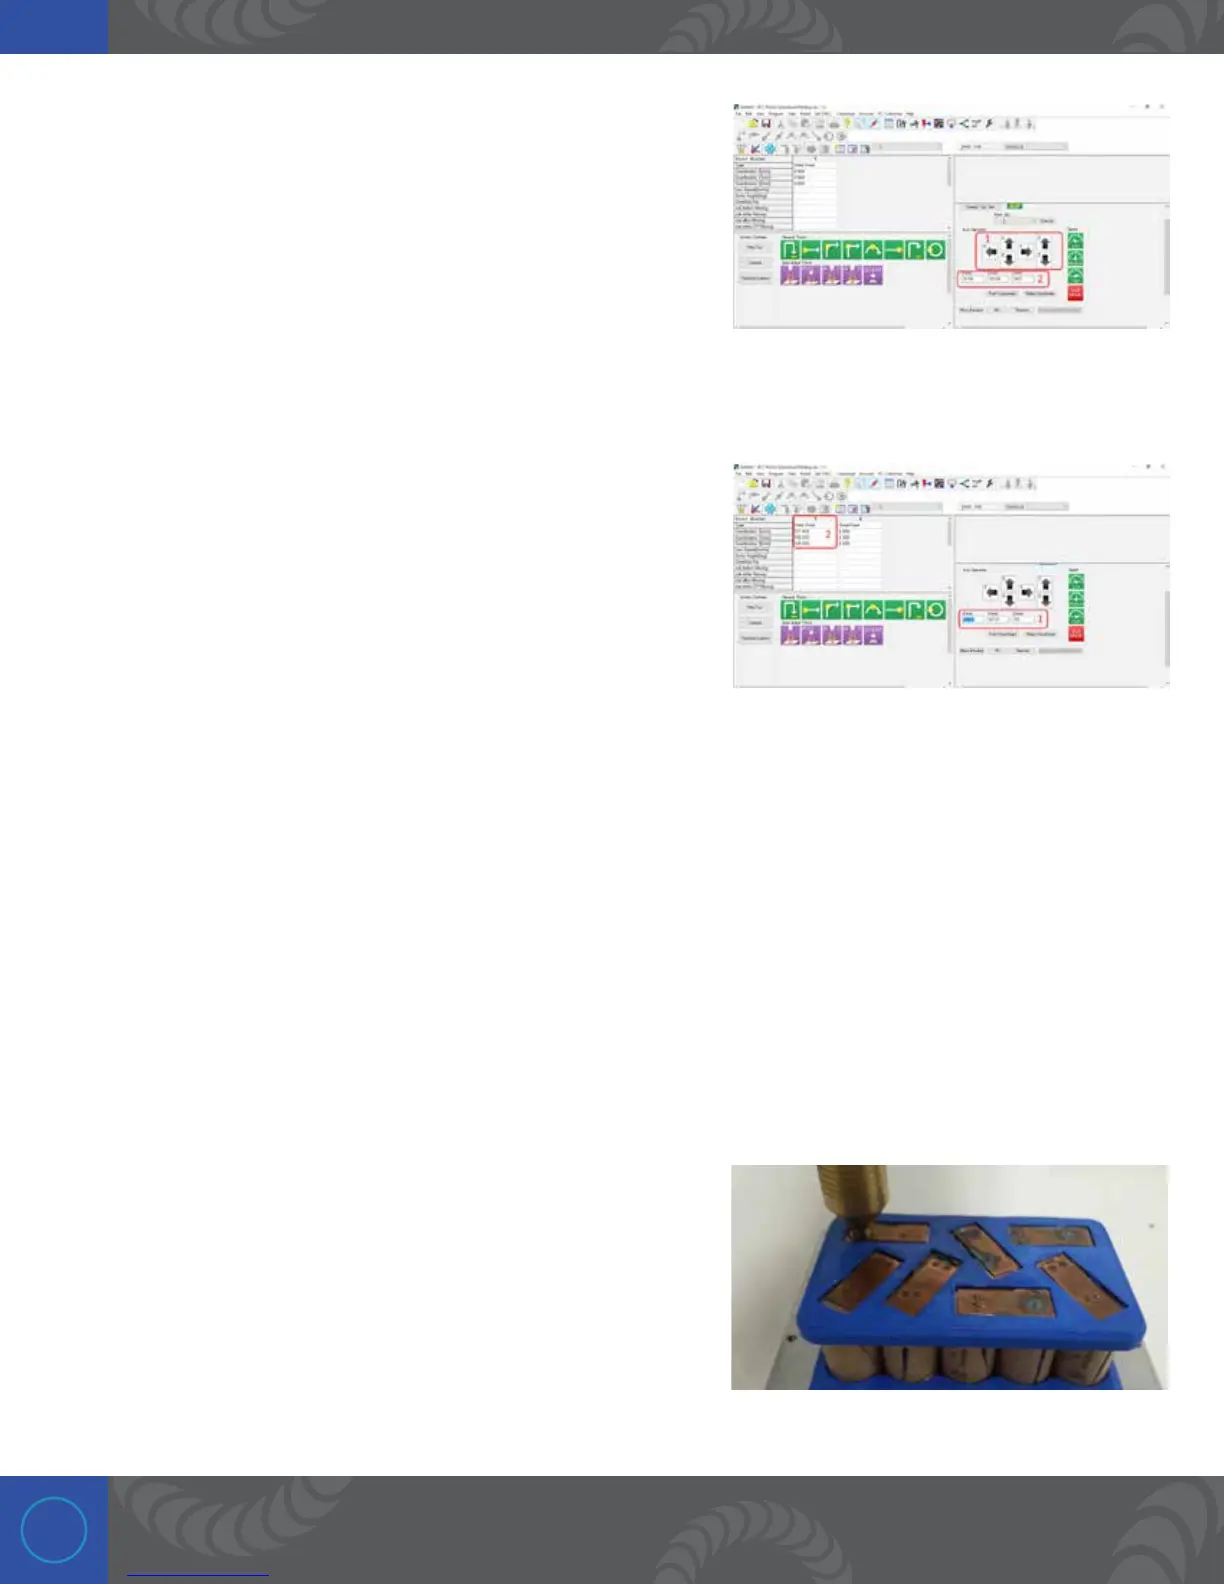
1. ese cursors are used to move the robot head around. Click
on the buttons to move the robot. For this particular robot
the “X” controls the plate movement. e “Y” and “Z” controls
the head movement. Click a button to move the head in that
direction. Note that holding down the “Shift” key on the keyboard
while clicking on these cursor buttons will move the head more
quickly.
Step 21:
After moving the X,Y,Z coordinates, the values update to display
the values of the current position of each axis.
Use the jog buttons to move the weld head to the location where
the first weld will occur.
Step 22:
When setting the Z, lower the weld head until the force indicator
on the side of the weld head is set between the 3rd and 4th large
tick marks (5th-7th total marks).
(Add photo of force indicator on side of CNC EV head)
e CNC EV head has a force indicator on the right side to show
you how much the head is depressed.
Step 23:
is is the position of the head for Point 1 on this setup.

 Loading...


