31
Step 24:
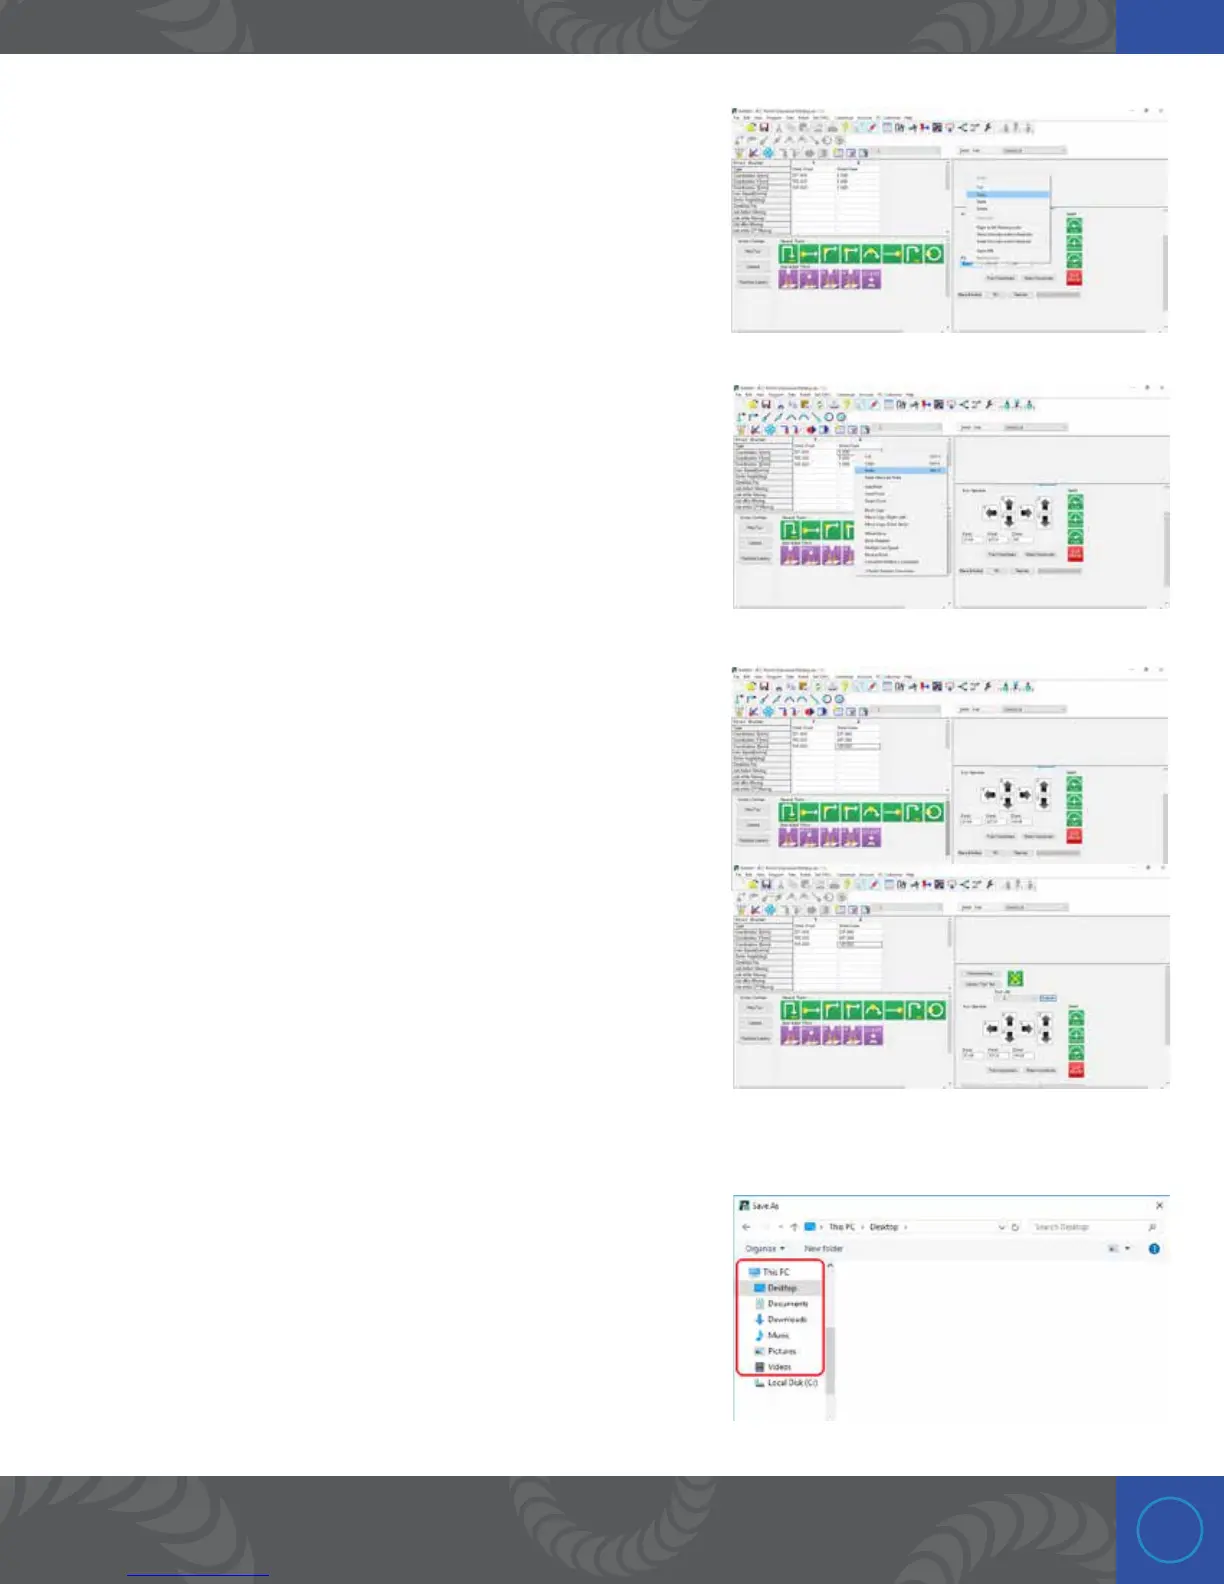
In order to get the x, y, and z coordinates from the JOG window
to the point window, you will need to copy them by highlighting
the number in the JOG window and right clicking with the mouse
and clicking “Copy.”
Step 25:
You can then paste the number by right clicking the
corresponding axis and left clicking “Paste.”
Alternatively, you can manually type each value by clicking in the
box and typing in the value that is currently dispalyed in the job
window.
Step 26:
Once completed the x, y, z, on the Point window should
correspond to the x, y, z on the JOG window.
Step 27:
To add another point, click on “Edit,” then “Add Point,” or
simply right click in the space next to the Point 1 parameters
and click “Add Point.” Move the x, y, and z coordinates to the
next weld location. When moving the weld head, it is strongly
recommended to move the z up before moving x and y. Failing
to do so may damage your workpieces.
Step 28:
is would be a good time to save your progress by clicking on
the “Save” icon.
You can chose where to save the file and you can name it what
you want. After giving the file a name click on the “Save” button.

 Loading...


