8
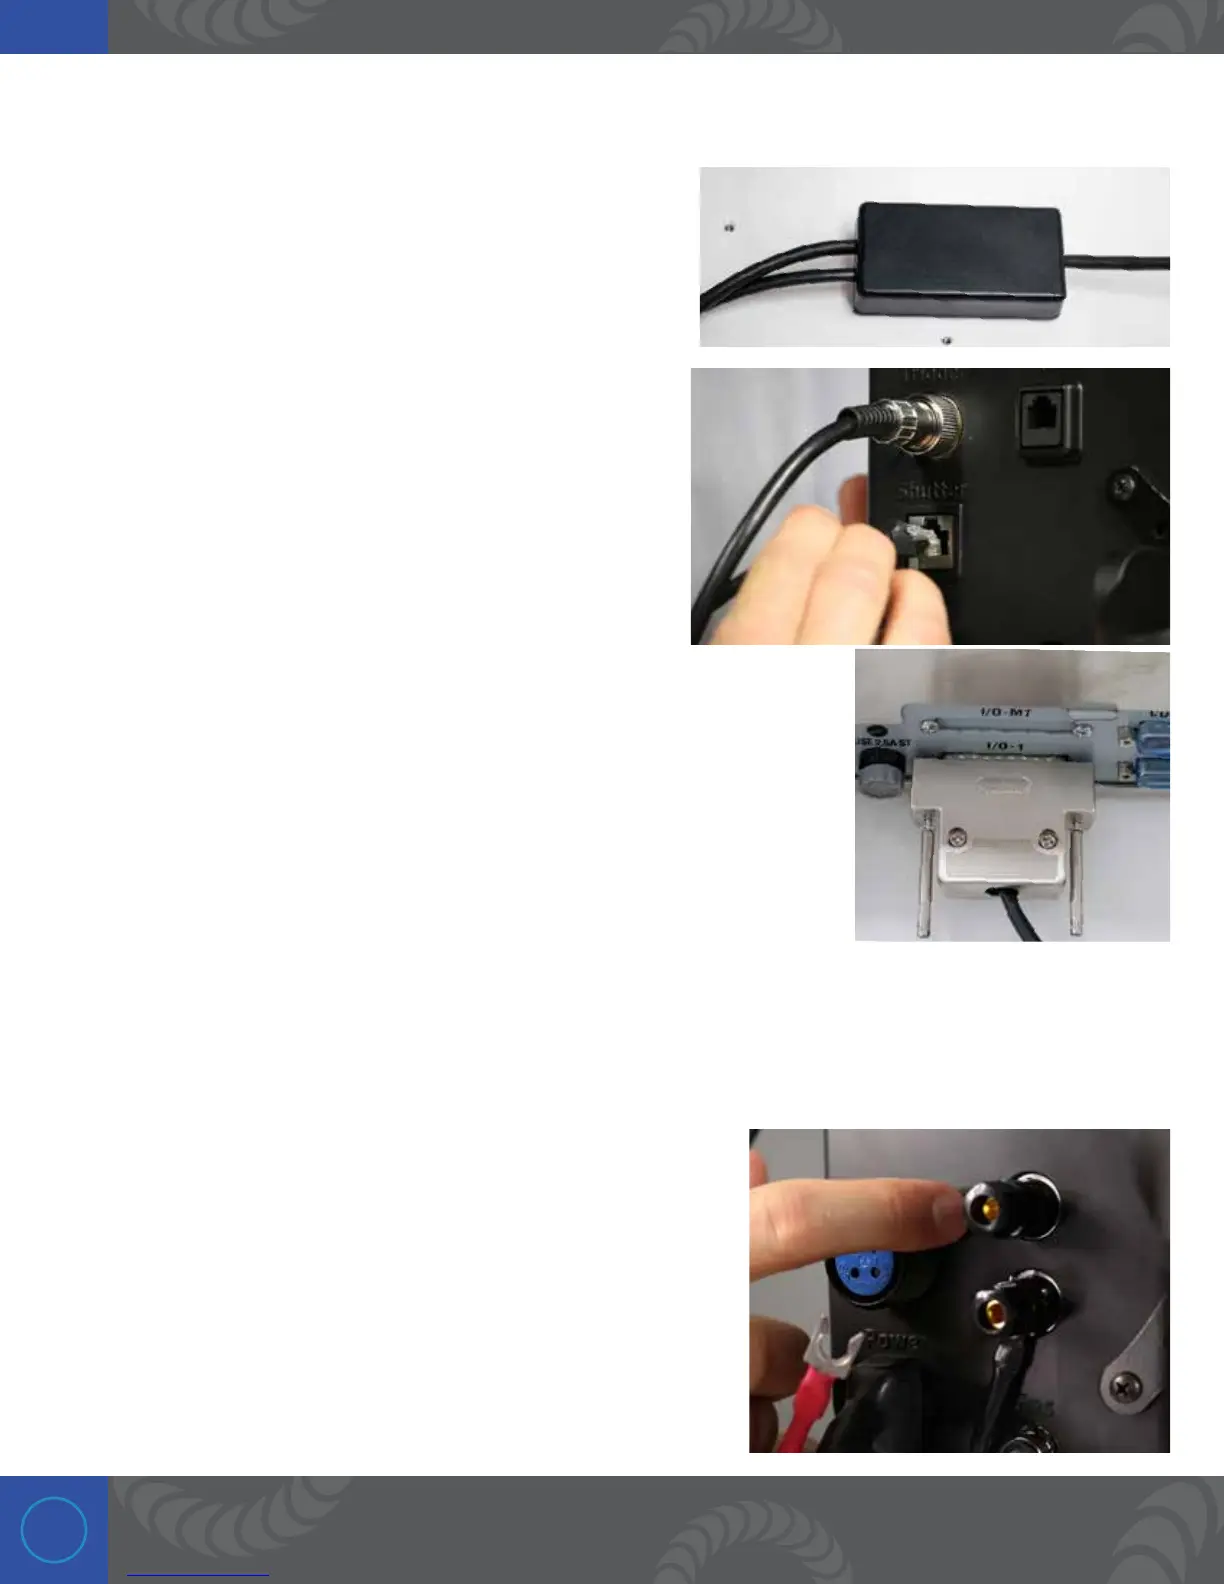
Step 5: Connect the Janome to the welder
Use the provided cable that contains a 3 PIN and RJ-45
connector on one end and a 25 PIN parallel connector on the
other end to connect the Jonomi to the welder.
Plug the 3 DIN connector into the “Trigger” port on the back
of the welder and the RJ-45 cable into the “Shutter” port.
Plug the 25 PIN parallel connector into the I/O-1 port on the
back of the Janome.
Step 6: Connect the wires on the EV weld head to the welder
Using the wires on the weld head, connect the red wire to the positive port and the black wire to the
negative port.

 Loading...


