7.4.2 Record Head Azimuth Adjustment
1. Thread the machine with a reel of blank tape.
2. Set both Record Ready buttons to the READY position and set both Monitor
buttons to TAPE position.
3. Connect an external oscillator to the CH 1 and CH 2 INPUT connectors.
Connect one probe of the oscilloscope to CH 1 and the other probe to the CH
2 OUTPUT connectors. Set the oscilloscope to display the input signals as a
lissajous pattern.
4. Set the external oscillator to produce 1 kHz sine waves at +4 dBu or at the
studio level.
5. Press the RECORD and PLAY buttons to enter Record mode.
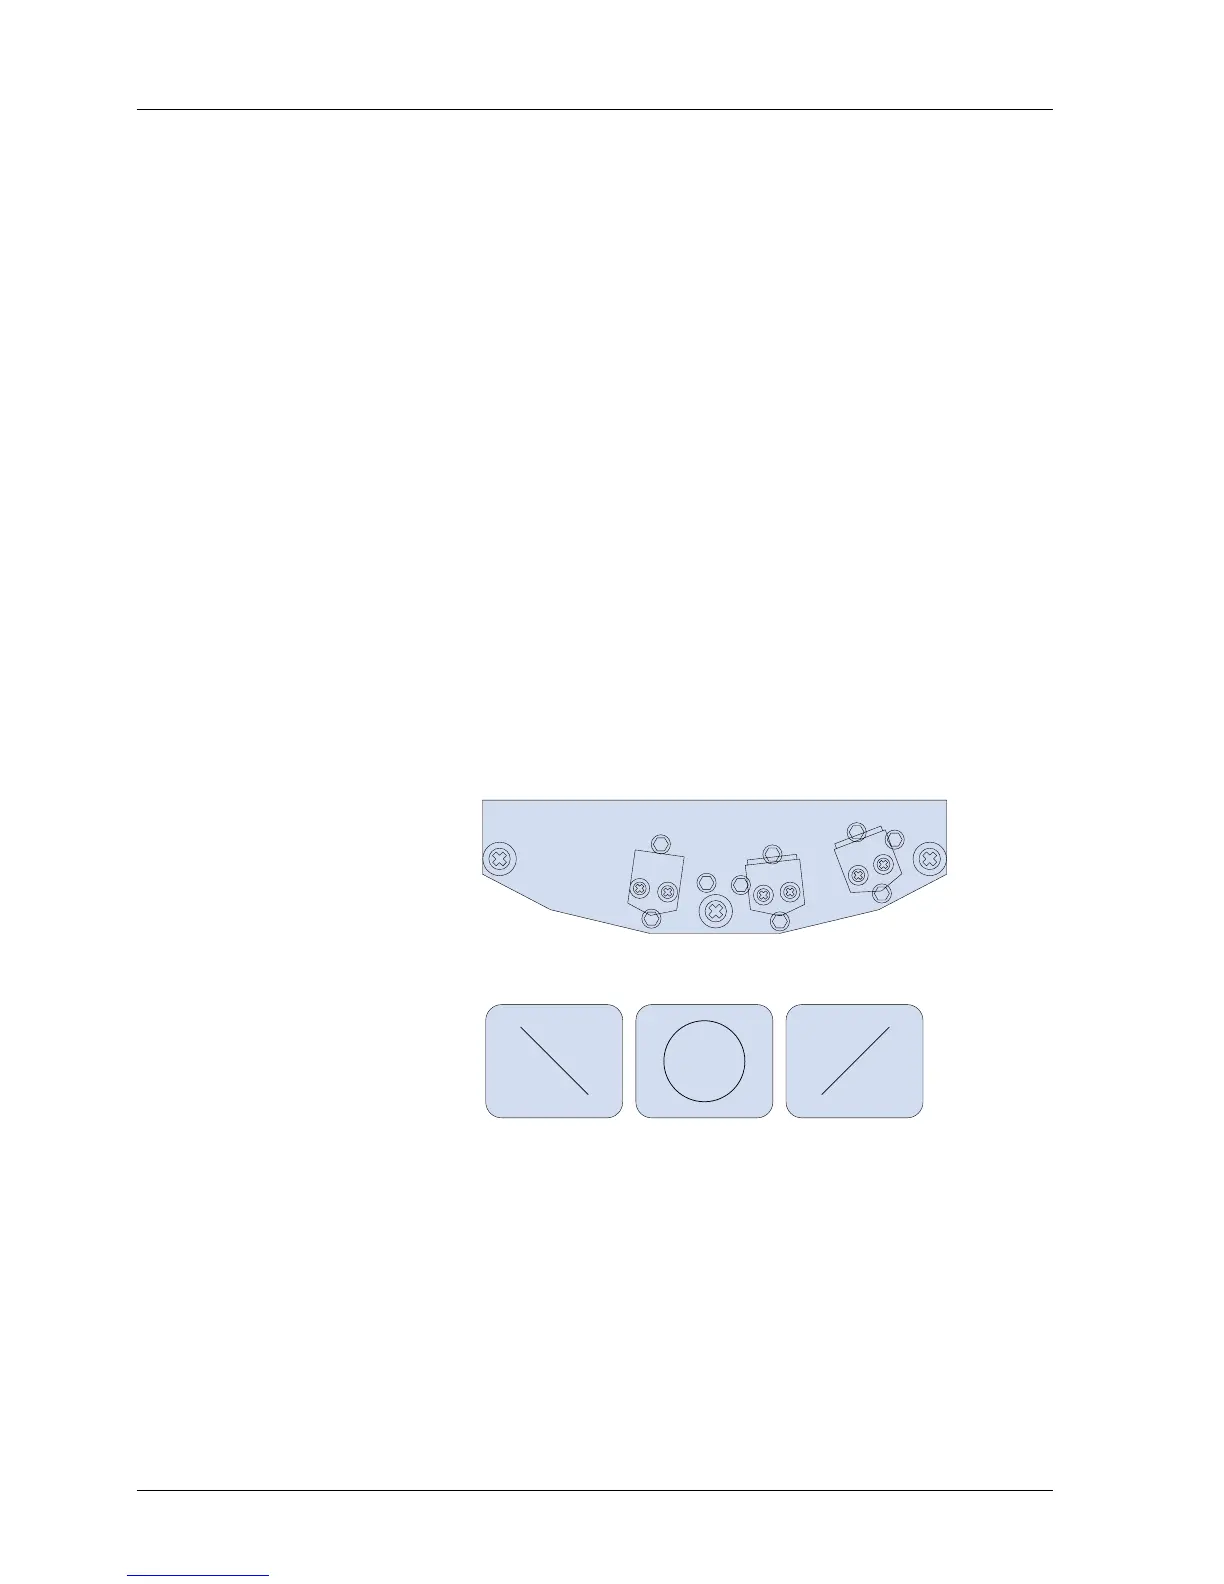
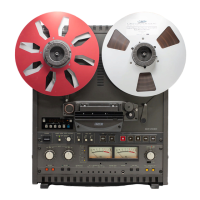
6. Adjust the Record Head Azimuth adjustment screw A2 until the display on the
oscilloscope becomes a straight line at 45 degrees as shown in Figure 7-5.
7. Set the external oscillator to 10 kHz, and adjust the Record Head Azimuth
adjustment screw until the display on the oscilloscope becomes a straight
line at 45 degrees as shown in Figure 7-5.
8. Set the external oscillator to 16 kHz, and adjust the Record Head Azimuth
adjustment screw until the display on the oscilloscope becomes a straight
line at 45 degrees as shown in Figure 7-5.
NOTE: Less and less adjustment is required as the frequency increases to cause the
oscilloscope pattern to become correctly displayed. At higher frequencies, it will be
impossible to achieve a perfectly straight line, some amount of jitter is normal. Adjust
the azimuth screw until the best possible result is obtained.