CAUTION
CAUTION
Fig. 2-5
Mounting bracket must be fastened to garage
framing. Do Not fasten to drywall, particle board, plaster
or other such mat
erials.
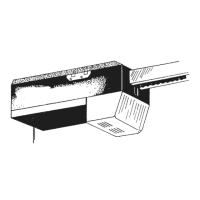
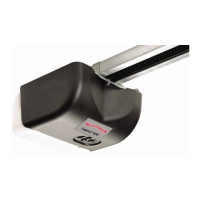
Power Head
Channel/Rail
Assembly
6. Mount power head
(See Section 2 MOUNTING METHODS).
• Be sure channel/rail assembly and power head
ar
e on door center line (Line “V”).
• Check the illustra
tions. Decide which mounting
method you will use. Materials for mounting are
not included.
• Af
ter power head is installed, remove
supporting material.
• Close door.
7. Install door br
aces (See CAUTION below).
Fig. 2-4
Header
Bracket
Spring
Header
D
oor
Support if
necessary to
clear spr
ing
Center Line
Doors made of masonite, lightweight wood, fiberglass,
and metal must be properly braced before mounting
Door Operator.
Contact door manufacturer or distributor for bracing
instructions.
Header bracket must be fastened to garage fram-
ing. Do Not fasten to drywall, particle board, plas-
ter or other such materials.
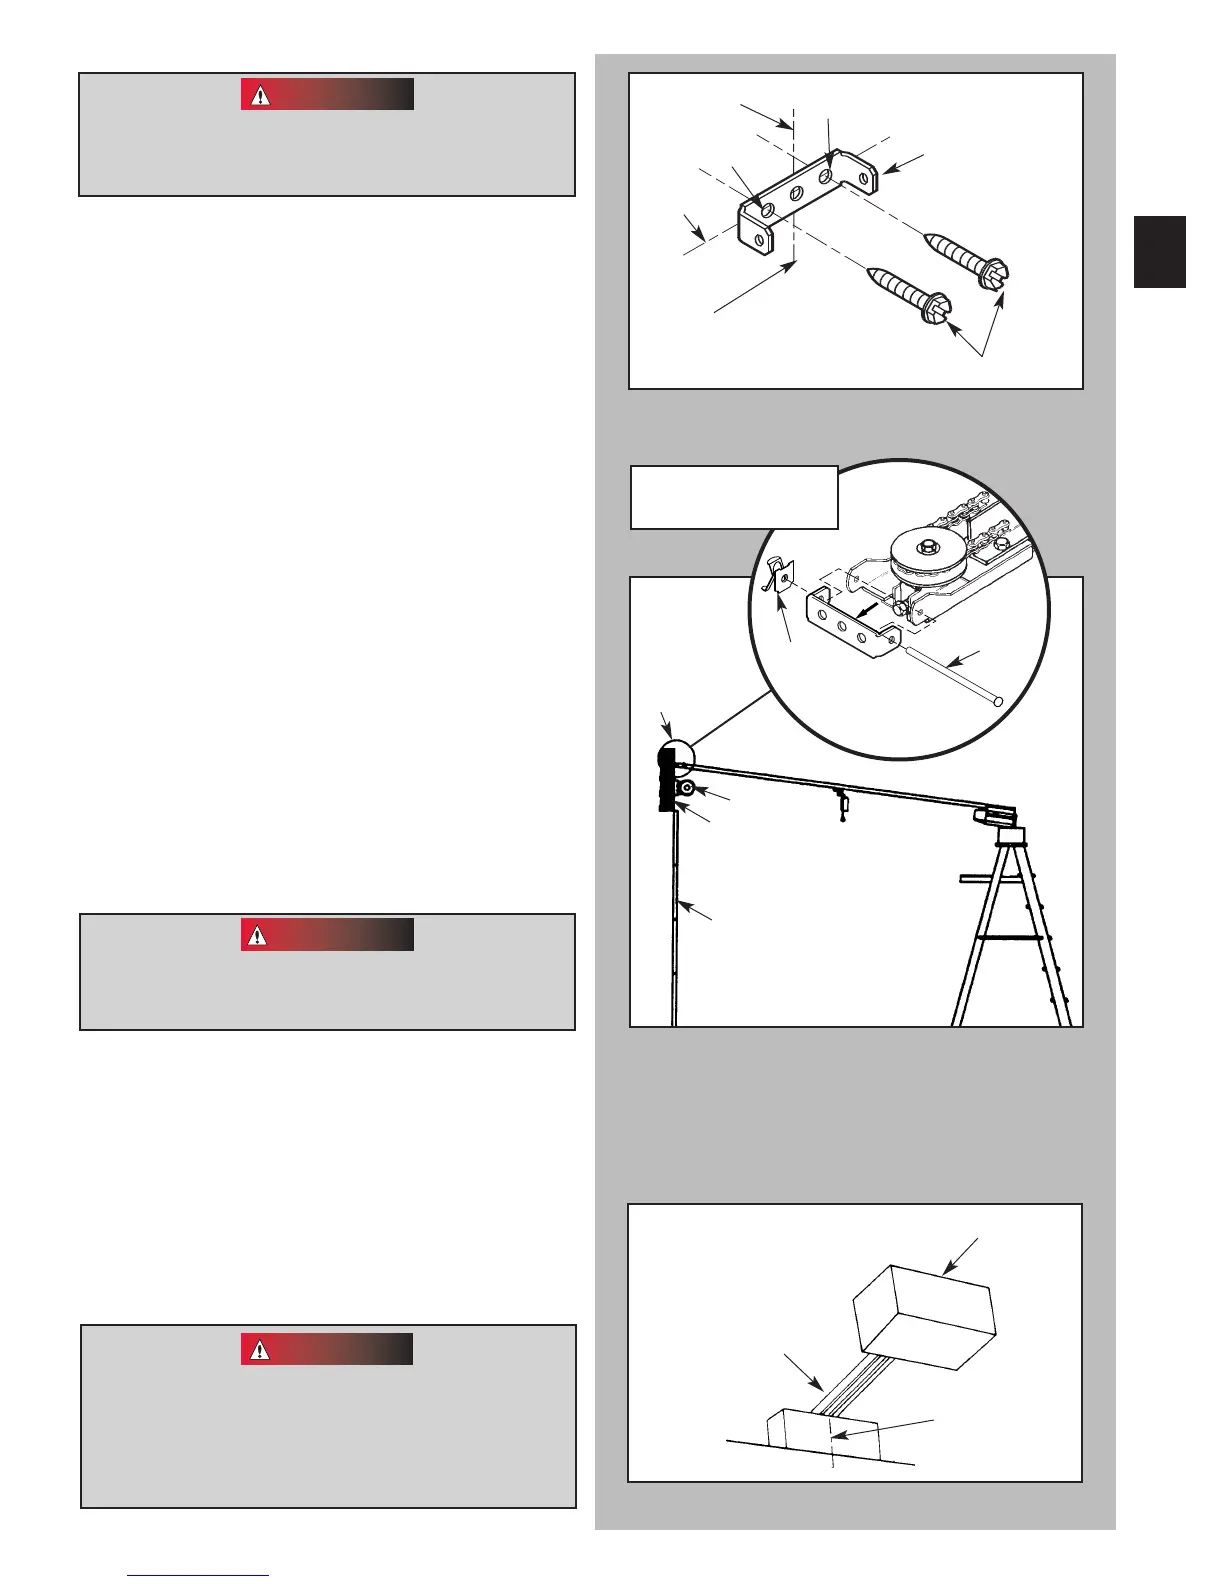
3. Install header bracket (Fig. 2-3)
• Place bracket so:
– center hole is on line “V.”
– all holes are on line “H.”
• Mark hole positions “A” and “B.”
• Drill 5/32” holes at marked positions.
• Fasten bracket to header using two (2) 1/4” x 2”
lag screws
[
79
]
.
4. Attach channel/rail assembly to header
br
acket (Fig. 2-4).
• Fasten header end of the channel/rail to the
H
eader bracket with cold header pin
[
82
]
.
• Install speed nut
[
81
]
.
• Support power head above floor, use:
– rope.
– ladder with cardboard packing.
– wood.
5. Lev
el rail assembly and power head (Fig. 2-5).
• Raise and support power head above door tracks.
• Open door.
• Lev
el channel/rail assembly and
support temporarily.
• Center channel/rail assembly and power head
on line “V” of door
.
NOTE: The channel/rail assembly and power head should
b
e level if possible. If necessary, power head may be
mounted lower. However mounted, moving door must not
touch channel/rail assembly.
Fig. 2-3
Line “V”
Line “H”
“A”
“B”
Header Bracket
Lag Screws
Vertical
C
enterline
of Door
13
CAUTION
T-rail shown. Channel
attachment is same.
[
79
]
[
81
]
[
82
]
Speed nut
Cold header
pin
 Loading...