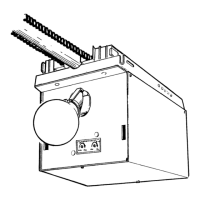
1. Install light bulb(s) into socket(s).
Do Not use short neck bulb(s).
• Use bulb(s) rated for:
– rough service.
– vibration.
– appliances.
• 100 watt maximum.
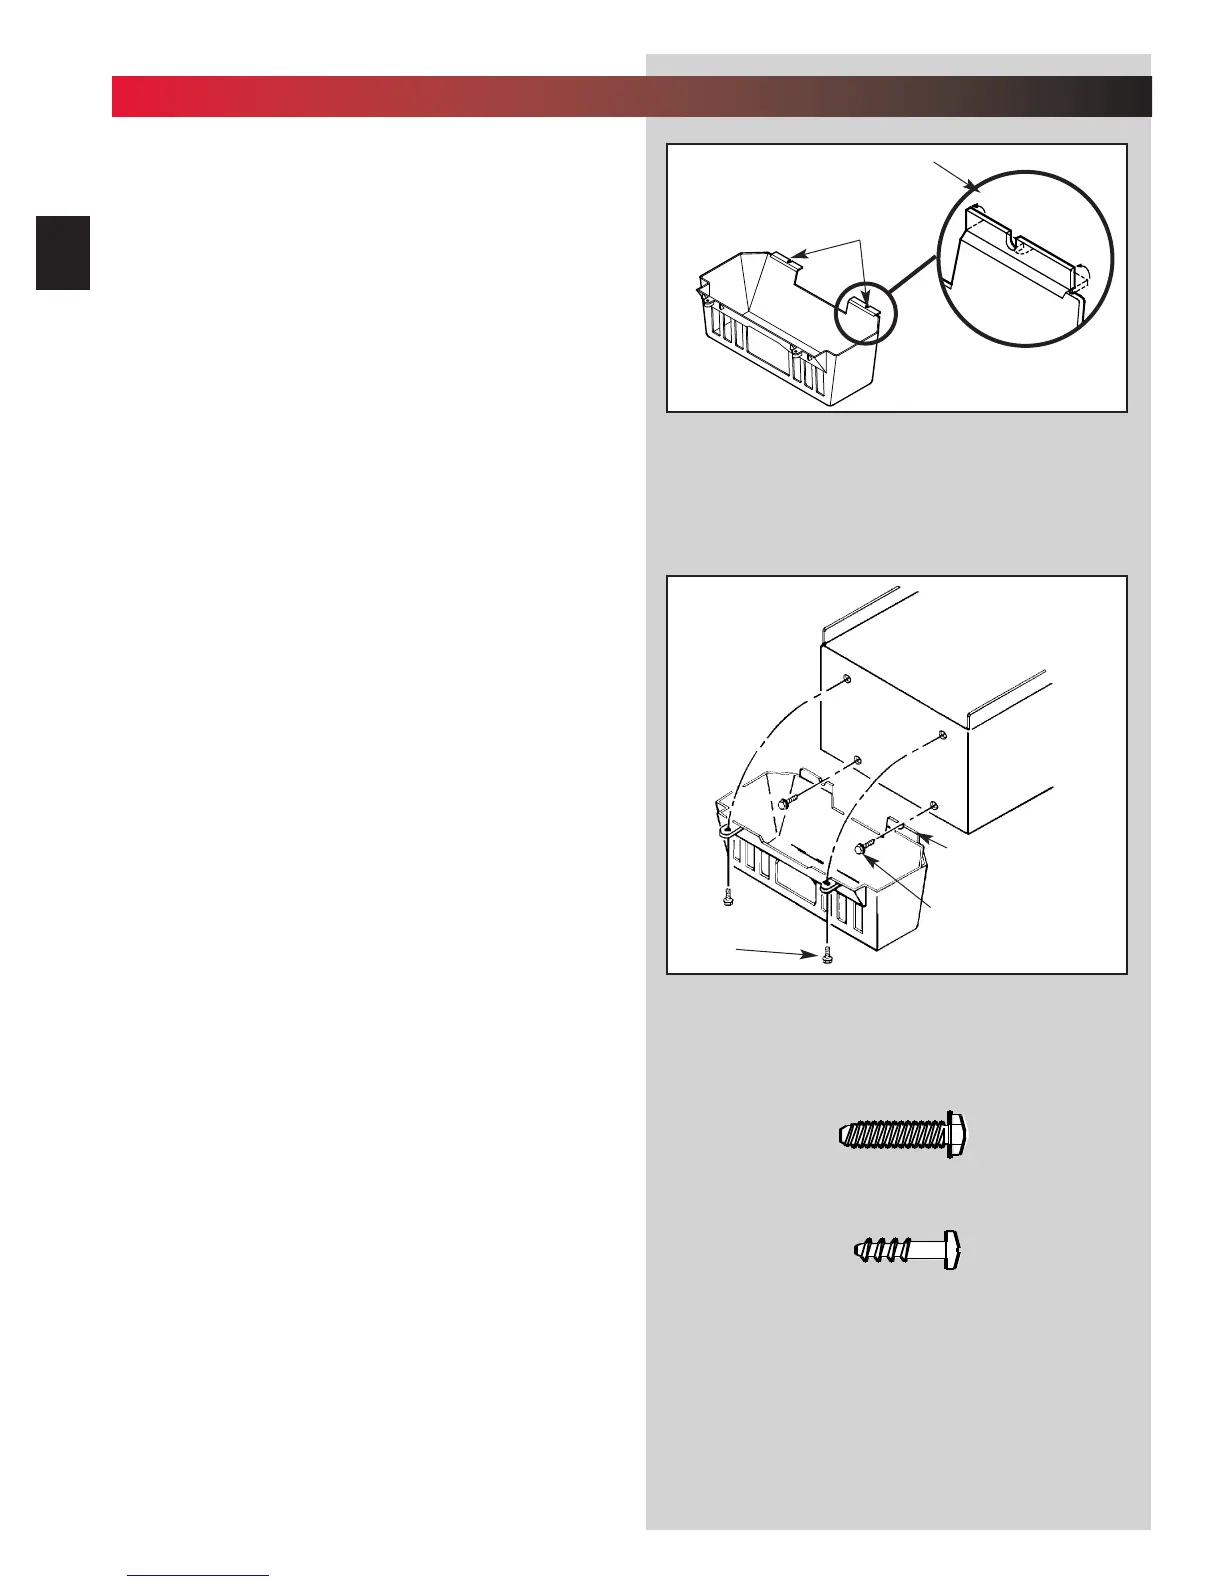
2. Bend two (2) slotted tabs up. This will activate
the ”living hinge” of the lens (Fig. 11-1).
NOTE: The following steps use the screws from the Blue
P
arts Bag that were set aside earlier.
3. Start two (2) No. 8 x 3/4” hex head screws into
b
ottom holes of panel (Fig. 11-2).
• Slide slotted tabs up behind hex head screws.
• Tighten hex head screws.
4. Align lens holes and holes of panel.
• Insert and tighten a No. 8 x 5/8” pan head
scr
ew into each round lens hole and tighten,
NOTE: Screw heads fit completely into recess of lens
tab.
Fig. 11-2
Fig. 11-1
Pan head
screws
Bend tabs up
Slotted tabs
Bend tabs up (2)
Hex head
screws
11
...
LIGHT BULB AND LENS INSTALLATION
FOR HELP—1-800-929.3667 OR OVERHEADDOOR.COM
26
[
10
]
[
10
]
[
9
]
Hex Head Screw
No. 8 x 3/4”
Pan Head
Phillips Screw
No. 8 x 5/8”
[
9
]
 Loading...