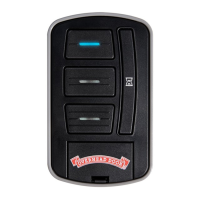
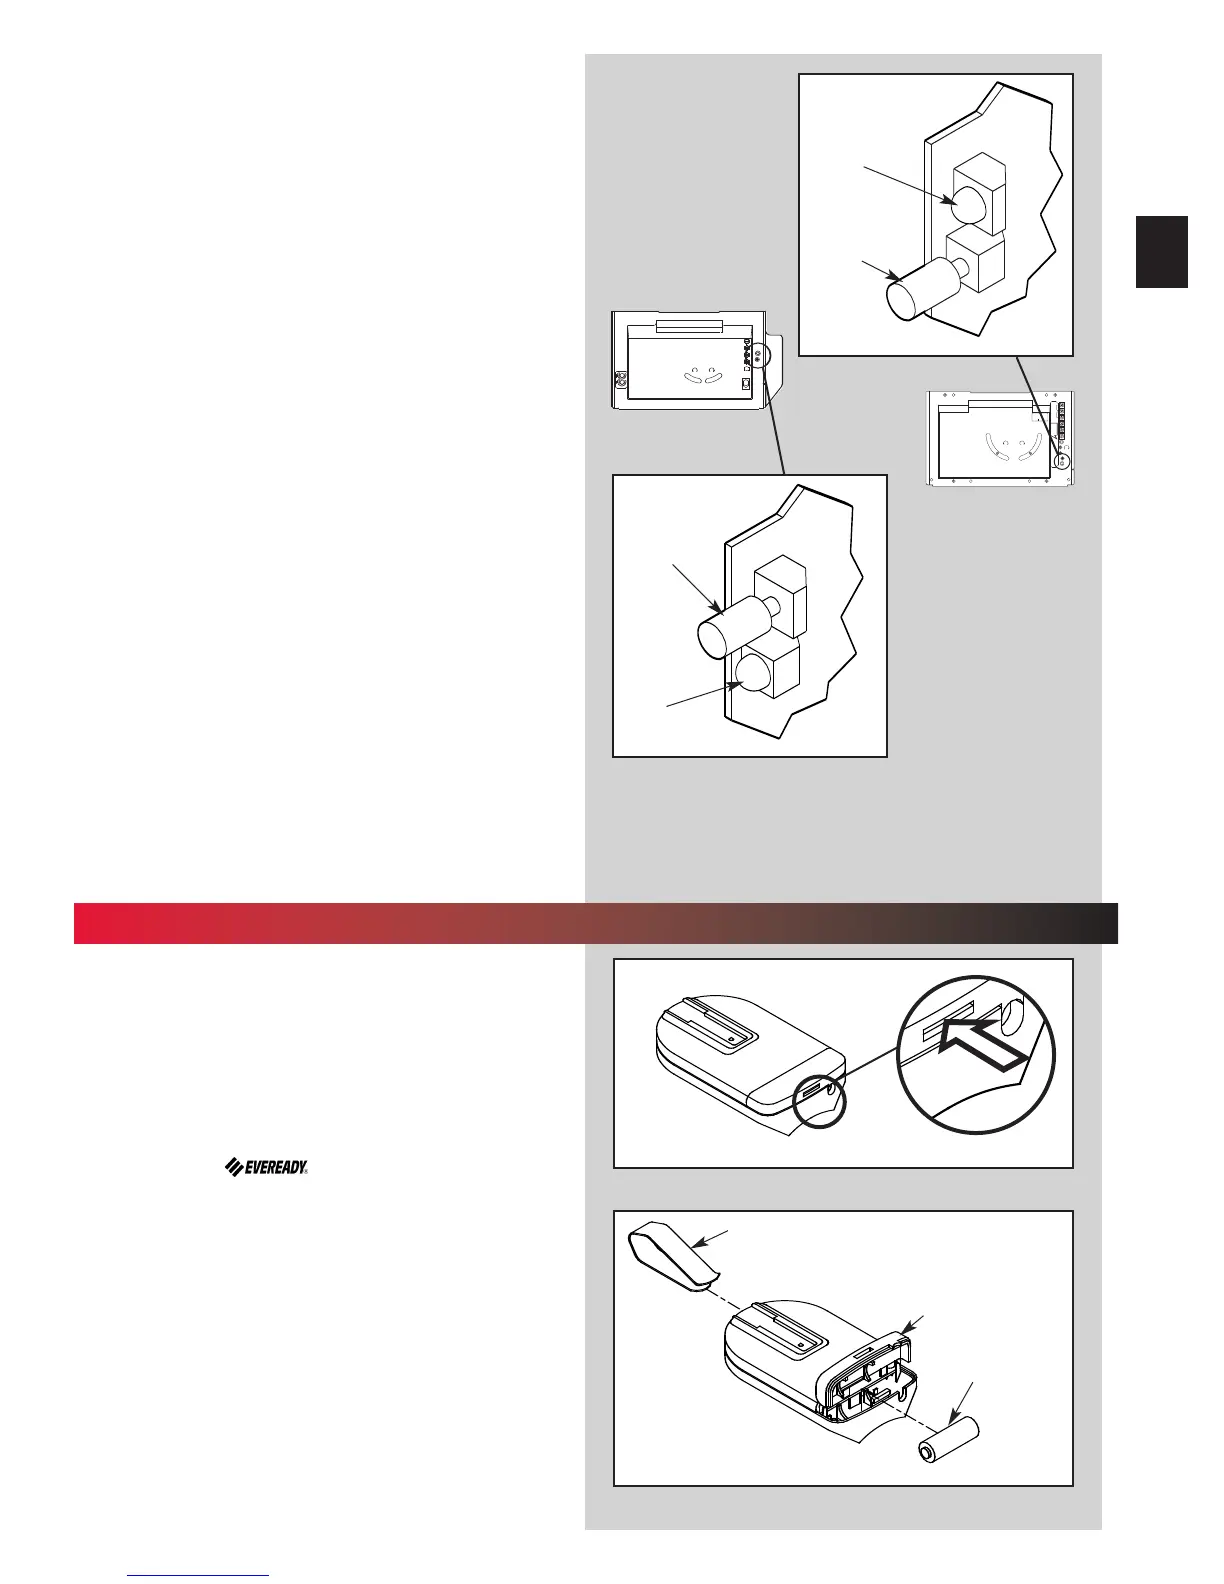
1. Turn remote control upside down (Fig. 10-1)
2. Battery replacement (your remote control is
ba
ttery powered).
• Gently push straight IN on tab as shown
(Fig. 10-1).
– use ball point pen, coin or small screwdriver.
– battery cover snaps open.
• Install new battery in same position.
– use A23, 12 Volt battery.
3. Attach visor clip t
o remote control (Fig. 10-2)
• Slide visor clip into back of case until it snaps
in
to place.
4. Remote c
ontrol operation
• Point remote control at the garage door and
pr
ess the button. Door will move.
• Press r
emote control button again and door
will stop.
• Press remote control button again and the door
will mov
e the other way. The door automatically
stops at the end of the open or close cycle.
Fig. 10-1
Fig. 10-2
Visor clip
Battery
Battery
cover
+
–
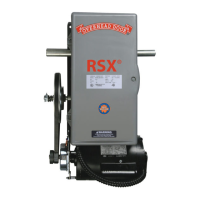
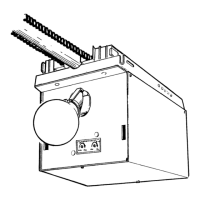
Fig. 9-1
Learn
code
button
Radio sig-
nal indica-
tor
M
ORE
M
ORE
L
IMIT ADJUSTMENT
C
LOSE
OPEN
PUSH
L
IMITS
TO SET
4
3
2
1
CLASS 2
NEC
N
EC
CLASS 2
1
2
3
4
5
6
MORE
FORCE
PUSH
BUTTON
SAFETY
BEAM
LIMIT
S
ET
OPEN
FORCE
CLOSE
FORCE
RADIO
SIGNAL
LEARN
CODE
COM
DO NOT
PUSH
LIMIT SET
UNLESS
DOOR IS
ATTACHED
N
OTE:
USE ONLY WITH
SERIES II CONTROLS
CLOSE
MORE
OPEN
MORE
CLOSE OPEN
LIMIT ADJUSTMENT
U.S. Patent No. 5,243,784
5,221,869
STEALTH
PRO-MAX
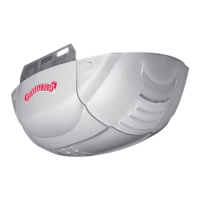
• Press and release a remote control button.
– LED on p
ower head stops blinking.
• Pr
ess and release same remote button again.
– LED go
es out. Remote is now programmed.
2. Program multi-button remote control
• Repeat step 1 (“program one-button remote” for
each butt
on).
NOTE: Each button on a multi-button remote control is for
a differ
ent operator.
3. Operate remote control
• Point remote control at door
– Door moves
• Press button again
– Door stops
• Press button again
– Door reverses
NOTE: Door automatically stops at end of open or close
c
ycle.
4. Erasing all receiver memory
• Press and hold learn code button on
p
ower head
– 10 seconds or until light goes out
– Memory is erased
• Pr
ogram door operator again
• Press remote control button once within
30 sec
onds
– LED on pow
er head stays lit
• Press remote c
ontrol button again
– LED on power head goes out and remote
c
ontrol is programmed
NOTE: If LED blinks approximately 4 times per second,
pro
gramming has stopped. If programming stops, repeat
above steps.
Radio sig-
nal indica-
tor
Learn
code
button
25
10
...
BATTERY / VISOR CLIP INSTALLATION
 Loading...