22
1 Set [ BASIC] >> [ CLOCK SET] >>
[YES].
CLOCK SET
JAN .01.2006 12:00AM
SETUP
SET ENTER EXIT
• If the built-in battery is weak, the [ ] Indication
flashes. In this case, charge the built-in battery.
• The clock uses the 12-hour system.
2 Move the Joystick Control [◄] or [►] to
select the item to be set. Then move the
Joystick Control [▲] or [▼] to set the
desired value.
• Year will cycle in the order shown below.
2000, 2001, ..., 2089, 2000, ...
About Date/Time
• The Date and Time function are driven by a
built-in lithium battery.
• Make sure to check the time before recording
because the built-in clock is not very accurate.
Recharging the built-in lithium battery
If [ ] or [--] is appears when the Camcorder is
turned on, then the built-in lithium battery has run
down. Use the steps below to charge the battery.
When the battery is inserted for the first time after
charging, [SET DATE AND TIME] will appear.
Select [YES] and set the date and time.
Connect the AC adaptor to the Camcorder or
place the battery on the Camcorder, and the
built-in lithium battery will be recharged. Leave the
camera as is for approx. 24 hours, and the battery
will drive the date and time for approx. 6 months.
(Even if the [OFF/ON] Switch is set to [OFF], the
battery is still being recharged.)
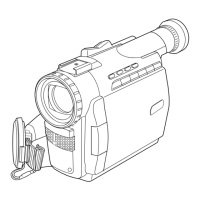
Using the Viewfinder/ LCD Monitor
Before using the Viewfinder, adjust the field of view
so that the displays inside the Viewfinder become
clear and easy to read.
1 Pull the Viewfi nder.
Using the Viewfinder
• The Viewfinder will be activated.
2 Adjust by turning the Eyepiece Corrector
Knob.
• You can adjust the brightness of the Viewfinder
from the Menu.
3 Press the Joystick Control to fi nish setting
the date and time.
• The clock operation starts from [00] second.
2 Adjust the LCD Monitor angle according to
the desired recording angle.
• The LCD Monitor can rotate a maximum of
180°
1
from the vertical position upwards
and a maximum of 90°
2
to the downward
direction. Forcefully rotating the LCD Monitor
beyond these ranges will damage the
Camcorder.
1
180°
2
90°
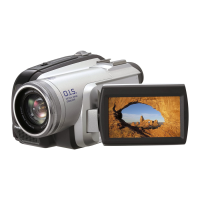
With the LCD Monitor open, you can also record the
picture while watching it.
1 Place your Thumb on the [OPEN] Knob
and pull the LCD Monitor out in the
direction of the arrow.
• The LCD Monitor will be activated.
• It can open up to 90°.
Using the LCD Monitor
 Loading...