Basic
29
VQT1K01
• If you keep pressing 2/1, the number
of pictures forwarded/ rewound
increases.
• In review playback in recording mode
and in multi playback (P70), the
pictures can only be forwarded or
rewound one by one.
• This camera is based on the DCF
standard “Design rule for Camera File
system” which was established by the
“JEITA (Japan Electronics and Information
Technology Industries Association)”.
• The LCD monitor may not be able to
display the details of the recorded
pictures. You can use the playback zoom
(P72) to check the details of the pictures.
• If you play back pictures that have been
recorded with other equipment, the picture
quality may deteriorate. (The pictures are
displayed as [THUMBNAIL IS
DISPLAYED] on the screen.)
• If you change a folder name or file name
on your PC, the pictures may not play
back on the camera.
• If you play back a non-standard file, the
folder/file number is indicated by [—] and
the screen may turn black.
• The lens barrel retracts about 15 seconds
after switching from [REC] mode to [PLAY]
mode.
• Depending on the subject, an interference
fringe may appear on the screen. This is
called moire. This is not a malfunction.
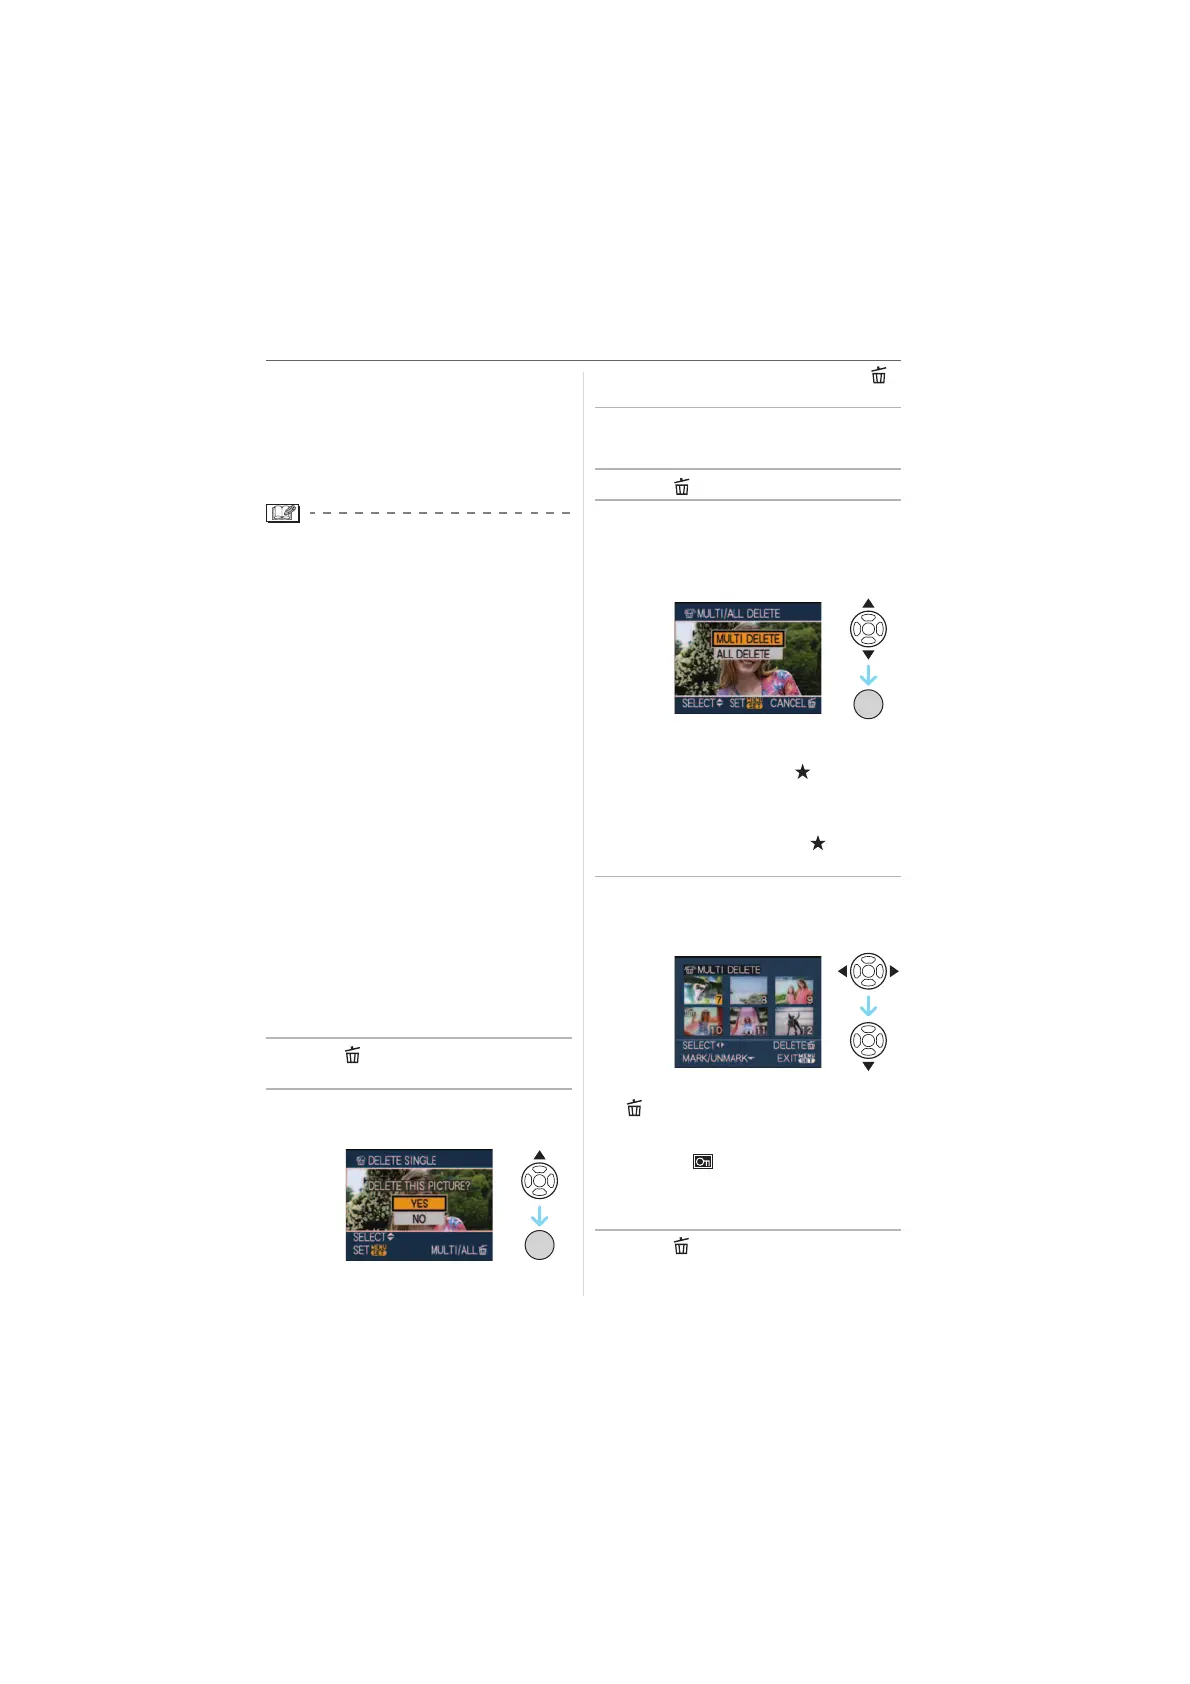
∫ To delete a single picture
1 Press [ ] while the picture is
being played back.
2 Press 3 to select [YES] and then
press [MENU/SET].
• While the picture is being deleted, [ ]
appears on the screen.
∫ To delete [MULTI DELETE]/
[ALL DELETE]
1 Press [ ] twice.
2 Press 3/4 to select
[MULTI DELETE] or
[ALL DELETE] and then press
[MENU/SET].
• [MULTI DELETE] > step 3.
• [ALL DELETE] > step
5.
• [ALL DELETE EXCEPT ] (When
[FAVORITE] (P80) is set only) >
step
5.
(However, this cannot be selected if
none of the pictures have [ ]
displayed.)
3 Press 2/1 to select the picture
and then press 4 to set.
(Only when selecting [MULTI DELETE])
• Repeat the above procedure.
• [ ] appears on the selected pictures. If
4 is pressed again, the setting is
cancelled.
• The icon [ ] blinks red if the selected
picture is protected and cannot be
deleted. Cancel the protect setting and
then delete the picture. (P86)
4 Press [ ].
/SET
MENU
/SET
MENU