Advanced (Playback)
84
VQT1K01
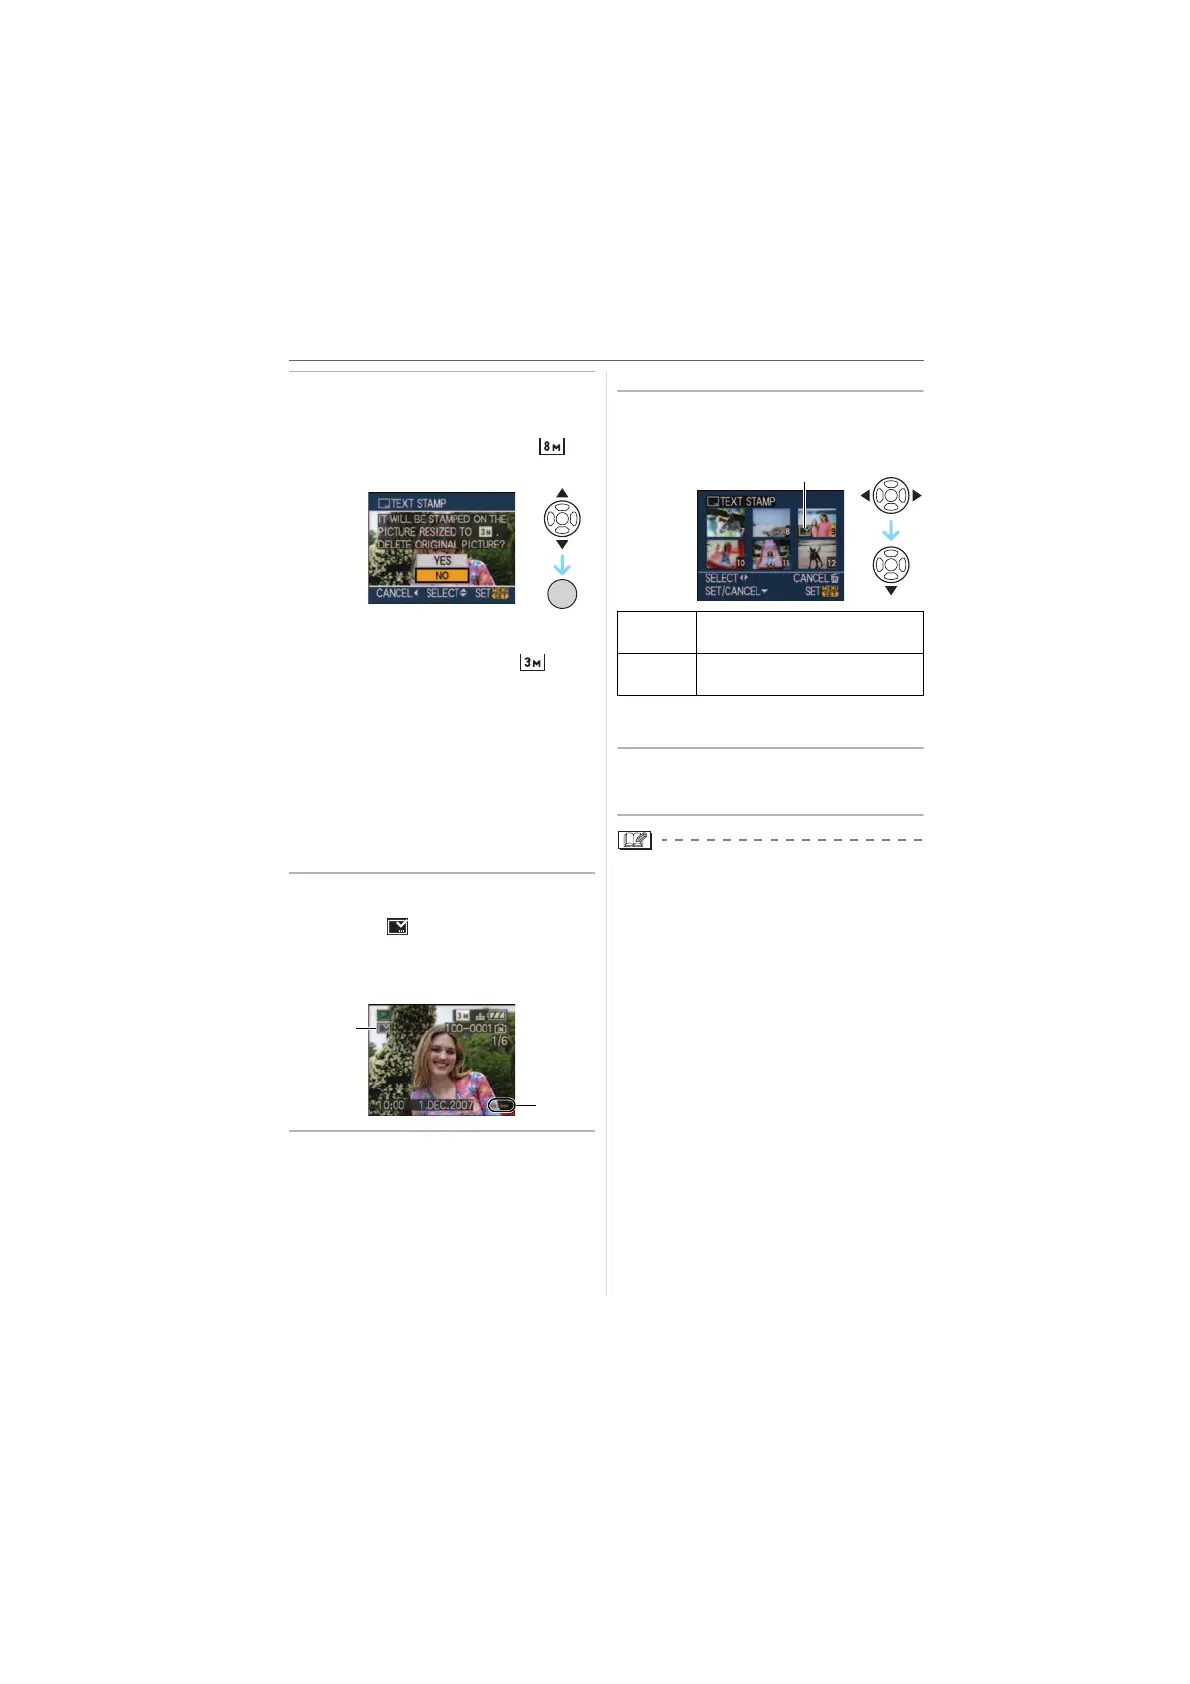
4 Press 3/4 to select [YES] or
[NO] and then press [MENU/SET].
(The screen shown appears when you
select a picture recorded with a [ ]
picture size.)
• The message [DELETE ORIGINAL
PICTURE?] appears if the picture was
recorded with a picture size [ ] or
less.
• The picture is overwritten when you
select [YES]. Pictures stamped with text
cannot be restored once they are
overwritten.
• A picture stamped with text is newly
created when you select [NO].
• If the original picture is protected, you
cannot overwrite it. Select [NO] and
newly create the picture stamped with
text.
5 Press [MENU/SET] twice to close
the menu.
• The icon [ ] A appears on screen if
the picture is stamped with text.
• Use playback zoom to check added text
and dates information B.
∫ Multi setting
1 Press 2/1 to select the picture
and then press 4 to SET/
CANCEL.
• Repeat this step.
2 Press [MENU/SET].
• After performing step 2, perform
step
2 onwards in “Single setting”.
• When you print pictures stamped with
text, the date will be printed over the
stamped text if you specify printing of
the date at the photo shop or on the
printer.
• We recommend that you use text
stamping when there is plenty of space in
the built-in memory or the card.
• You can set up to 50 pictures at one time
in [MULTI].
• If you select [YES] in step
4 when the
pictures selected under [MULTI] include
protected pictures, a message appears
and only the protected pictures cannot be
stamped with text.
• Depending on the printer being used,
some characters may be cut at printing.
Check before printing.
• You cannot use the following functions if
text has been stamped on the picture.
– [TEXT STAMP]
– The [PRINT WITH DATE] setting for
DPOF print
–[RESIZE]
/SET
MENU
A
B
[SET]
The [TEXT STAMP] icon A
appears.
[CANCEL]
The [TEXT STAMP] icon A
disappears.
A