This page explains how to connect the unit to a television and set it up so you hear the audio through the television’s speakers. To get the full benefit from
the powerful 5.1~channel audio found on DVDs, YOU should connect an amplifier and six speakers (0 page 18).
Before connection
*Disconnect the AC power supply cord.
*Refer to the television’s operating instructions.
Television
red white vellow
Audio/video cable
S VIDEO OUT terminal
The S-video terminal achieves a more vivid picture than the VIDEO
OUT terminal by separating the chrominance (C) and luminance (Y)
signals. (Actual results depend on the television.)
Television
S video cable
(not included)
EP bb
Connection to AUDIO IN also necessary (see left)
: (The illustration shows the model for the U.S.A. and Canada.)
/
COMPONENT VIDEO OUT
terminal
Connection using these terminals outputs the color difference sit
nals (Ps/Ps) and luminance signal (Y) separately in order to achie\
high fidelity in reproducing colors.
*The description of the component video input terminals depenc
on the television or monitor (e.g. Y/PB/Ps, Y/B-Y/R-Y, Y/C&s).
Connect to terminals of the same color.
*After making this connection, change the black level for a bettr
picture (- page 16, Video-Black
Level Control). Television
Video cable
COMPONENT
Connection to AUDIO IN also necessary (see above)
AC power supply cord
(included)
To household AC outlet
-4 (for unrts with PX printed on the outer packaging)
If the power plug does not fit your AC outlet
*Use the power plug adaptor (included).
If it still doesn’t fit, contact an electrical parts distributor for assistance.
Conserving power
This unit consumes a small amount of power, even when it is turned off.
B
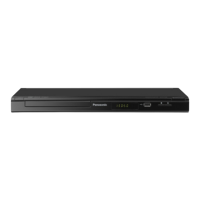
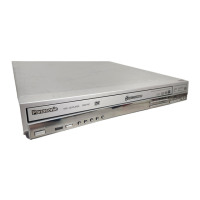
;DVD-RV221
approx. 2 W
To save power when the unit is not to be used for a long time, unplug it from the household AC outlet.

 Loading...