52
Recording mode
Taking pictures with automatic settings
(Intelligent Auto Mode)
Recording mode:
This mode is recommended for those who want to point and shoot as the camera
optimises settings to match the subject and recording environment.
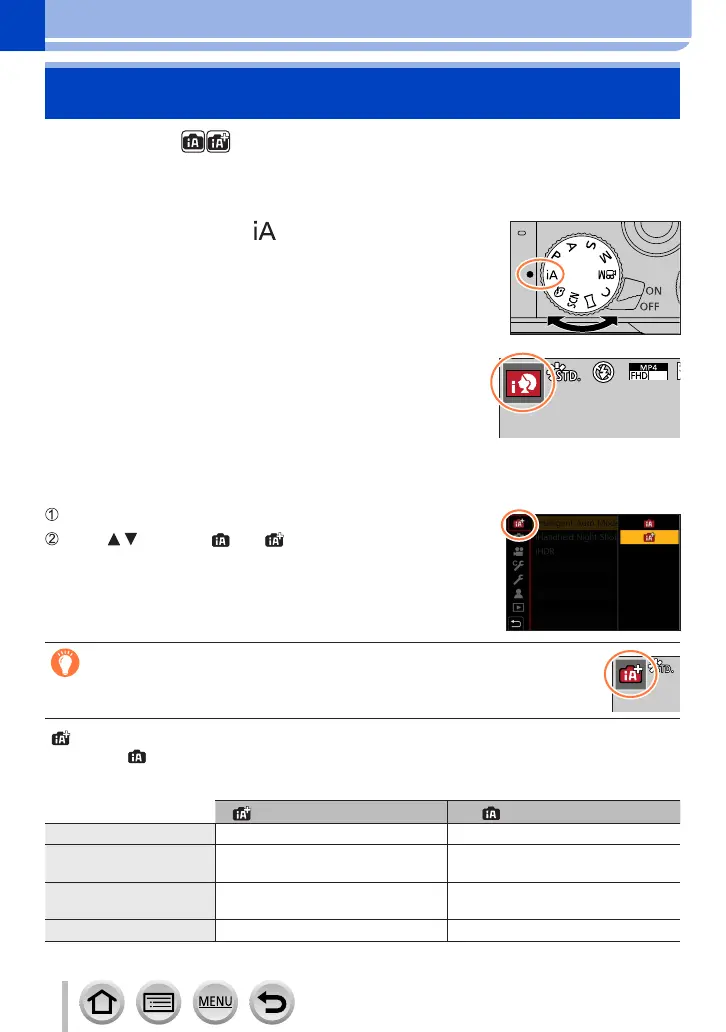
1
Set mode dial to [ ]
• At the time of purchase, the mode is set to Intelligent
Auto Plus Mode.
2
Point the camera at the subject
• When the camera identifies the optimal scene, the
icon for each scene turns blue for 2 seconds and then
changes to the normal red indication.
(Automatic Scene Detection)
50
p
■
Switching between Intelligent Auto Plus Mode and Intelligent Auto Mode
Select [Intelligent Auto Mode] in [Intelligent Auto] menu
Press to select [ ] or [ ] and press [MENU/SET]
It is also possible to display the selection screen by touching the Recording
mode icon in recording screen.
[ ] allows you to adjust some settings such as the brightness and colour tone while
also using [ ] for other settings so that you can record pictures more suited to your
preferences.
(○: Available, –: Not available)
Intelligent Auto Plus Mode
Intelligent Auto Mode
Setting the colour tone ○ –
Setting the brightness
(exposure)
○ –
Defocus control
function
○ –
Menus that can be set Many Few
 Loading...