125
3. Recording Modes
This effect adds a cast of light to the scene.
∫ Setting the light source
You can change the position and size of the light source.
1 Press [Fn4] to display the setting screen.
•
Setting screen can also be displayed by touching in order of [ ] then [ ].
2 Press 3
/
4
/
2
/
1 to move the centre position of the light source.
• The position of the light source can also be moved by touching the screen.
• The centre of the light source can be moved to the edge of the screen.
3 Adjust the size of the light source by rotating the rear
dial.
•
The display can also be enlarged/reduced by pinching out/pinching in.
• Pressing [DISP.] will return the light source setting back to the default setting.
4 Press [MENU/SET] to set.
•
Display of the recording screen will be delayed more than usual and the screen will look as if
frames are dropping.
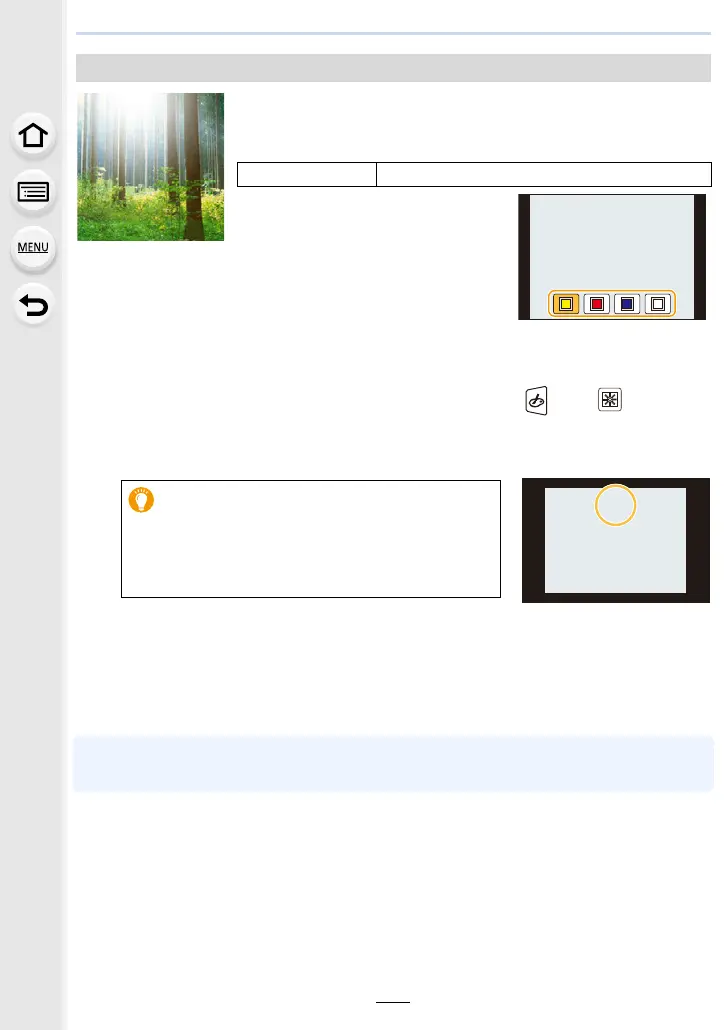
[Sunshine]
Items that can be set
Colour Yellow tone/Red tone/Blue tone/White tone
• Select the colour tone by rotating the
rear dial, and then press [MENU/SET].
Point for when placing the centre of the light
source
A more natural appearance can be created by
placing the centre of the light source outside the
image.
 Loading...