71
2. Getting Started/Basic Operations
¢ Function button settings at the time of purchase.
∫ Configuring the function button settings from the on-monitor recording
information screen
Touching [Fn] on the on-monitor recording information screen (P51) also allows you to
display the screen in step
2.
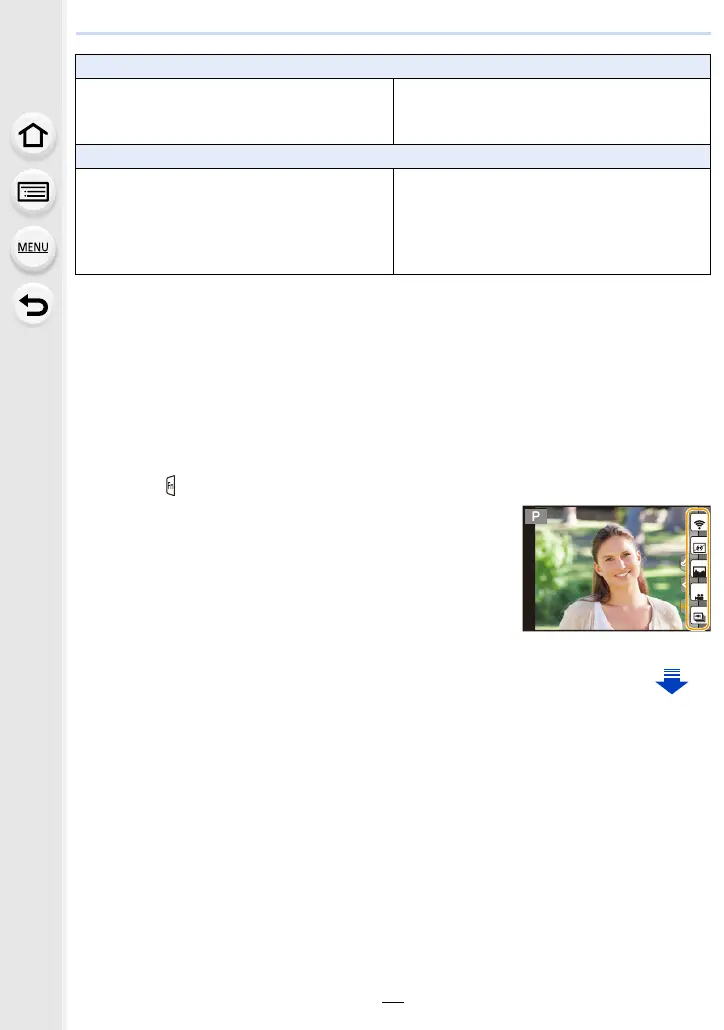
∫ Using function buttons with touch operations
[Fn6], [Fn7], [Fn8], [Fn9], and [Fn10] are used by touching function buttons.
1 Touch [ ].
2 Touch [Fn6], [Fn7], [Fn8], [Fn9] or [Fn10].
•
The assigned function will operate.
[Motion Picture] menu
– [Snap Movie] (P251): [Fn9]
¢
– [Motion Pic. Set]
([Rec Format] (P246)/[Rec Quality] (P246))
– [Picture Mode] (P249)
– [Mic. Directivity Adjust] (P362)
[Custom] menu
– [Silent Mode] (P212): [Fn3]
¢
– [Peaking] (P170)
– [Histogram] (P53): [Fn8]
¢
– [Guide Line] (P53)
– [Zebra Pattern] (P220)
– [Monochrome Live View] (P221)
– [Rec Area] (P243)
– [Step Zoom] (P228)
– [Zoom Speed] (P228)
– [Touch Screen] (P60)
Fn7
Fn6
Fn8
Fn9
SNAP
Fn10

 Loading...