Advanced-Shooting
Taking Pictures Using the Built-in Flash
11£1
PASM
.~r.gSCN
I
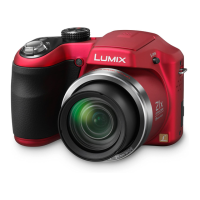
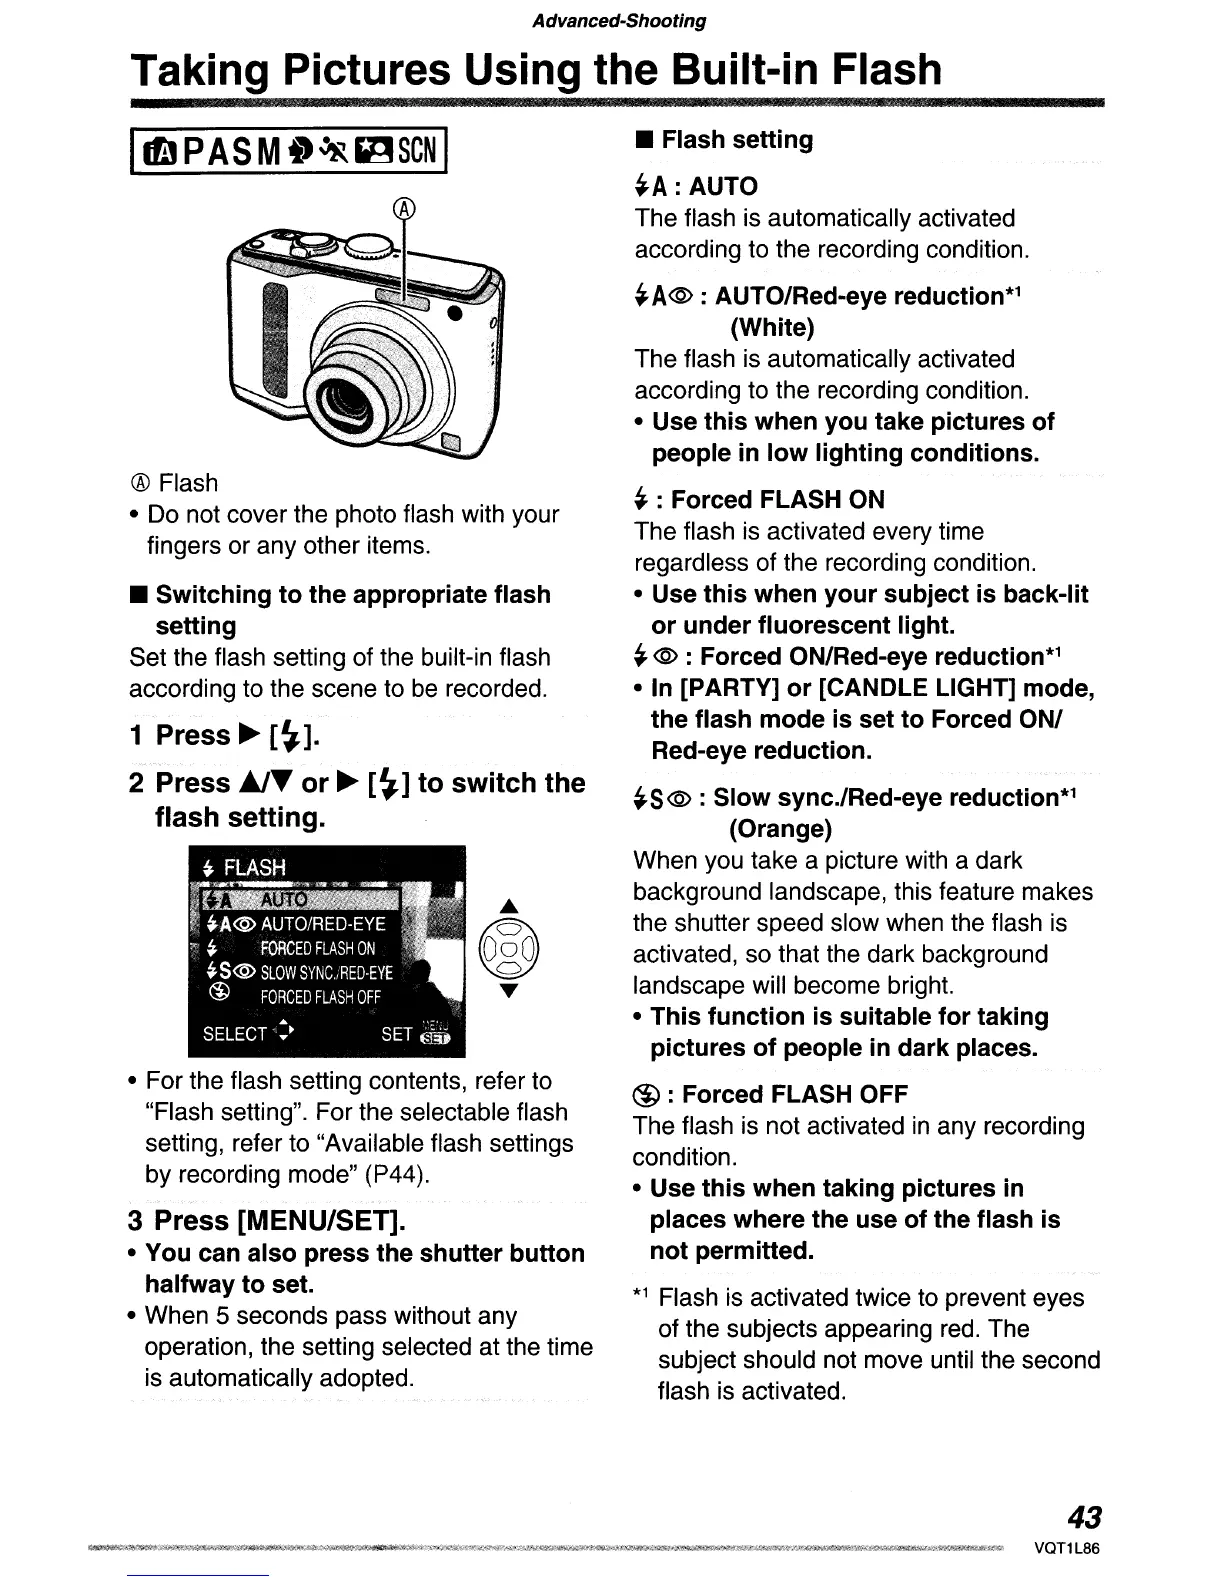
® Flash
• Do not cover the photo flash with your
fingers or any other items.
• Switching to the appropriate flash
setting
Set the flash setting of the built-in flash
according to the scene to
be
recorded.
1 Press
~
[~].
2 Press
JJT
or
~
[~]
to switch the
flash setting.
• For the flash setting contents, refer to
"Flash setting". For the selectable flash
setting, refer to "Available flash settings
by recording mode" (P44).
3 Press [MENU/SET].
• You can also press the shutter button
halfway to set.
• When 5 seconds pass without any
operation, the setting selected at the time
is
automatically adopted.
• Flash setting
~A:AUTO
The flash is automatically activated
according to the recording condition.
~A@:
AUTO/Red-eye reduction*1
(White)
The flash is automatically activated
according to the recording condition.
• Use this when you take pictures of
people
in
low lighting conditions.
~
: Forced FLASH ON
The flash is activated every time
regardless of the recording condition.
• Use this when your subject is back-lit
or under fluorescent light.
~
@ : Forced ON/Red-eye reduction*1
•
In
[PARTY] or [CANDLE LIGHT] mode,
the flash mode is set to Forced ON/
Red-eye reduction.
~S
@ : Slow sync./Red-eye reduction*1
(Orange)
When you take a picture with a dark
background landscape, this feature makes
the shutter speed slow when the flash
is
activated, so that the dark background
landscape will become bright.
• This function
is
suitable for taking
pictures of people
in
dark places.
@ : Forced FLASH OFF
The flash is not activated in any recording
condition.
• Use this when taking pictures
in
places where the use of the flash is
not permitted.
*1 Flash
is
activated twice to prevent eyes
of the subjects appearing
red.
The
subject should not move until the second
flash
is
activated.
43
 Loading...