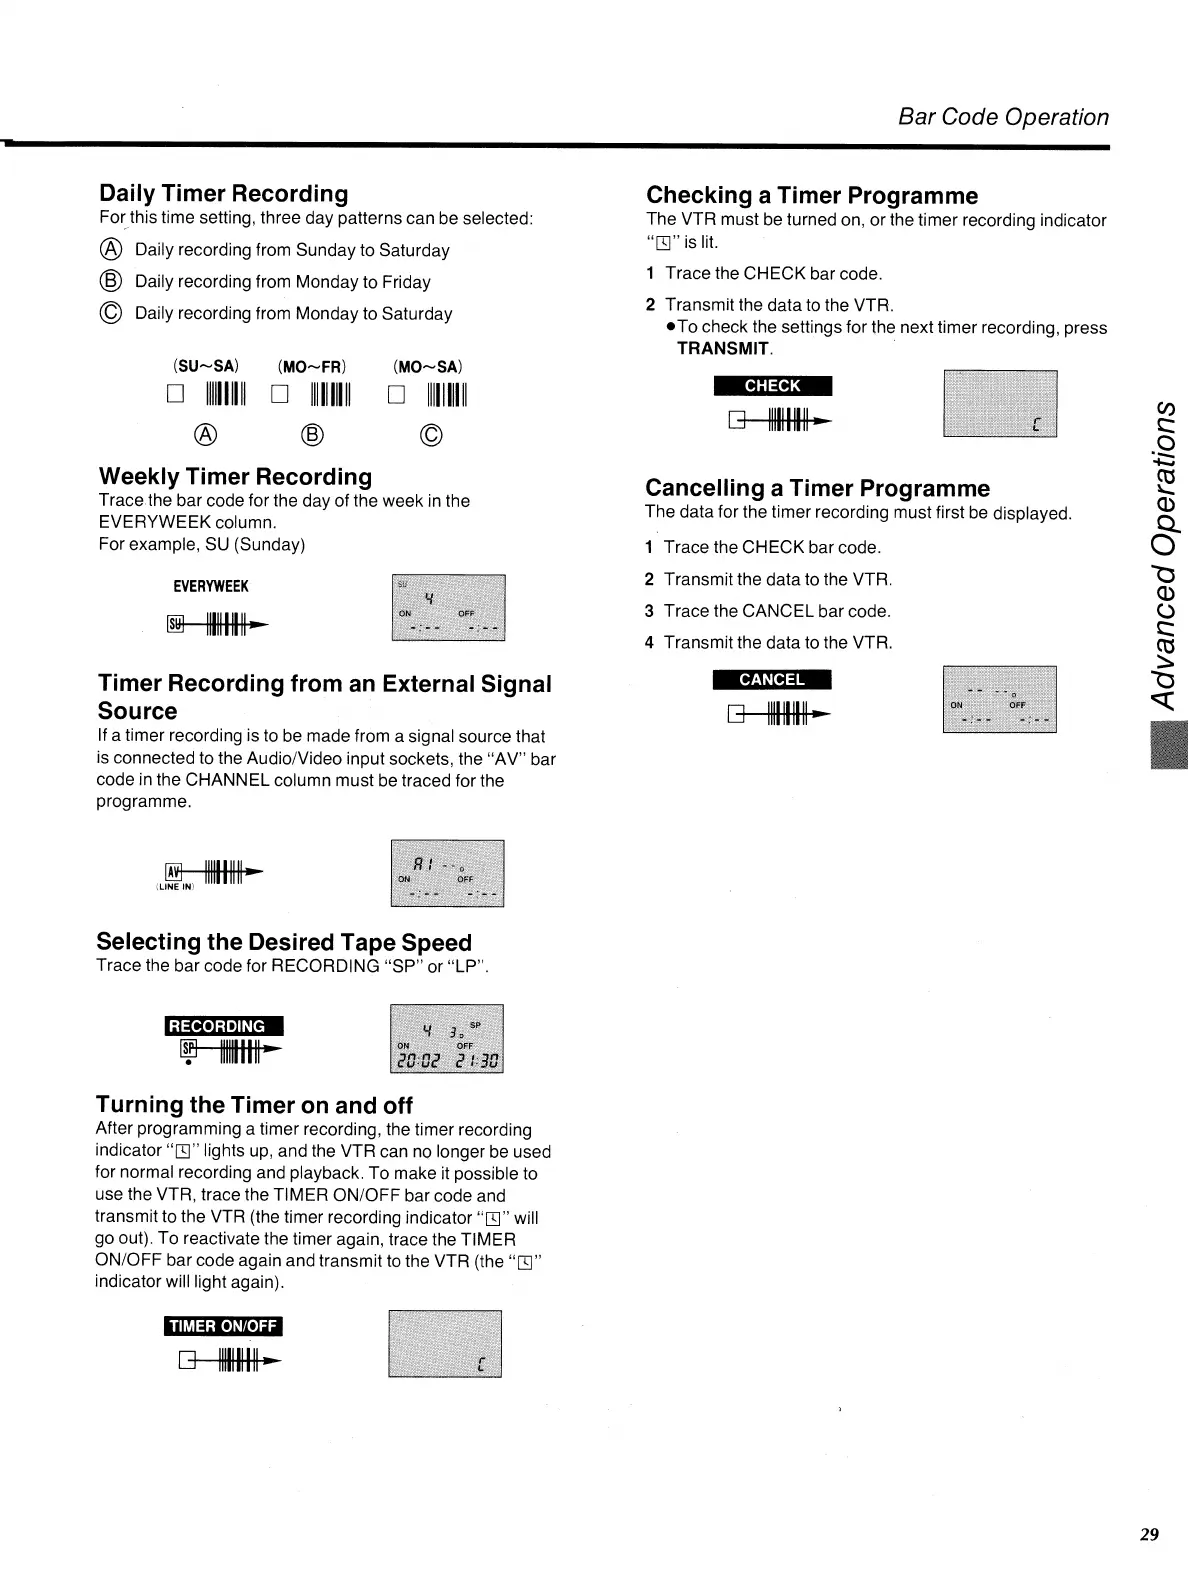
Daily Timer Recording
For this time setting, three day patterns can be selected:
Daily recording from Sunday to Saturday
Daily recording from Monday to Friday
Daily recording from Monday to Saturday
(SU—SA)
(MO—FR)
(MO—SA)
[I]
il
11 111 11
MINI1
® 0
Weekly Timer Recording
Trace the bar code for the day of the week in the
EVERYWEEK column.
For example, SU (Sunday)
EVERYWEEK
SU
Bar Code Operation
Checking a Timer Programme
The VTR must be turned on, or the timer recording indicator
"s" is
lit.
1
Trace the CHECK bar code.
2
Transmit the data to the VTR.
•
To check the settings for the next timer recording, press
TRANSMIT.
CHECK
❑
1111111111
Cancelling a Timer Programme
The data for the timer recording must first be displayed.
1
Trace the CHECK bar code.
2
Transmit the data to the VTR.
3 Trace the CANCEL bar code.
4
Transmit the data to the VTR.
Timer Recording from an External Signal
Source
If a timer recording is to be made from a signal source that
is connected to the Audio/Video input sockets, the "AV" bar
code in the CHANNEL column must be traced for the
programme.
CANCEL
AV
(LINE IN)
Selecting the Desired Tape Speed
Trace the bar code for RECORDING "SP" or "LP".
RECORDING
SP
Turning the Timer on and off
After programming a timer recording, the timer recording
indicator
"Er
lights up, and the VTR can no longer be used
for normal recording and playback. To make it possible to
use the VTR, trace the TIMER ON/OFF bar code and
transmit to the VTR (the timer recording indicator "M" will
go out). To reactivate the timer again, trace the TIMER
ON/OFF bar code again and transmit to the VTR (the "0"
indicator will light again).
TIMER ON/OFF
R
29