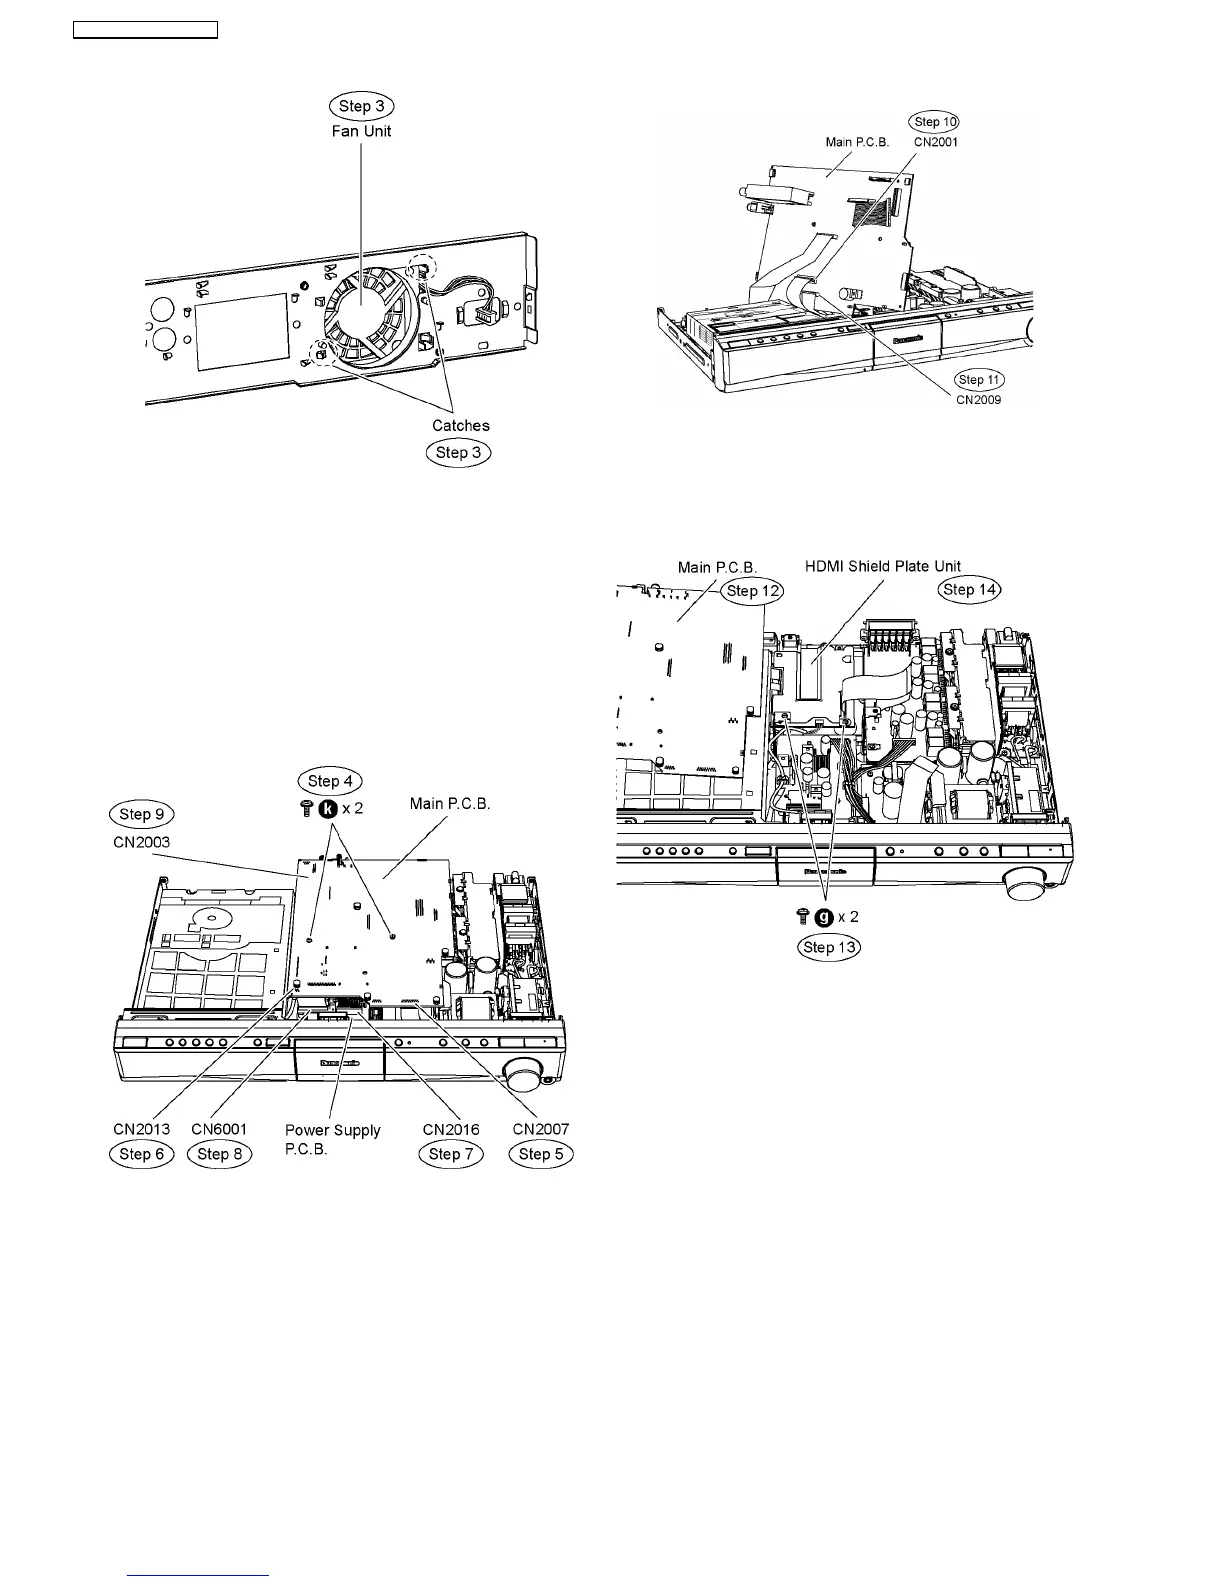
Step 4 Remove2screwsonMainP.C.B.
Step 5 Detach 17p cable at the connector (CN2007) on Main
P.C.B.
Step 6 Detach 4P cable at the connector (CN2013) on Main
P.C.B.
Step 7 Detach 13P cable at the connector (CN2016) on Power
Supply P.C.B.
Step 8 Detach 28P cable at the connector (CN6001) on Power
Supply P.C.B.
Step 9 Detach 14P cable at the connector (CN2003) on Main
P.C.B.
Step 10 Turn over Main P.C.B. to detach 50P cable at the
connector (CN2001).
Step 11 Turn over Main P.C.B. to detach 17P cable at the
connector (CN2009).
Step 12 Move aside Main P.C.B. and position it according to
the diagram shown.
Step 13 Remove 2 screws from the HDMI shield plate unit.
Step 14 Remove the HDMI shield plate unit.
Caution Note: Keep the HDMI shield plate unit in safe
place. Avoid denting it. Place it back during assembling.
Step 15 Move Main P.C.B. in the direction of arrow.
Step 16 Connect 13P cable at the connector (CN2016) on
Power Supply P.C.B.
Step 17 Connect 28P cable at the connector (CN6001) on
Power Supply P.C.B.
Step 18 Connect 17P cable at the connector (CN2007) on
Main P.C.B.
Step 19 Connect 4P cable at the connector (CN2013) on Main
P.C.B.
Step 20 Connect 14P cable at the connector (CN2003) on
Main P.C.B.
74
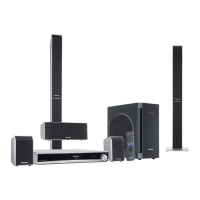
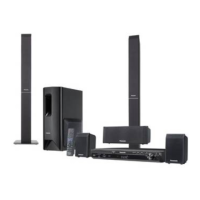
SA-PT760P / SA-PT760PC
 Loading...