42
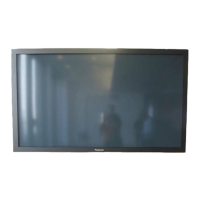
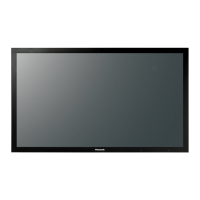
TH-152UX1 / TH-152UX1W / TH-152UX1C
b. Remove 4 screws and then remove Fan Block B, N ,
U and P.
c. Fan Block is turned inside out.
d. Remove 4 screws and then remove Fan Unit (120).
-Remove Fan Block C, D, W and Z
a. Remove the Power Button Block.
(Refer to Removal of Power Button Block)
b. Disconnect the Fan Realy Connector.
c. Remove 4 screws and then remove Fan Block C, D,
W and Z .
-Removal of Fan Unit of Fan Block C, D, W and Z
a. Remove the Power Button Block.
(Refer to Removal of Power Button Block)
b. Disconnect the Fan Realy Connectors.
c. Remove each 4 screws and then remove Fan Block
C, D,W and Z.
d. Fan Block is turned inside out.
e. Remove each 4 screws and then remove Fan Unit
(80) and Fan Unit (120).
-Remove Fan Block E, H, M and Q
a. Disconnect the Fan Realy Connector.
b. Remove each 4 screws and then remove Fan Unit
from Fan Block E, H, M and Q.
c. Remove 5 screws and then remove Fan Fixed Plate
Block.
-Removal of Fan Unit of Fan Block E, H, M and Q
a. Disconnect the Fan Realy Connector.
 Loading...