57
6.2.1.2. IPv6 setup
1. Turn on printer power to connect printer to network.
2. Log in the embedded Web server (please refer to Chapter 6.1 for login method).
3. Click “Settings” – “Network settings” – “Protocol Settings” – “IPv6”.
4. Tick “Enable IPv6 protocol” and “Enable DHCPv6” (ticked by default) and then click “Apply”.
You can refresh the browser and view the “IPv6 Local Link Address” and “Stateful Address” in
“Wired IP Configuration” interface.
The printer supports using the following IPv6 addresses for network printing and
management.
• IPv6 local-link address: local IPv6 address set up by oneself (addresses beginning with
FE80).
• Stateful address: IPv6 address set up by DHCPv6 server (if there is no DHCPv6 server
in network, the “Stateful Address” cannot be assigned).
• Stateless address: IPv6 address set up by network router automatically (please refer to
Chapter 9.4 and print “Network setup page” view IPv6 address).
6.2.2. Wireless setup
You can set up the wireless network, wireless IP setup, WiFi Direct and WPS via wireless setup
page. Before setup, please log in the embedded Web server (please refer to Chapter 6.1 for login
method).
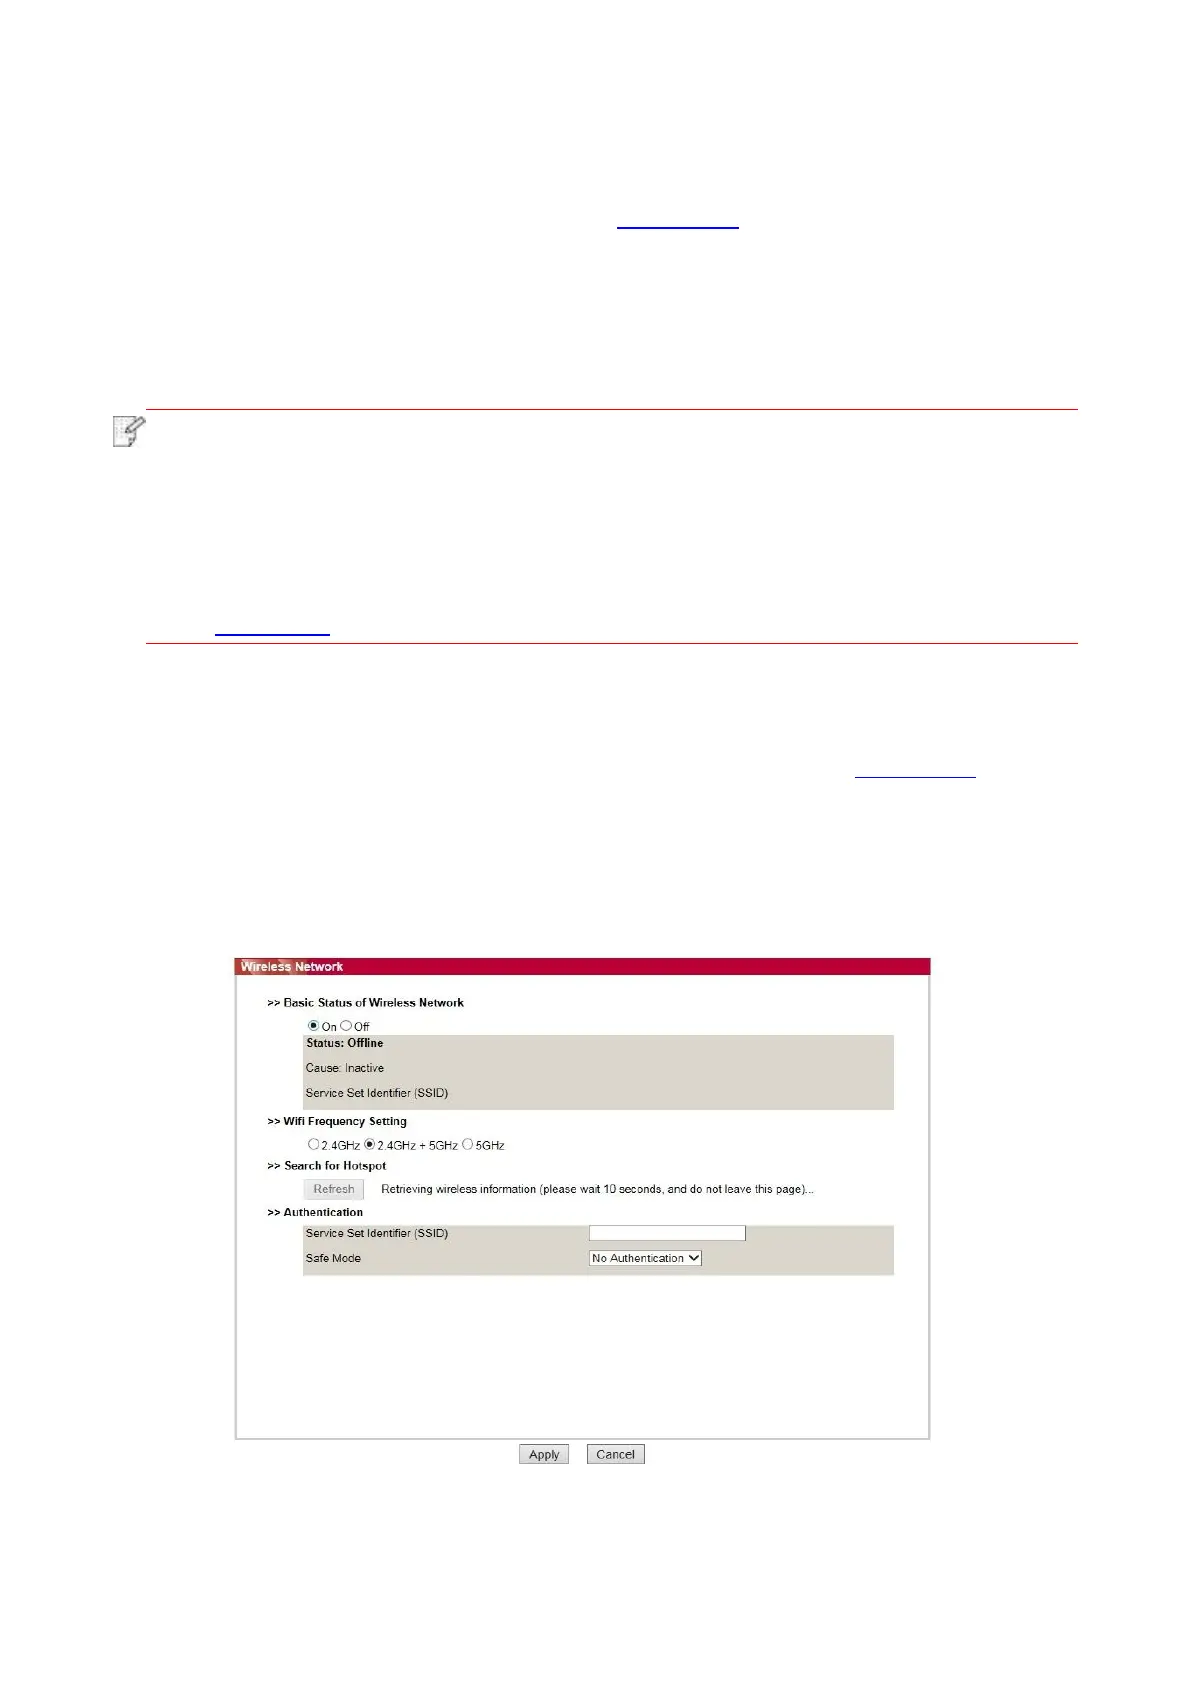
6.2.2.1. Wireless network
1. Click “Settings” – “Network settings” – “Wireless setup” – “Wireless Network”.
 Loading...