HS Consumer Treadmill
How To… Adjust Running Belt Tracking
Tools Required: Allen key set. (All fasteners are metric. Make sure that you have metric tools.)
Section 3
4
1. After the treadmill has been installed and
leveled, the belt must be checked for confirm
proper tracking. First, plug the power cord
into an appropriate outlet and turn the
treadmill power ON.
2. Press the QUICK START button then increase
speed to 8.0kph by pressing the SPEED+
button.
3. If the running belt has moved to the RIGHT,
turn the RIGHT tension bolt 1/4 turn
CLOCKWISE and the left tension bolt 1/4 turn
counterclockwise to start the running belt
tracking back to the center of the rear roller
If the running belt has moved to the LEFT,
turn the left tension bolt 1/4 turn CLOCKWISE
and the right tension bolt 1/4 turn
counterclockwise to start the running belt
tracking back to the center of the rear roller.
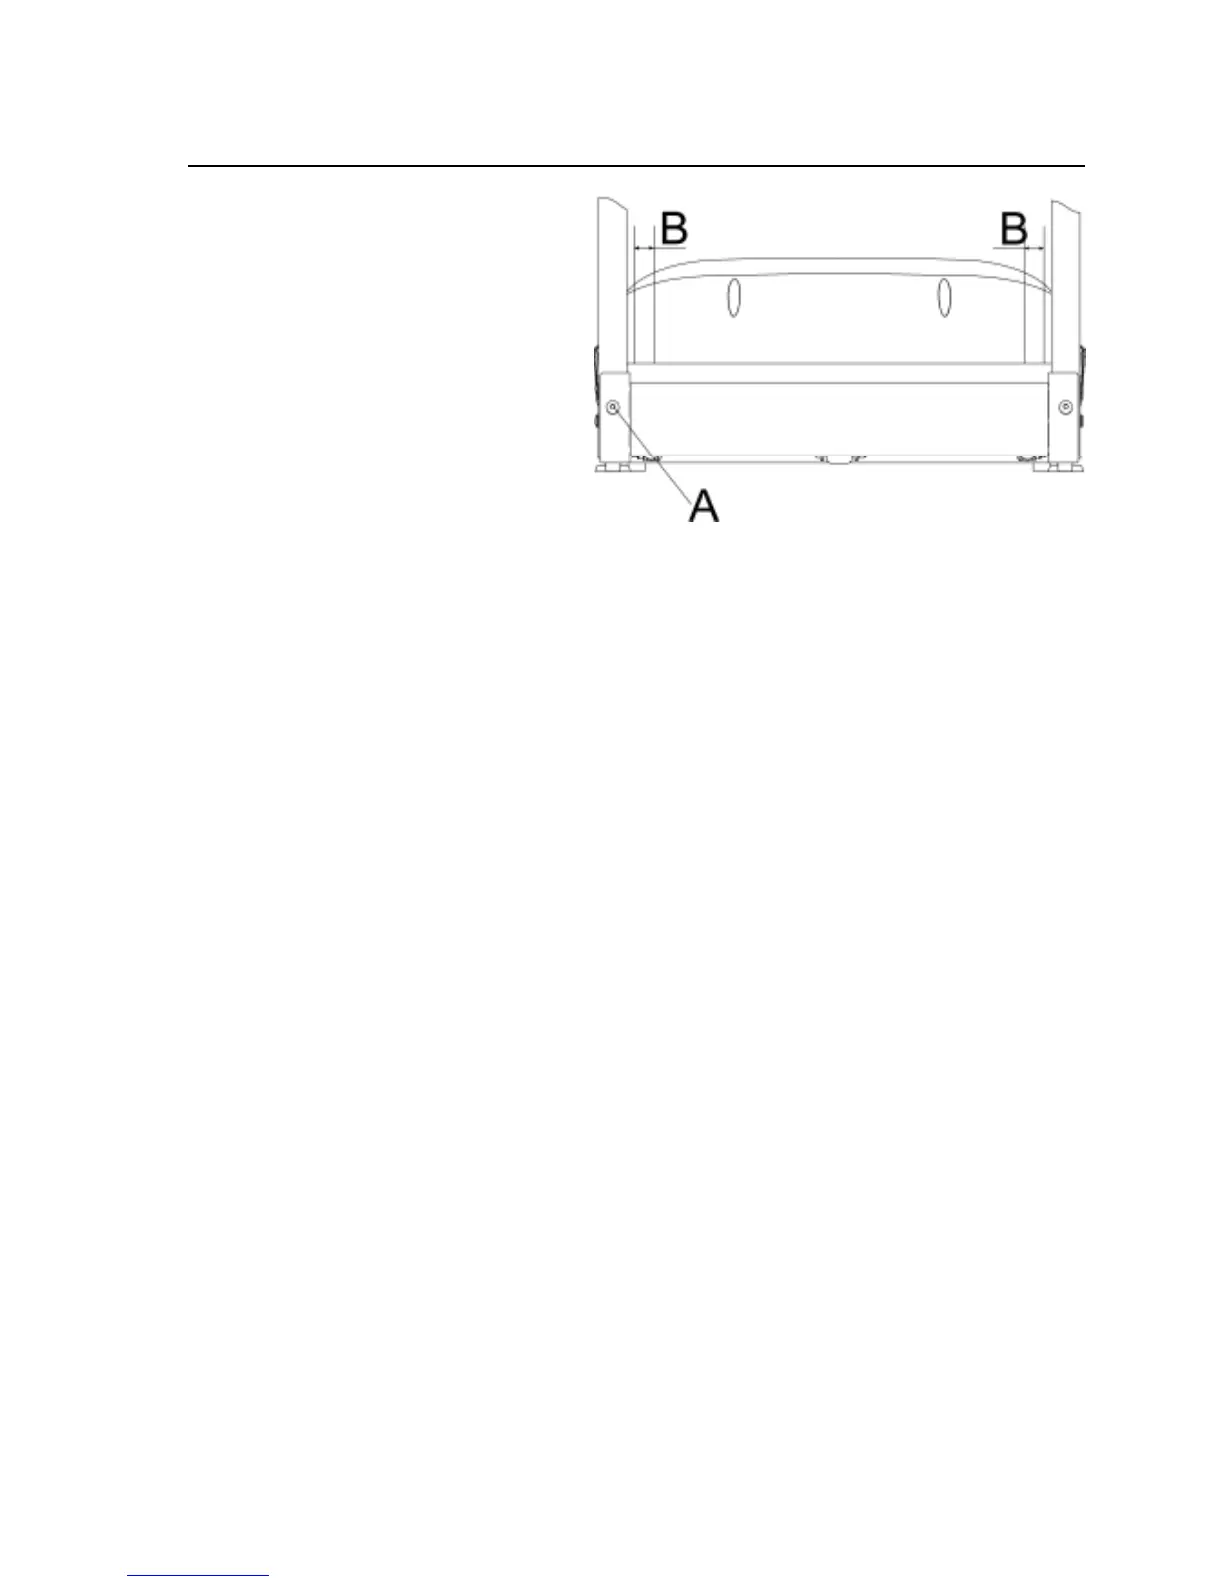
4. Repeat this adjustment until the running belt appears centered. The belt should be equal distance
(B) on both sides of the rear roller.
5. Allow the unit to operate for several minutes to see if the belt remains centered.
NOTE: During the adjustment above, DO NOT exceed one full turn of the adjusting screws in
either direction.