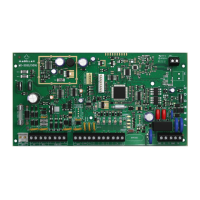
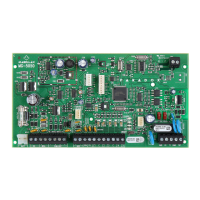
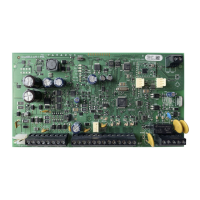
24 User Guide
Quick Programming
Master Quick Menus
User
Delays
Time and Date
Communicate with WinLoad / GSM
System Options
Step Action Details
1
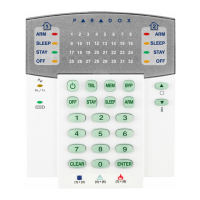
[] + [
MASTER CODE]
The [ ] key will flash. LED/key on = programmed user.
[
PARTITION MASTER CODE] may also be used.
2 [
USER NUMBER] 2 digits: 01 to 32.
3 [
CODE] Enter a 4 or 6-digit code.
4 [
CONFIRM CODE] Re-enter 4 or 6-digit code.
5
ASSIGN REMOTE Press any remote button twice.
If you do not wish to assign a remote, press [
ENTER].
6To program another user, go to step 2.
To e x it, pr e ss [
CLEAR].
For partitioned systems, continue to step 7.
7 [1] and/or [2] + [
ENTER] Assign the user to one or both partitions and press [ENTER]. By default,
users are assigned to partition 1. Goes to next available user.
Step Action Details
1
[] + [
MASTER CODE]
The [ ] key will flash.
2 [
TBL]
3 [1] = Entry Delay 1 (sec.)
[2] = Entry Delay 2 (sec.)
[3] = Exit Delay (sec.)
[4] = Bell Cut-Off (min.)
Default = 045 sec.
Default = 045 sec.
Default = 060 sec.
Default = 004 min.
4 [000] to [255] ___/___/___ Enter a value between 000 and 255
Step Action Details
1
[] + [
MASTER CODE]
The [ ] key will flash.
2 [
TBL] + [5]
3 [
HH:MM]* Enter time using the 24 hour format
(e.g. 18:00 for 6:00 pm).
*For SP4000 / SP65 systems, time
must be entered in 24hr format.
Omit step 4 (time format).
4 [1] = 24 Hour
[2] = AM; [3] = PM
Select time format.
5 [
YYYY/MM/DD] Enter date.
Step Action Details
1
[] + [
MASTER CODE]
The [ ] key will flash.
2 [
MEM]
3 [1] = Start communication
[2] = Test Report
[9] = Cancel communication
Step Action Details
1
[] + [
MASTER CODE]
The [ ] key will flash.
2 [
BYP]
3 [4] =
[5] =
[6] =
Tog gl e to ha ve th e si r en s qu aw k o n ar m/dis ar m wit h ke ypad .
Tog gl e to ha ve th e si r en s qu aw k o n ar m/dis ar m wit h re mote.
Tog gl e to ha ve no e xit d el ay wh en armi ng wi th r em o te .
 Loading...
