Service/Spare Parts Manual
Series V12
MSG30-5506-M1/UK
8
Parker Hannifin
Pump & Motor Division Europe
Trollhättan, Sweden
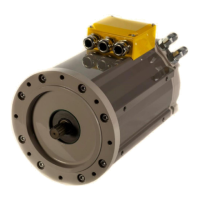
Assembling, end cap
8
Parker Hannin
PumpandMotorDivision
Trollhättan,Sweden
ServiceManual
Series V12
HY30-5506-M1/UK
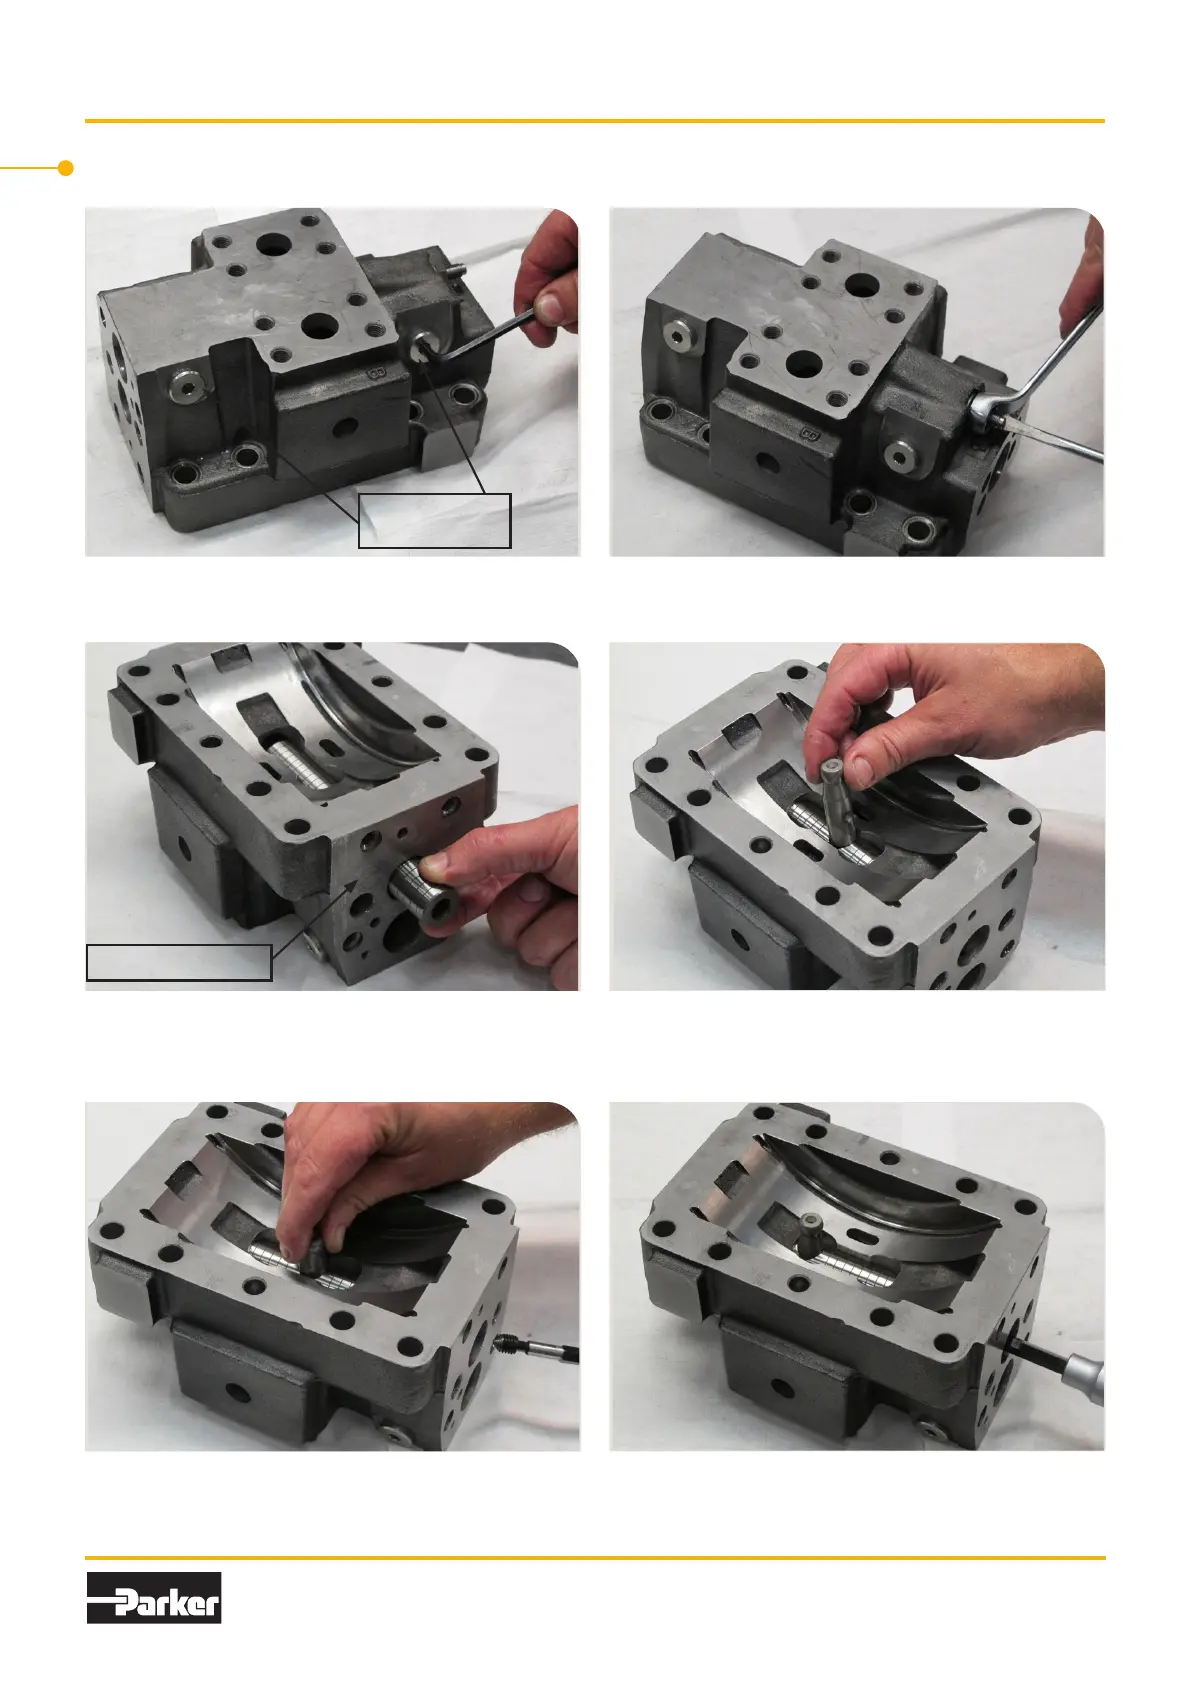
19.Assemblethehexagonplugs.
DIN38±8Nm
SAE25±5Nm
Assembling, end cap
20.Assembletheadjustingscrewandseal
nut.
21.Assemblethesettingpistonintheend
cap.Makesurethethreadisagainstthecon-
trolcoverside.
22.Assemblethecompanionpinintheset-
tingpiston.Makesurethelocationholeis
againstthecontrolcoverside.
23.Assemblethesetscrewwiththepointed
end.Makesurethatithitsthelocationholein
thecompanionpin.
24.Torquethesetscrewto14±4Nm.
Controlcoverside
8
Parker Hannin
PumpandMotorDivision
Trollhättan,Sweden
ServiceManual
Series V12
HY30-5506-M1/UK
19.Assemblethehexagonplugs.
DIN38±8Nm
SAE25±5Nm
Assembling, end cap
20.Assembletheadjustingscrewandseal
nut.
21.Assemblethesettingpistonintheend
cap.Makesurethethreadisagainstthecon-
trolcoverside.
22.Assemblethecompanionpinintheset-
tingpiston.Makesurethelocationholeis
againstthecontrolcoverside.
23.Assemblethesetscrewwiththepointed
end.Makesurethatithitsthelocationholein
thecompanionpin.
24.Torquethesetscrewto14±4Nm.
Controlcoverside
Assembling, end cap
19. Assemble the hexagon plugs. 20. Assemble the adjusting screw and seal nut.
21. Assemble the setting piston in the end cap. Make
sure the thread is against the control cover side.
22. Assemble the companion pin in the setting piston.
Make sure the location hole is against the control
cover side.
8
Parker Hannin
PumpandMotorDivision
Trollhättan,Sweden
ServiceManual
Series V12
HY30-5506-M1/UK
19.Assemblethehexagonplugs.
DIN38±8Nm
SAE25±5Nm
Assembling, end cap
20.Assembletheadjustingscrewandseal
nut.
21.Assemblethesettingpistonintheend
cap.Makesurethethreadisagainstthecon-
trolcoverside.
22.Assemblethecompanionpinintheset-
tingpiston.Makesurethelocationholeis
againstthecontrolcoverside.
23.Assemblethesetscrewwiththepointed
end.Makesurethatithitsthelocationholein
thecompanionpin.
24.Torquethesetscrewto14±4Nm.
Controlcoverside
23. Assemble the set screw with the pointed end. Make
sure that it hits the location hole in the companion
pin.
24. Torque the set screw to 14±4 Nm.
8
Parker Hannin
PumpandMotorDivision
Trollhättan,Sweden
ServiceManual
Series V12
HY30-5506-M1/UK
19.Assemblethehexagonplugs.
DIN38±8Nm
SAE25±5Nm
Assembling, end cap
20.Assembletheadjustingscrewandseal
nut.
21.Assemblethesettingpistonintheend
cap.Makesurethethreadisagainstthecon-
trolcoverside.
22.Assemblethecompanionpinintheset-
tingpiston.Makesurethelocationholeis
againstthecontrolcoverside.
23.Assemblethesetscrewwiththepointed
end.Makesurethatithitsthelocationholein
thecompanionpin.
24.Torquethesetscrewto14±4Nm.
Controlcoverside
 Loading...