49
GB MT
(e.g. “TORCH L8RTC” spark plug).
8. Reattach the spark plug connector (2).
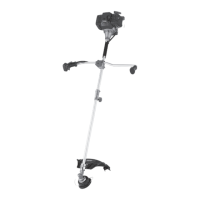
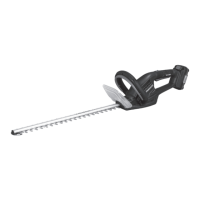
Sharpening the
ThreadCutter
Do not use the equipment
without a thread cutter or with
a defective thread cutter.
There is a risk of injury!
Replacement line cutters are
available from our online shop
(see “Spare parts/Accessories”).
Wear protective gloves to avoid cut-
ting injuries.
1. Switch off the equipment.
2. Unscrew the thread cutter (14) from the
protective cover (13).
3. Fix the thread cutter (16) in a vice and
sharpen the blade with a at le. File
carefully and only ever in one direction.
4. Screw the thread cutter (14) againg on
the protective cover (13).
The spare parts which are to be
ordered can be found in the “Spare
parts/accessories“ section
Changing the Fuel Filter
Never operate the equipment with-
out a fuel lter. Change the fuel
lter regularly.
1. Remove the ller cap (39).
2. Drain the fuel tank (7) into an appropri-
ate container.
3. Pull the fuel lter (48) from the tank us-
ing a hook and remove it by releasing
the small clamp.
4. Replace the fuel lter and place the re-
moved suction head back in the tank.
5. Close the fuel tank (7) again with the
tank cap (39).
The spare parts which are to be
ordered can be found in the “Spare
parts/accessories“ section
Fuel lter specications:
Connection Ø 4 mm
Outside diameter: approx. 16 mm
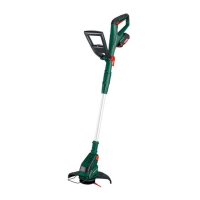
Winding up the spool
As an alternative to a new thread spool,
you can purchase a 2.4 mm-thick, 6 m-
long nylon thread in specialist shops and
wind this yourself onto the thread spool.
1. Fold the thread in the middle and place
the middle of the thread in the notch
(49) of the spools (16). Wind up the
two ends in the direction of the arrow
which is shown on the underside
of the spool.
2. Then trap the end of each thread in
one of the grooves (50) on the spool
(16).
Pull the threads tight and ensure that
they are parallel in the two thread
channels. In addition, the thread
spool must not be lled with more
than 3 m of thread in each channel,
as otherwise the automatic thread
mechanism will not function correctly.
Lubricating the gears
The gears require lubrication after around
10 hours of operation.
1. Loosen the screw (57) on the gears us-
ing the large 5 mm Allen key (25).
 Loading...