III. STEPS OF INSTALLATION
A. Location of Installation
Check and insure the installation location (concrete, layout, space size etc.) is
suitable for lift installation.
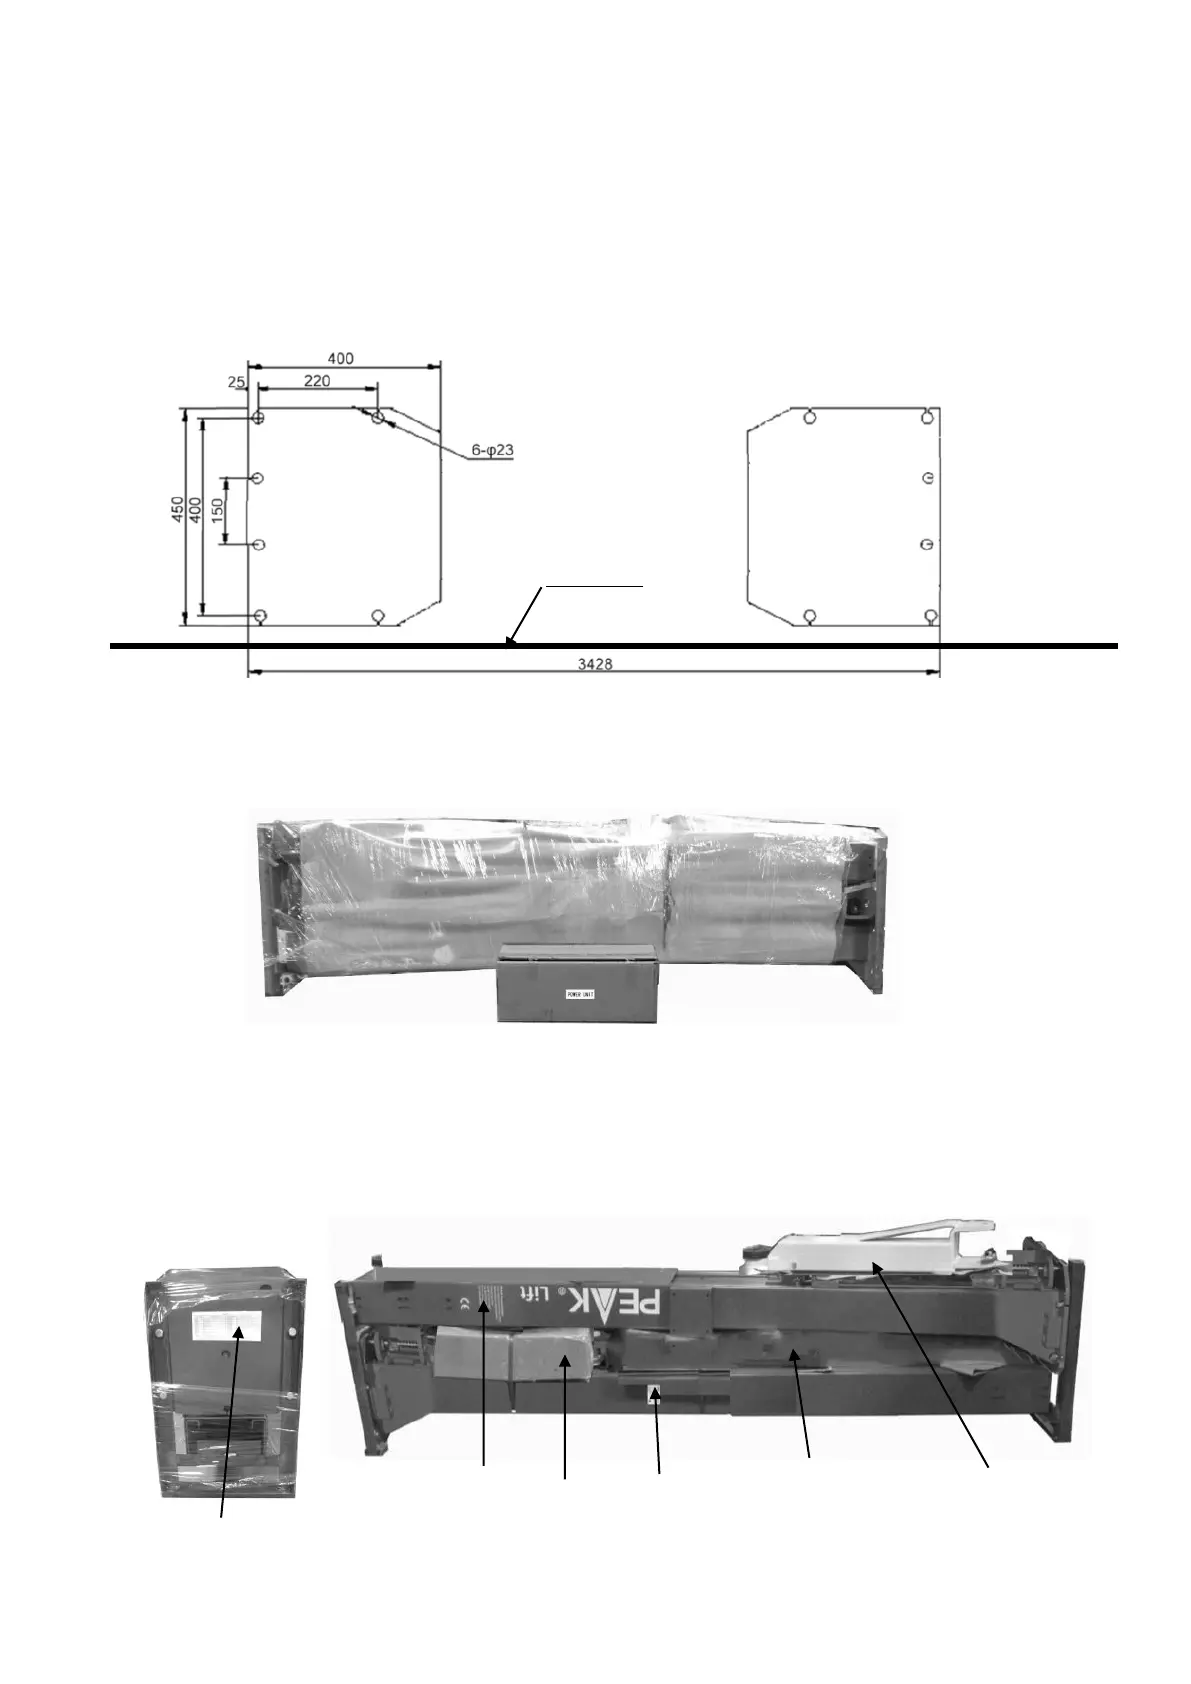
B. Use a carpenter’s chalk line to establish installation layout of base-plate (See Fig.6).
C. Check the parts before assembly.
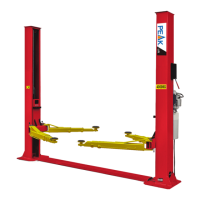
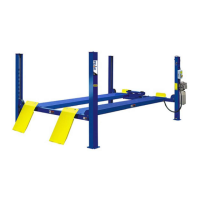
1. Packaged lift and hydraulic power unit (See Fig. 7).
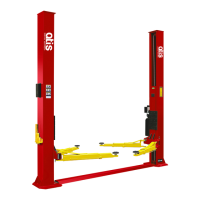
2. Move aside the lift with fork lift or hoist, and open the extension packing carefully ,
take off the lifting arms and parts box from upper and inside the column, then move
them to location nearby installation site, check the parts according to the shipment
parts list (See Fig.8).