Prima 451 – User Manual 38
Appendix
Appendix 6
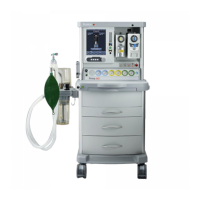
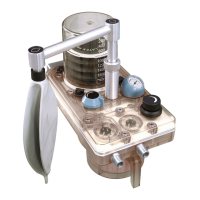
AlphaLab GM3 gauss meter
Using the gauss meter with a Penlon Prima 451 and AV-S MRI
1. Pre-use checks
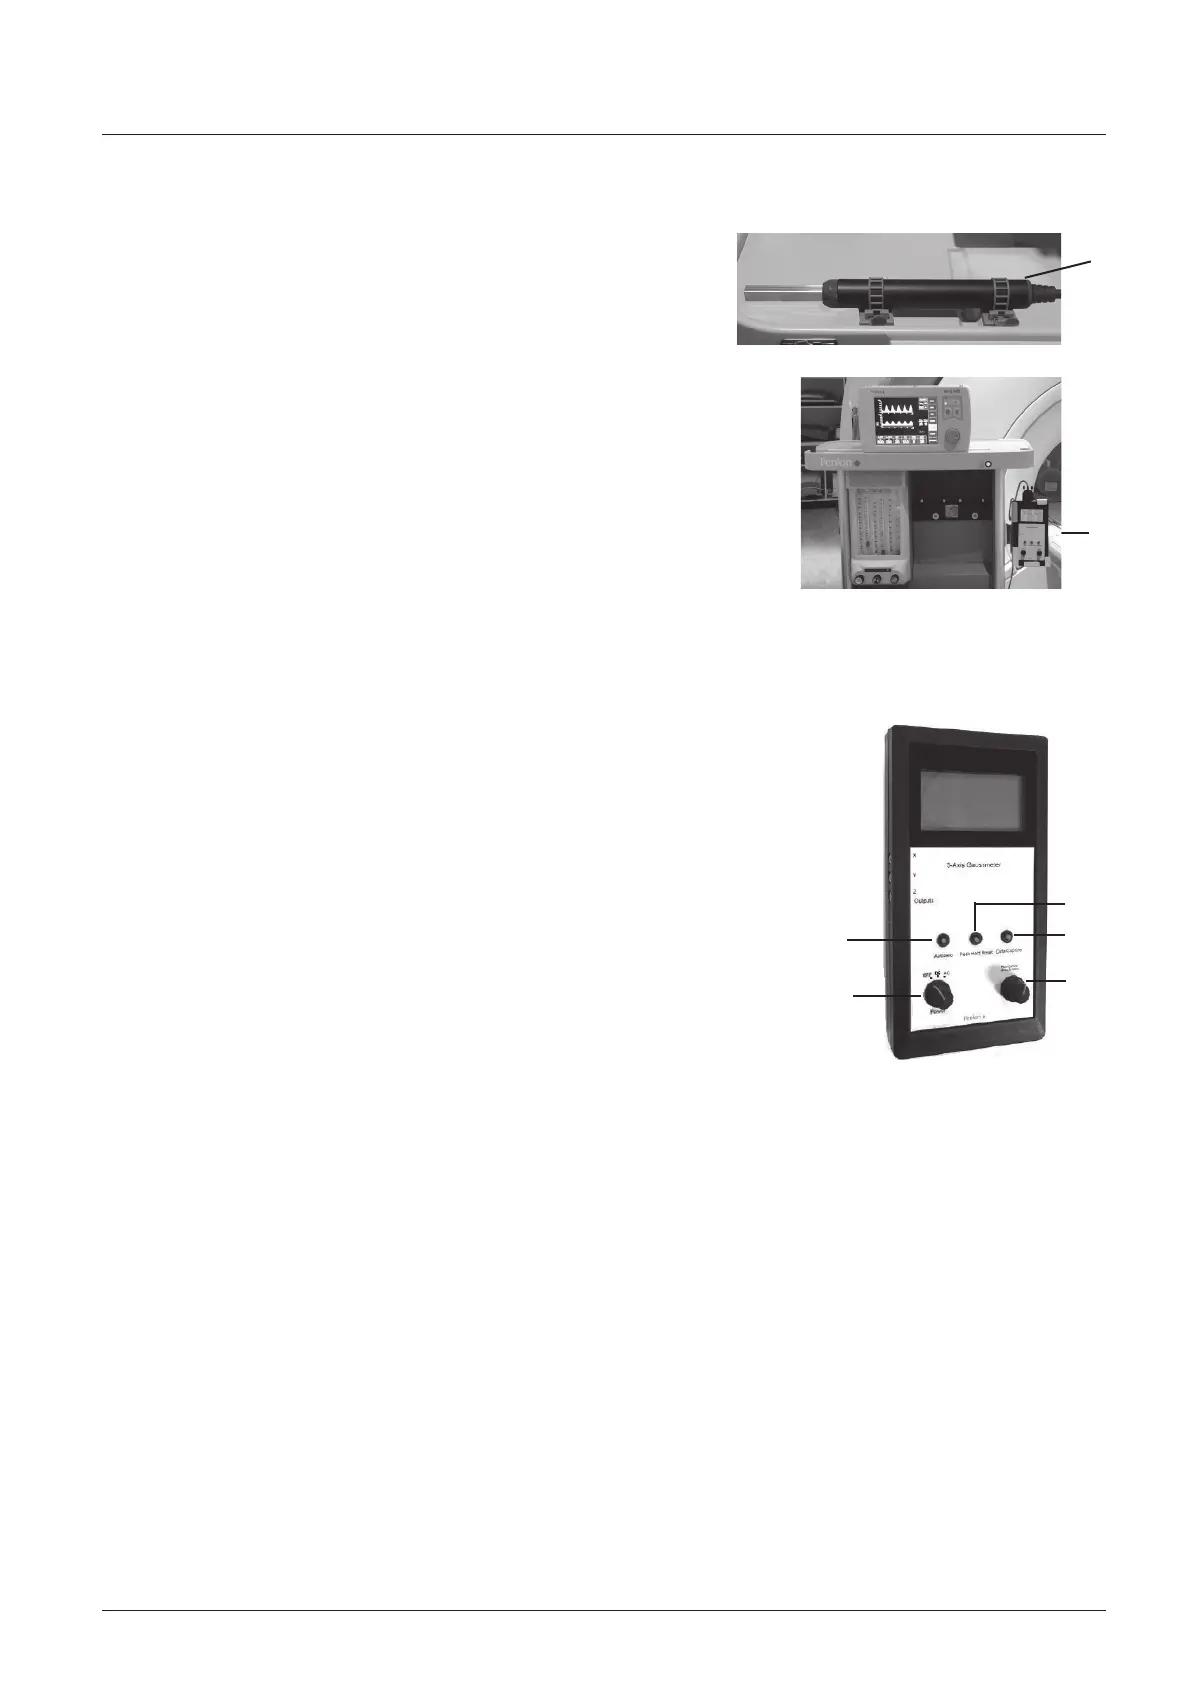
Check that the gauss meter sensor (1) is securely mounted at the rear of the
top shelf of the Prima 451.
Check that the gauss meter (2) is securely mounted in its bracket on the side
of the machine.
CAUTIONS
Special conditions apply when positioning a Prima 451 system equipped with an
AV-S MRI ventilator. To ensure that the ventilator operates correctly the system
must be accurately positioned relative to the 1000 gauss line - see section 5.11.2.
Switch the gauss meter OFF before any clinical procedures are started in the MR
facility.
2. Plotting the 1000 gauss line
Use a gauss meter to measure the magnetic field in the MR facility and plot the 1000 gauss line
Mount the gauss meter securely on the machine, and set the control (1) to DC.
3. Gauss meter batteries
Battery change: Use standard AA type batteries
WARNING: Always remove the gauss meter from the MRI suite to change the batteries.
4. Gauss meter functions
Mode switch (1)
Set the Mode switch (1) to DC mode to read the field generated by the MR scanner.
Note
In DC mode the meter displays readings from any device that generates a DC field, e.g. a
permanent magnet, a DC-powered coil, or a magnetized object.
In AC mode the meter displays readings from any device that generates an AC field, e.g. a
transformer or electric motor.
Autozero button (2)
This function sets the field reading on the display to zero.
This is useful when trying to remove any background fields or correct any sensor offsets.
CAUTION
If the orientation of the gauss meter probe is altered, this may affect the original ‘zero’ setting.
Peak Hold Reset button (3)
‘Peak’ values are recorded and listed on the right-hand side of the display.
These are the highest numbers (greatest deviation away from zero - positive or negative) recorded since the last reset.
Press to clear all data held.
Data capture button (optional) (4)
When activated, this function stores readings on the internal flash memory. The data can be transferred, using a USB
connection, to a computer. The AlphaApp (download from the AlphaLab website) can be used to view, save, and download or
stream data into a PC in real time. Do not use this function in the MR facility.
System Navigation (5)
Press to access the menu and rotate/press to navigate through the menu options:
Functional checks:
Available system memory
Battery life
Alarm settings:
X value, Y value, Z value, Magnitude
1. Alarm value: Rotate the knob to access the function required. Press the knob to select.
2. Rotate the knob to dial in the required alarm value. Press to confirm.
3. Set the alarm to be triggered above or below the set value, or in between two values.
4. In the main alarm screen, change the ‘Inactive’ tab to ‘Active’ to switch on previously set alarms.
System tab:
1. Select screen type, adjust contrast
2. Select data capture settings (also adjustable in AlphaApp).
1
2
4
3
5
1
2